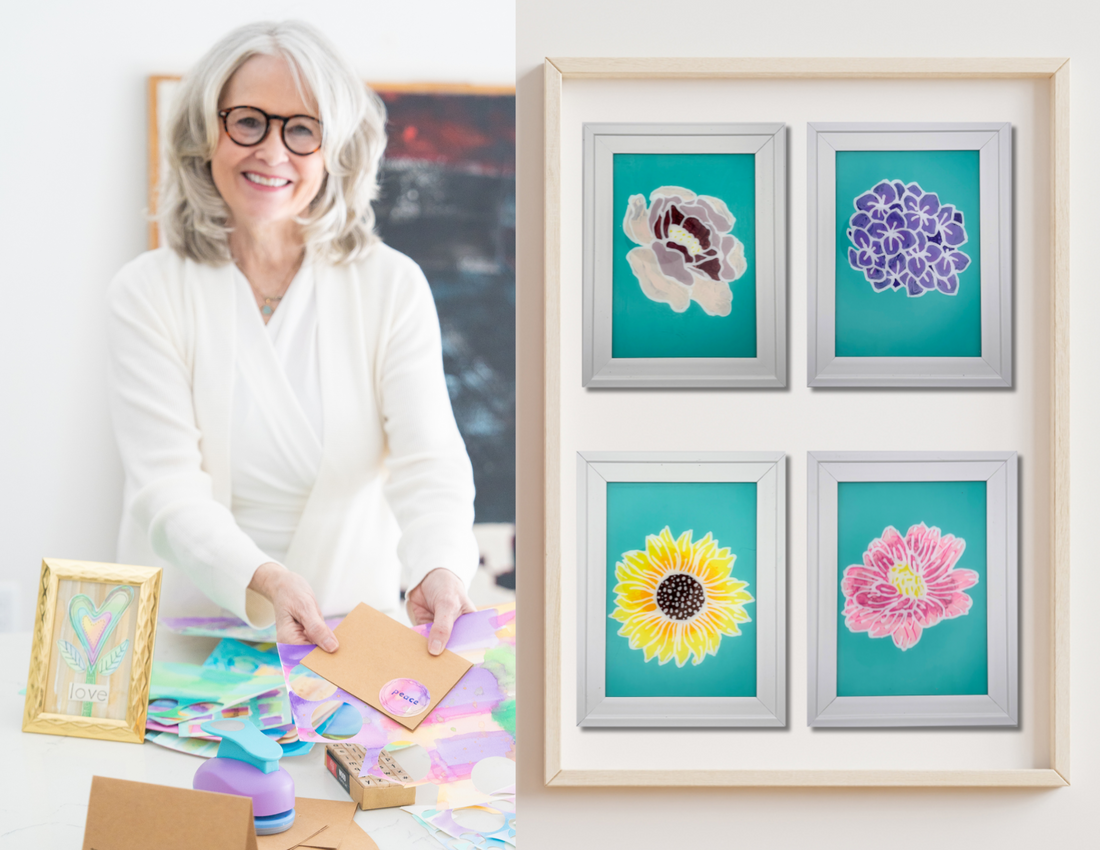
Artist Spotlight: Reverse Glass Painting with Tiffany Windsor

Learn how to use Puff Paint for the reverse glass painting technique with this tutorial from Tiffany Windsor!
Tiffany Windsor, the daughter of Aleene Jackson (creator of Aleene’s Original Tacky Glue), is a true crafting pro. She hosted over 1,500 episodes of Aleene’s Creative Living Television Show in the 1990s, launched a successful YouTube channel, Etsy shop, podcast, digital magazine, and authored over 10 craft books over the span of her career. Learn more about Tiffany Windsor through her creative design studio, Periwinkle Pomegranate.
This fun and easy tutorial is adapted from the July/August 2024 issue of Tiffany’s digital magazine In His Circle. Try using the reverse glass painting technique to create a variety of designs, from flowers to word art and so much more. Grab your favorite colors and get ready to create some stunning wall art with Tulip!
Supplies Needed:
Acrylic paint
Glass picture frame
Paintbrushes
Painter’s tape
Printed pattern
Step 1: Prepare your reverse glass painting project

Use painter’s tape to secure the glass from your picture frame onto your printed design. For word art, ensure that your image is mirrored when printing.
Select which Puff Paint color you want to use to outline your reverse glass painting design. Remove the cap, hold the bottle at a slight angle, and squeeze with consistent pressure to trace the design onto glass.
Step 2: Trace with Puff Paint

Continue to trace your reverse glass painting design until your outline is complete. Check to be certain that all paint lines touch in the corners. This will help keep the acrylic paint inside the lines when you fill the design with paint.
Step 3: Allow Puff Paint to dry completely

Allow the paint to dry completely before moving on to the next step. The reverse glass painting technique can look bumpy from the painted side, but appears smooth when you turn the glass over!
Step 4: Apply acrylic paint to glass painting

With the paint side up, use acrylic paint to fill your reverse glass painting with color. Apply 3 coats for opaque coverage, allowing the paint to dry completely between coats.
Step 5: Paint as desired and dry completely

For this project, Tiffany used a darker pink on the inner petals, blending to a lighter shade of pink on the outer petals. This technique will give your reverse glass painting design more depth. Allow the paint to dry completely before proceeding to the next step.
Step 6: Paint background color

Paint the background color onto the glass. Apply 3 coats for best coverage, allowing the paint to dry completely between coats.
Step 7: Display!

Once the paint has dried completely, reassemble the frame and display your reverse glass painting wall art!
Show us how you’re using Puff Paint for your reverse glass painting artwork and tag us on social media @TulipColorCrafts!
Check out these links and get inspired for your next Puff Paint project!
