


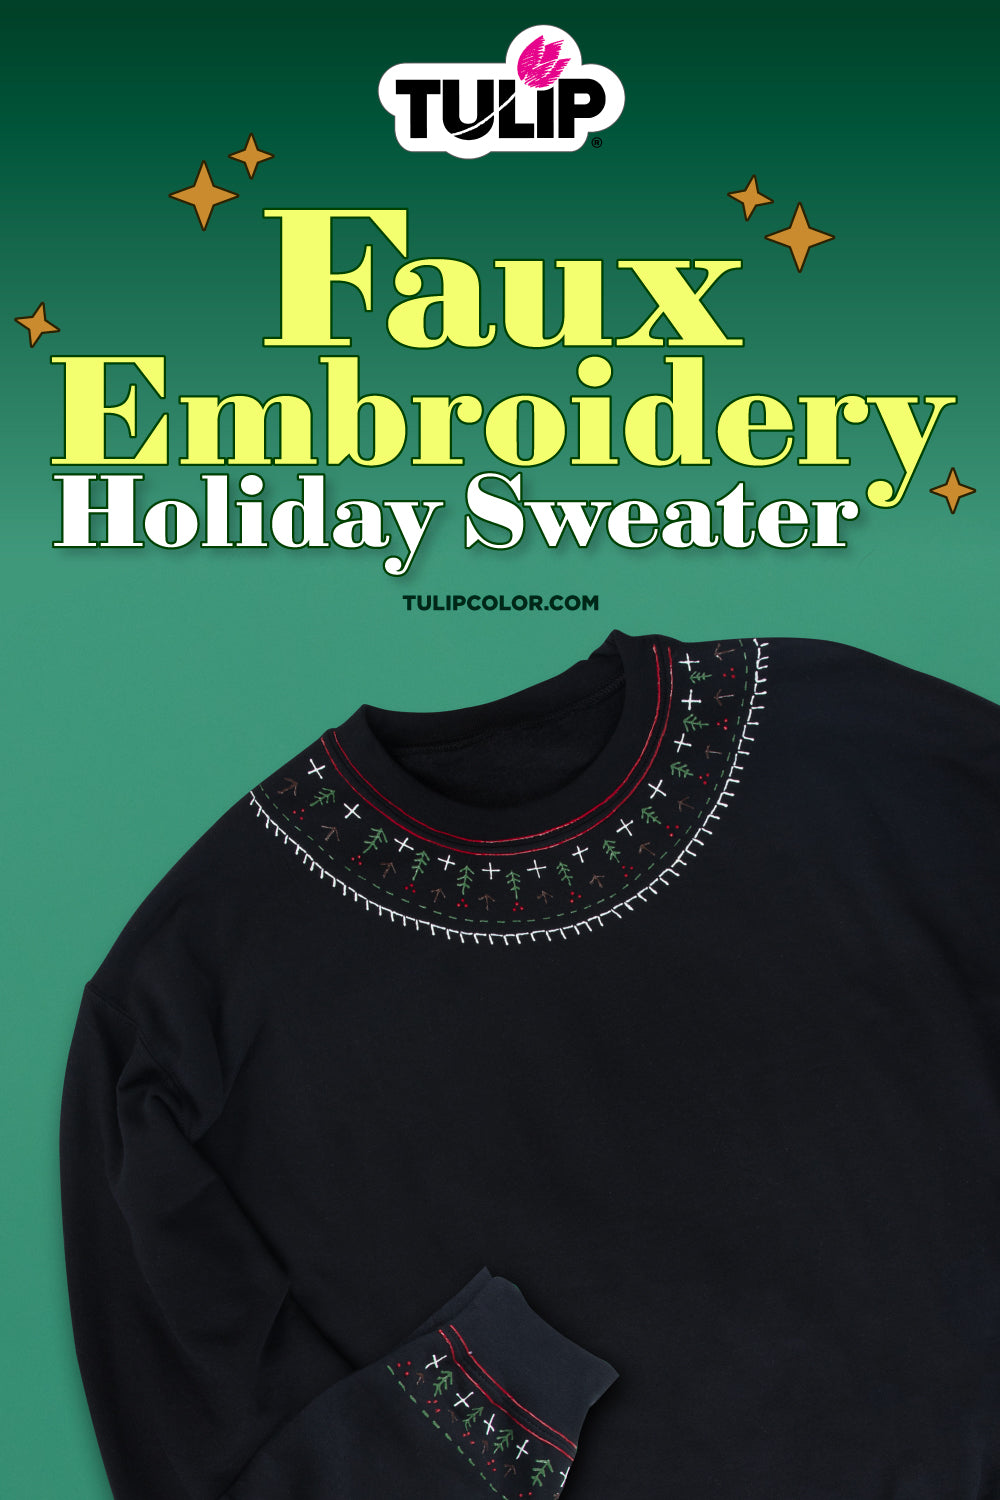
DIY Holiday Sweater Series: Faux Embroidery

It’s just not Christmas without a festive holiday sweater! This project recreates classic Christmas cross-stitch designs with the Tulip Holiday Cheer Fabric Paint Kit. Tap into your creative side this holiday season and learn how to make easy faux embroidery designs with Puff Paint!
Supplies Needed:
Tulip Holiday Fabric Paint Kit
Gildan crewneck sweatshirt
Faux Embroidery printable stencil and tape (optional)
Step 1: Prepare holiday sweater for painting

Lay your holiday sweater flat on your work surface. Insert cardboard or a sheet of plastic between layers to prevent paint from seeping through.
Step 2: Apply fabric paint to holiday sweater

If using a stencil, place flat onto sweater in desired position and tape if needed. Apply fabric paint through the stencil to create your faux embroidery design. For this DIY holiday sweater, we’re using red, green, white, and brown Puff Paint. For extra sparkle, press a few gems or glitter into the wet Puff Paint.
Step 3: Let dry and enjoy!

Carefully remove the stencil and allow the paint to dry completely. Once the paint has dried, your holiday sweater is ready to wear! Your DIY holiday sweater can be hand washed (inside out) and line dried after 72 hours.
Show us how you’re using Tulip Fabric Paints for your DIY holiday sweaters and tag us on social media @TulipColorCrafts!
Check out these links and get inspired for your next Christmas craft!