


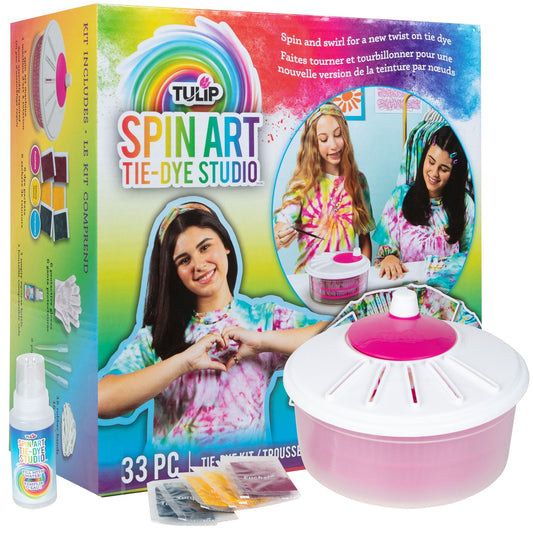
Tie-Dye T-Shirts & Totes with the Tulip Spin Art Tie-Dye Studio
- $27.99
$27.99- $27.99
- Unit price
- per
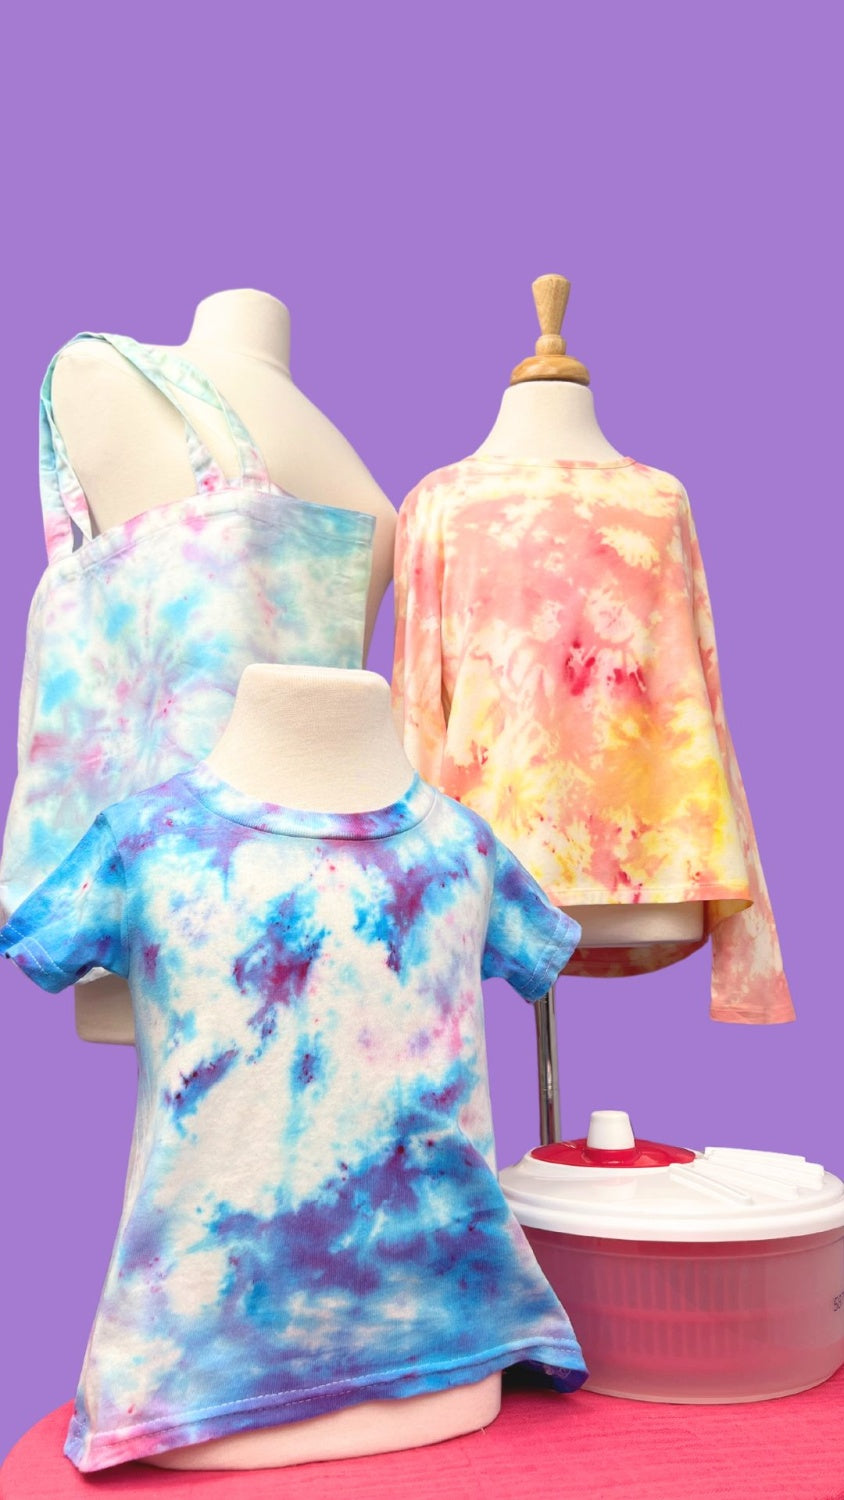
Make some tie-dye magic with the Spin Art Tie Dye Studio! This innovative kit makes it easy for crafters of all experience levels to tie dye with a colorful twist— every project will be a surprise! Check out how Sweet Red Poppy is using the Spin Art Tie-Dye Studio and get inspired to tie dye everything from T-shirts to tote bags and more!
Supplies Needed:
Tulip Spin Art Tie-Dye Studio
100% cotton substrates, such as T-shirts or tote bags
Plastic wrap or sealable plastic bag
Step 1 Prepare your Tie-Dye Studio

Assemble the Spin Art Tie-Dye Studio according to packaging instructions. Cover your workstation with the included protective surface cover and prewash the fabrics that you’ll be using for this project. For this DIY, Sweet Red Poppy is making tie-dye T-shirts and a tote bag!
Step 2 Fold and bind fabric

Fold and bind the damp fabric as desired. Sweet Red Poppy used the classic spiral technique for this tie-dye T-shirt, but you can use any folding technique with the Spin Art Tie-Dye Studio! Remove the lid from the spinner, place your project in the basket, and replace the lid.
Step 3 Prepare the pipettes and dye powder

Next, prepare the pipettes and dye powder. Be sure to work over a protected work surface to catch any excess dye. Cut the corner of each dye packet at an angle. Use a pipette to suction up the dye powder, then turn the pipette upside down so dye collects at the base. The Spin Art Tie-Dye Studio includes 3 pipettes, so use one pipette per dye color.
Step 4 Spin and apply dye powder
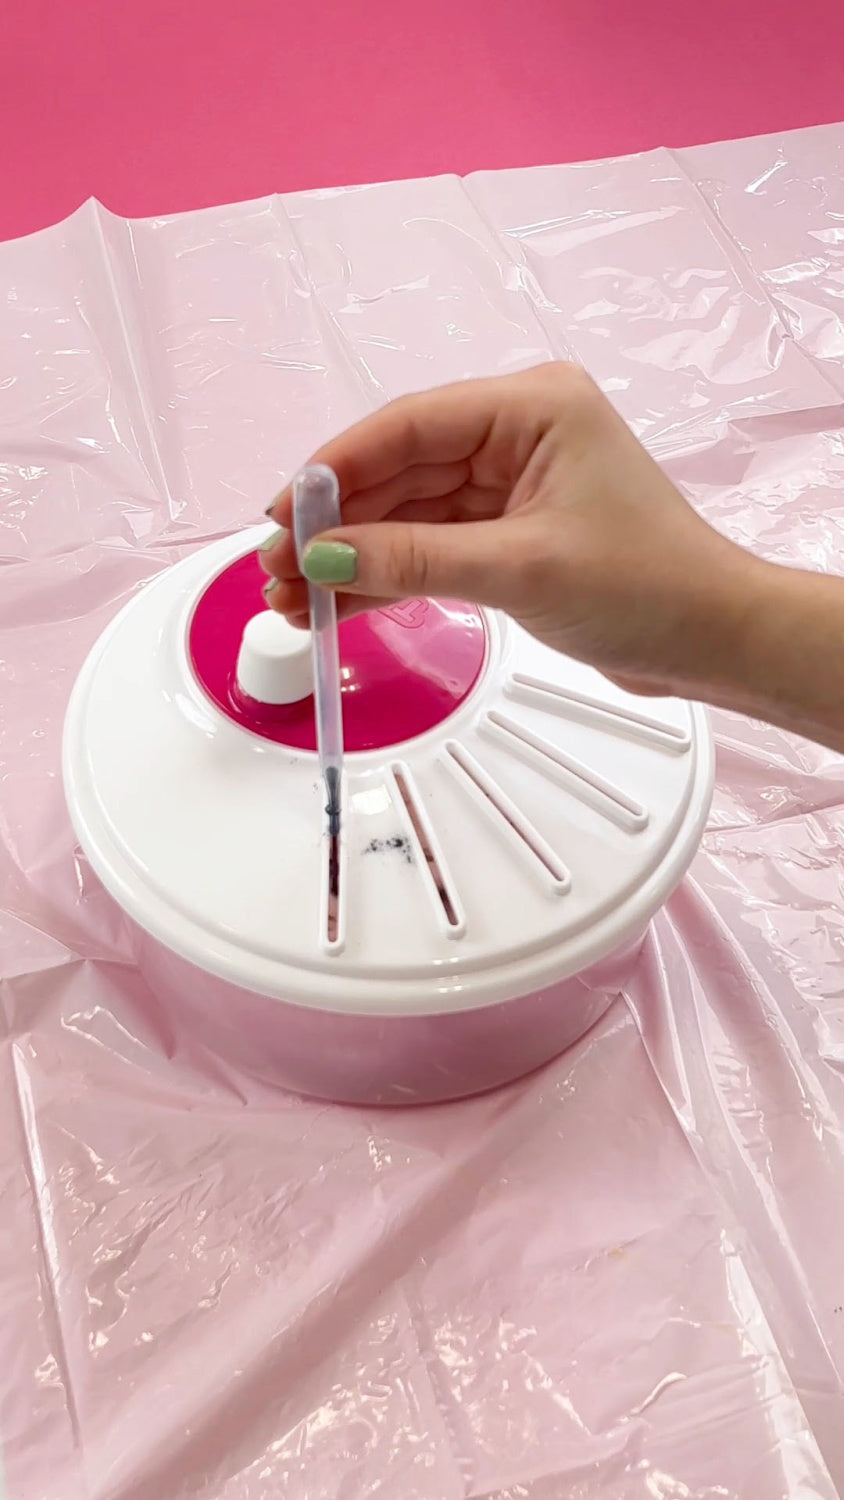
Turn the knob on the spinner lid to activate the Spin Art Tie-Dye Studio! Spin manually a few times to build momentum and turn the knob to reactivate spinning as needed. While your project is spinning, use pipettes to apply dye through any of the openings in the lid.
Continue spinning and applying dye until you are satisfied with the color distribution. You can stop the spinner and remove the lid to check color distribution as desired— or enjoy the spin art process and reveal your surprise tie-dye patterns at the end!
Step 5 Spin and add water

Fill the included bottle with water. Slowly pour water into the openings while spinning to blend the dyes. Apply half of the bottle of water to one side of your tie-dye T-shirt to the dissolve dye powder. More water can be used to blend colors further. Open the lid, flip the fabric over, and repeat steps 4 and 5 on the other side of your project.
Step 6 Wrap, let set and reveal!

Take your project out of the spinner and rinse its components, then you can tie dye more projects as desired. Once you’re finished, place the dyed fabric into a sealable plastic bag or cover with plastic wrap and allow the dyes to set for 6-8 hours. After the dyes have set, remove the rubber bands from your projects, rinse, wash in cool water with a little laundry detergent, and dry to reveal your spin art tie dye!
The Spin Art Tie-Dye Studio can be used again and again for endless tie-dye fun! Show us the tie-dye T-shirts you’re making with Tulip and tag us on social media @TulipColorCrafts!