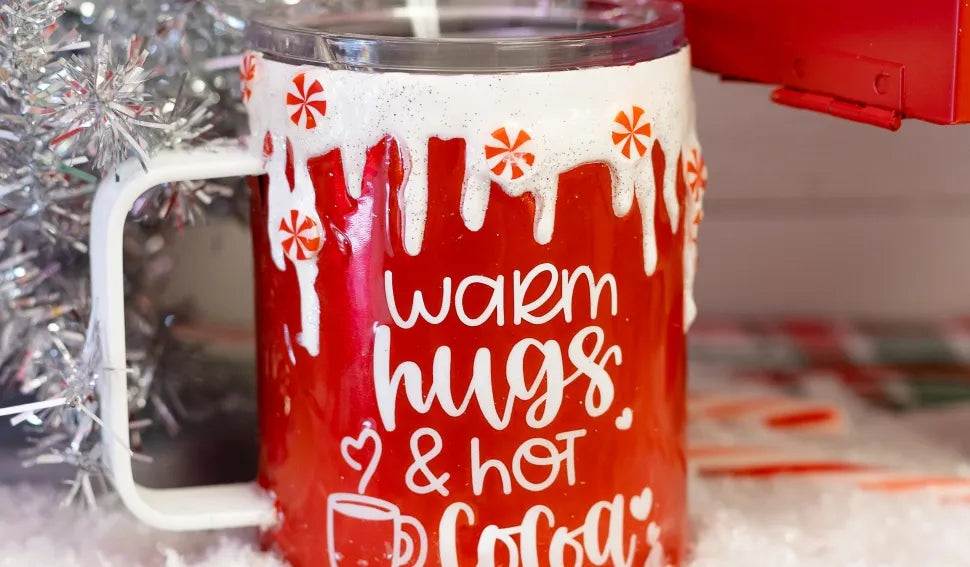
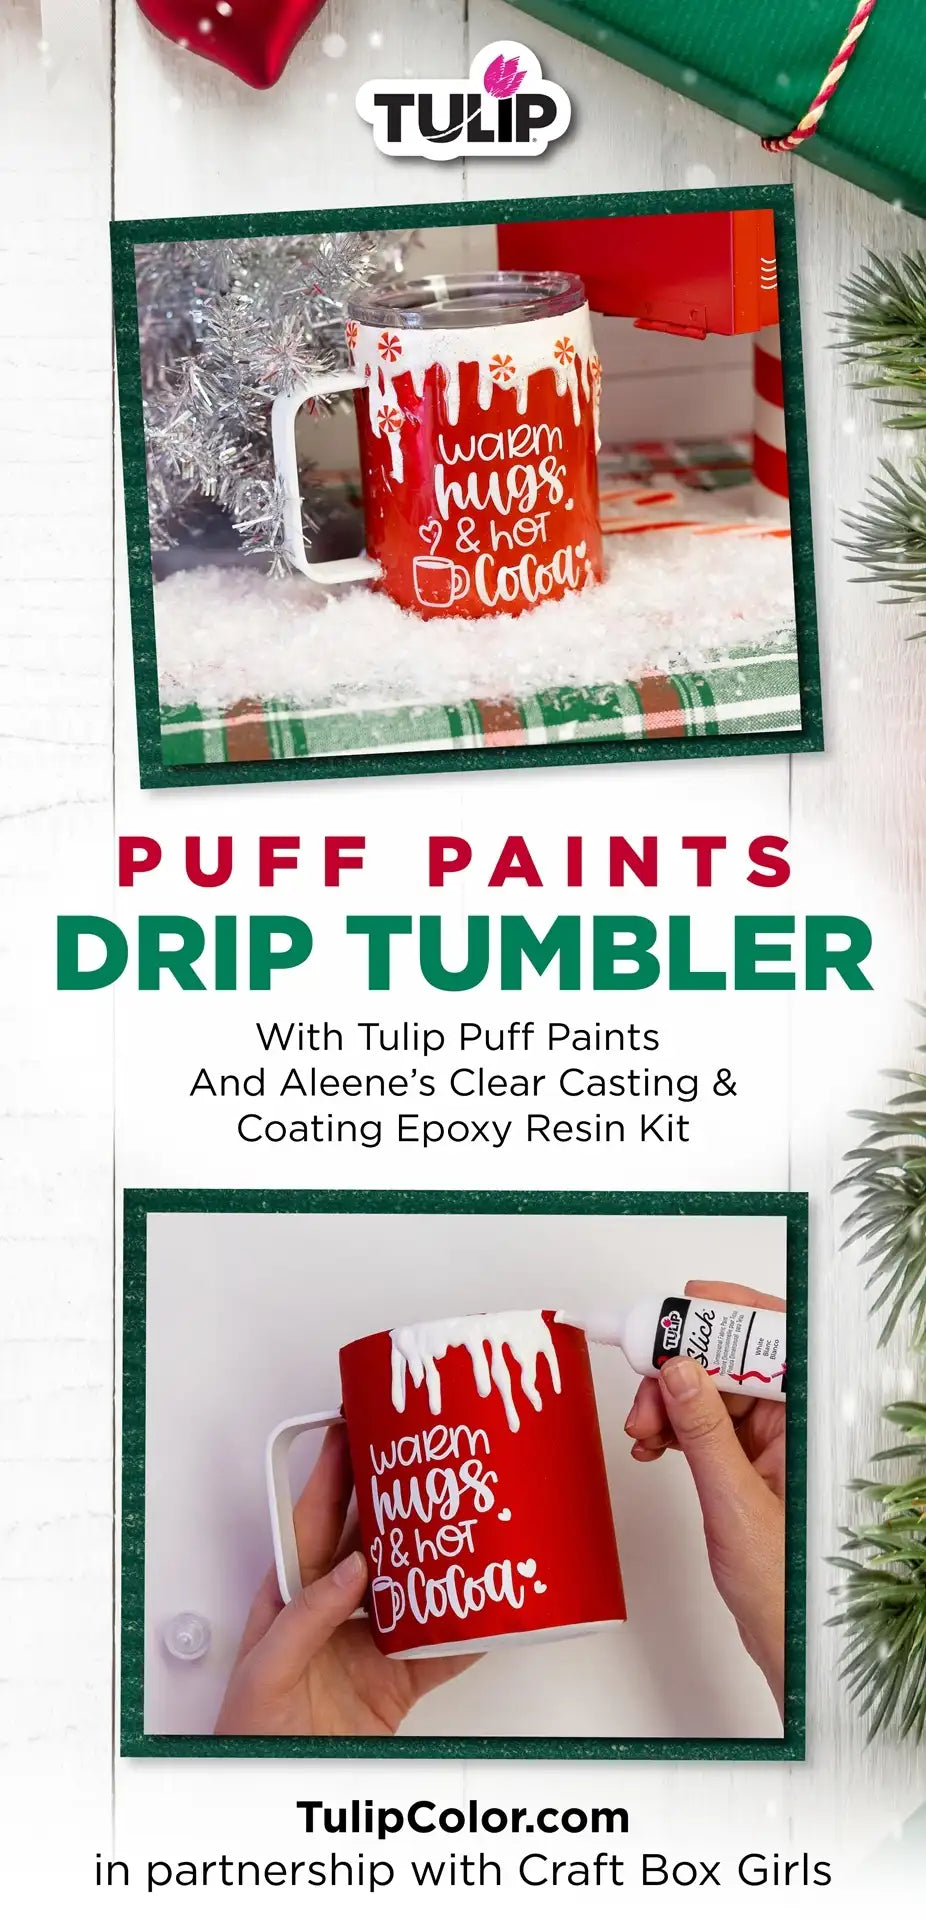
Easy Paint Dripping Technique with Puff Paint

How to create with the easy dripping technique with Puff Paint.

What You Need
Aleene’s Clear Casting & Coating Epoxy Resin Kit
Stainless steel tumbler
Red adhesive permanent vinyl
Vinyl decal
Glitter and Peppermint Sprinkles
Electrical or resin tape
Heat gun
Wooden stir sticks
Plastic cups
Safety gear
Tumbler spinner
Red trim (optional)
Aleene’s Original Tacky Glue (optional)

Step 1
Remove the lid from the tumbler if necessary. Cut a piece of red adhesive vinyl to fit the tumbler and carefully adhere it in place. Apply the vinyl decal to the front of the tumbler.

Step 2
It’s time to create paint dripping effects on your tumbler! Use the Tulip Puff Paint to create a frothy marshmallow drip around the top of the tumbler. Hold the tip of the Puff Paint to the tumbler and gently squeeze, rotating the tumbler until you’ve created dimensional paint drips all the way around. Use more paint for larger drips and less paint for smaller drips— gravity will do all the work to create dazzling dripping effects! Be careful to not get any paint inside the mug or directly on the rim; clean with soap and warm water if you do.

Step 3
Add faux peppermint sprinkles and glitter to the paint drips while the Puff Paint is still wet. Let the paint dry completely before proceeding.

Step 4 (optional)
Cut red trim to fit along the bottom of the tumbler and secure with Tacky Glue. This step is totally optional, but provides a cleaner final look to your winter tumbler!

Step 5
Cover the handle and inside of the tumbler with electrical or resin tape and place onto your tumbler spinner. Make sure you’re wearing protective safety gear before working with resin! Use disposable plastic cups and wooden stir sticks to mix the Aleene's Clear Casting & Coating Epoxy Resin according to package instructions.

Step 6
Start the tumbler spinning slowly. Carefully pour the epoxy resin onto the tumbler and use a gloved finger to spread the epoxy evenly over the mug, sealing in your custom designs!

Step 7
Glide the heat gun above the tumbler as it turns to eliminate bubbles. Let the tumbler spin for at least 12 hours while the epoxy resin cures.

Step 8
Once the epoxy resin is cured, remove the tumbler from the spinner. Remove all the tape, wash thoroughly, and replace the lid. Your custom paint drip tumbler is now ready for winter!


