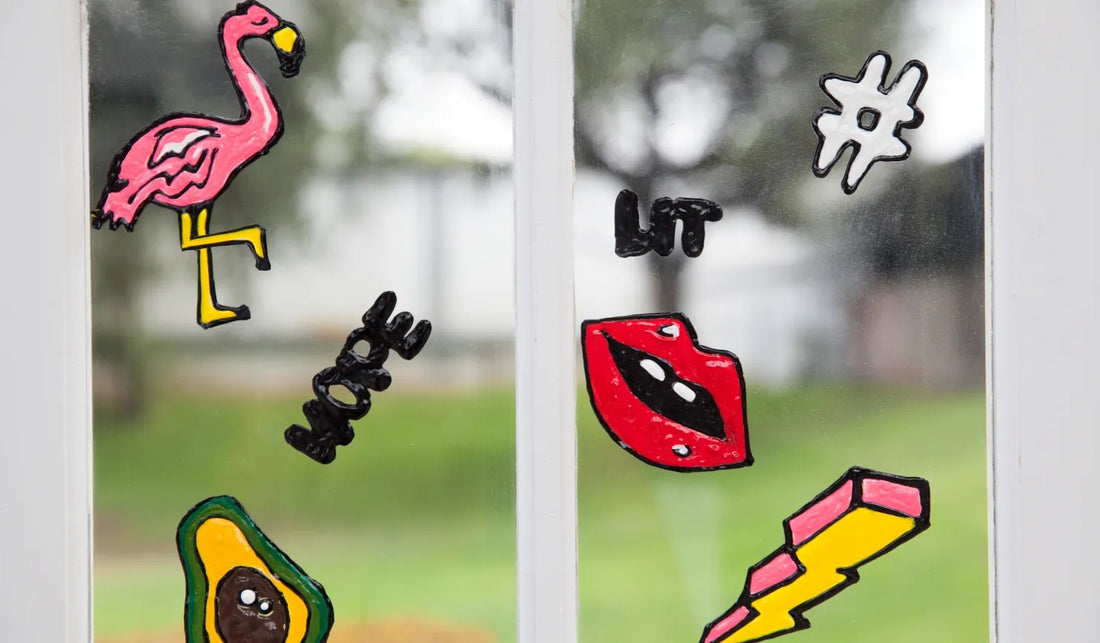
How To Make Window Clings With Dimensional Paint

Colorful and fun, this craft for kids is always a hit! Use Tulip® Dimensional Fabric Paint to have the kids create their favorite designs, shapes, sayings... whatever. Then stick to the windows for adorable decorations everyone will love.

What you need:
Tulip Dimensional Fabric Paint – desired paint pack
- Cling designs (printed or drawn)
- Clear gallon-sized sealable bag or sheet protector
- Toothpick

Step 1:
To get started on this fun & easy DIY craft for kids, print out your designs. Or you can hand draw your own if your kids prefer different designs. Place your design template into your plastic bag.

Step 2:
The next part of this DIY craft for kids is to make the clings! To begin, start with the outline of the shape, then fill in the design with each chosen paint color. Apply a nice, thick, even layer of Dimensional Paint over each design, covering over the face designs (they’ll show on the other side). Tip: If any air bubbles happen while painting, you can use a toothpick to help smooth them out.

Step 3:
Repeat with other colors until entire design is filled in. Note: Make sure all colors are touching so that one piece is created when dry. Let dry completely.

Step 4:
Once dry, peel clings from bag and place on window or desired surface.

Step 5:
Now that you've learned how to make window clings, keep the kids crafty all year long making clings for every holiday. Use bold primary color paints at Christmas, pastel color paints at Easter and everyone's favorite... glow-in-the-dark paints at Halloween! And who says they are only for windows? Stick your clings all over on appliances, school binders, mugs and more! There's no limit on this fun family activity!
