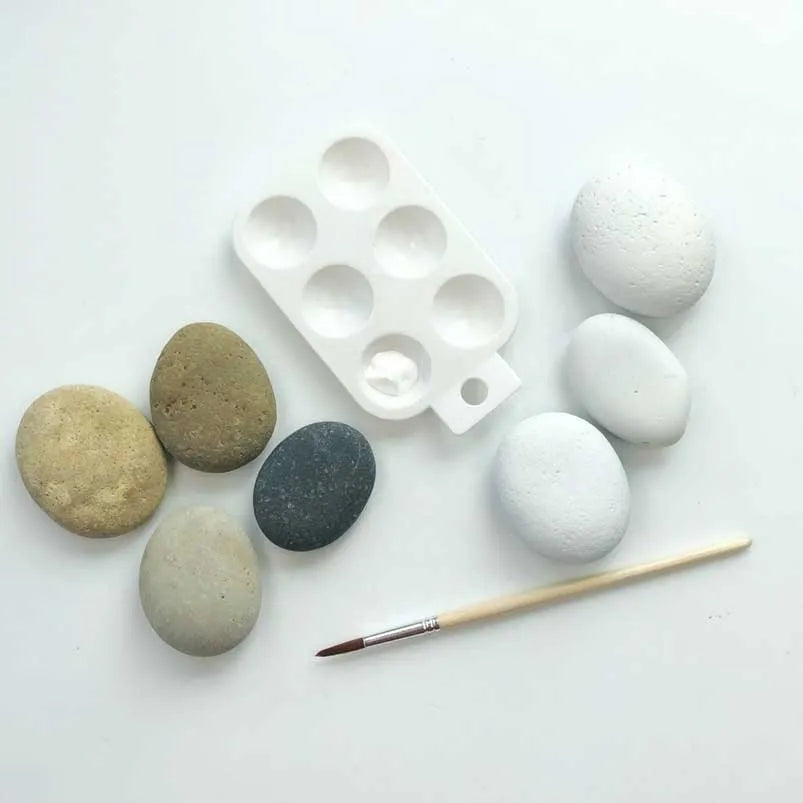
How To Paint Rocks with Dimensional Paint

Wondering how to paint rocks with Dimensional Paint? Check out this easy step-by-step rock painting tutorial using Tulip Dimensional Paint!

What you need:
- Tulip Dimensional Paints in a variety of colors
- Rocks - if you have a hard time finding rocks outside, visit your local landscape store and look for river rocks
- White acrylic paint (optional)
- Paintbrush
- Paper plate or paint palette
- Sealant (optional)

Step 1:
Optional, but not required: Paint rocks with a basecoat of two coats of white acrylic paint using a paintbrush. Let dry completely.
Choose Dimensional Paint color for the background and squeeze some of each Dimensional Paint onto a paint palette or paper plate. If desired, use your paintbrush to create a colorful background by brushing each Dimensional Paint color (or just some of the Dimensional Paint colors in stripes or desired design patterns on rocks. Tip: if you want a darker, more opaque background, brush multiple coats of Dimensional Paint onto your background, letting dry in between coats.

Step 2:
Shake bottles of Dimensional Paint and if desired, practice creating designs on scrap paper, paper towels, etc. Squeeze Dimensional Paint directly onto rocks, creating any designs you like, such as dots, squiggles and words.Let dry completely.
Tip: If you make a mistake, while the Dimensional Paint is still wet, simply wipe away with a damp cotton swab or paper towel and start over. Dimensional Paint cleans up easily with water before it dries!

Step 3:
Optional but not required: If you like, you can protect your Dimensional Paint rocks by spraying several light coats of a clear spray sealant over each rock. Make sure to spray in a well-ventilated area and let dry completely before handling painted rocks. Now you know how to paint rocks with Dimensional Paint!
