How To Dirty Pour Paint Pouring Tutorial With Fabric Paint

Discover how easy it is to use the art of dirty pour paint pouring on your shoes!

Prep
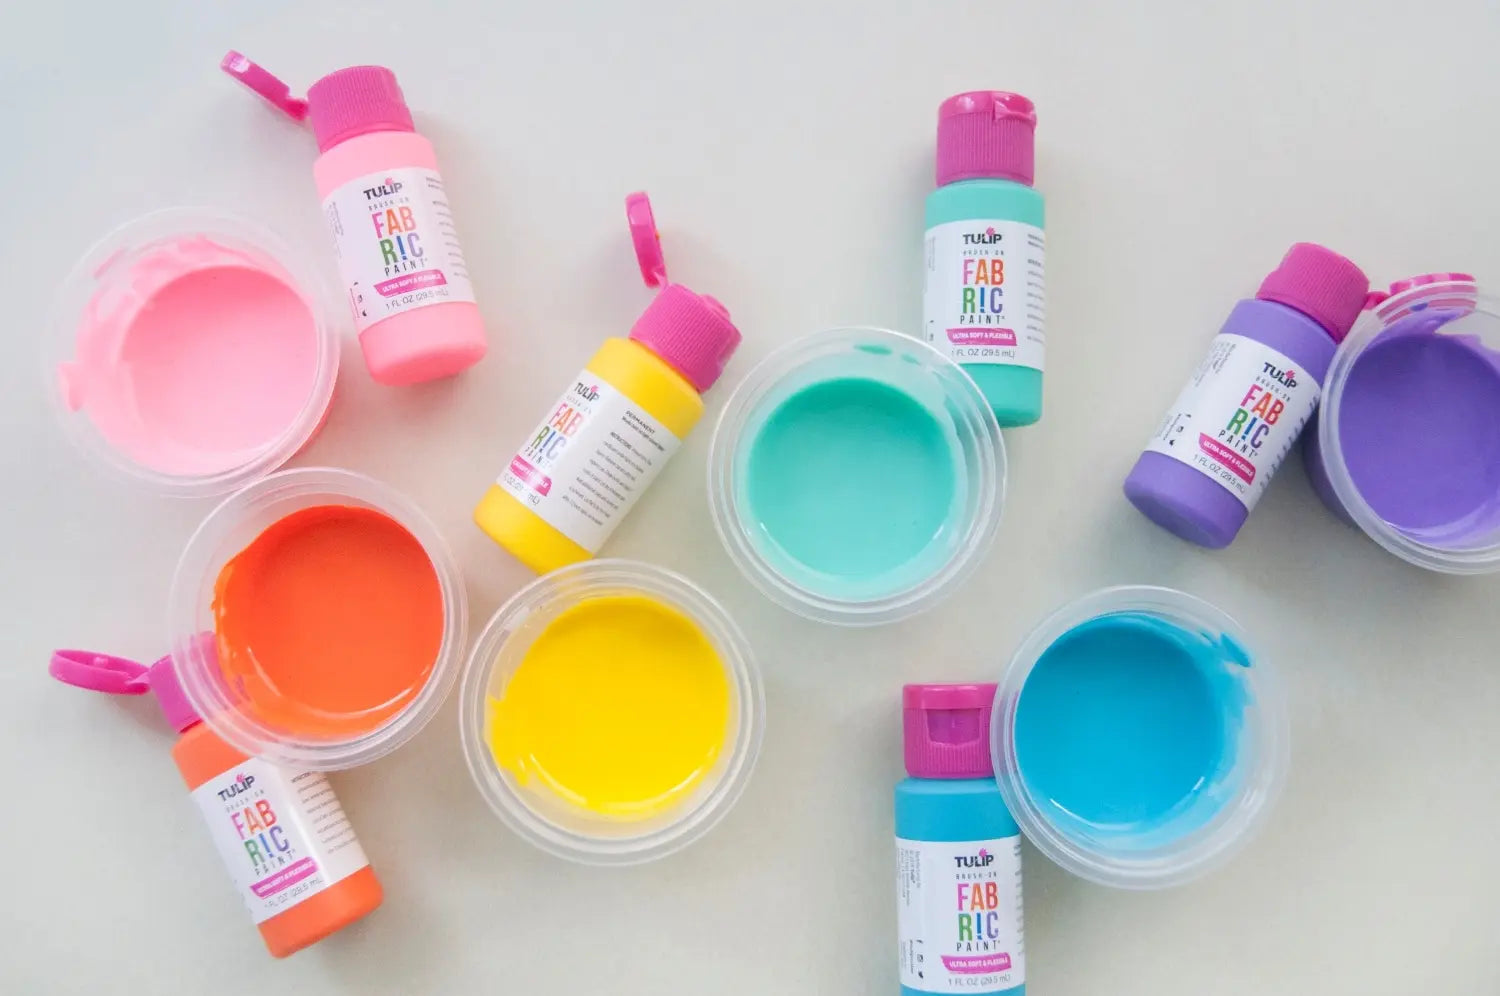
Gather your supplies to put some pep in your step with bold colors and one-of-a-kind shoes you’ll want to wear the whole year through. In addition to your Tulip® fabric paints, you'll need some canvas shoes, painter's tape, disposable plastic cups, white glue, Popsicle sticks, cardboard box and plastic bags.

Step 1
Before we get started on the dirty pour paint pouring tutorial, it’s important to prep our shoes! Use painter’s tape to tape around all sides of the soles, as well as the bottoms of the shoes. Make sure to press the tape firmly around the soles to create a tight seal. Stuff plastic bags into each of the shoes to protect the insides and stabilize the surfaces.

Step 2
In a disposable plastic cup, mix 1 part white glue with 1 part water. This mixture will be added to the fabric paints to help make them more pourable.

Step 3
Now we’re going to mix up our fabric paints for the dirty pour paint pouring technique! Shake and pour some of each fabric paint color into its own disposable plastic cup. Next add the glue/water mixture into each and stir thoroughly to mix. Your mixing ratio is 1 part glue/water mix to 4 parts fabric paint. You’ll want your mixture to be pourable but not too runny. Test and add more glue/water mix if needed.

Step 4
In another plastic cup, pour one color of fabric paint mix, then pour another color mix over the top. Keep alternating colors to form a kind of bullseye effect like shown. Depending on how many paint colors you are using, you might want to use two cups, and add half of the colors (ex. three colors) to one cup, and the other half of colors to the other cup, like Handmade Charlotte.

Step 5
Set up your cardboard box work station for paint pouring by placing two disposable cups per shoe into the box (for holding up each shoe). Prop each shoe onto the cups set up for it, then begin your dirty pour paint pouring! Start with one set of colors in one of the cups.

Step 6
Next pour colors from the other cup onto parts of the shoes still exposed. You’ll want to work fairly quickly as the paint starts to drip and blend!

Step 7
Keep alternating pouring colors from each cup until both shoes are completely covered with paint. You can also pour any individual colors remaining in any of the other cups onto exposed areas to help cover. Tip: Use a popsicle stick to help spread paint onto small exposed portions of the shoes!

Step 8
Allow the shoes to set overnight for the paint to absorb into the shoe fabric. Carefully remove the tape from the soles, especially if the paint is still a bit wet. Clean up any drips that may have leaked under the tape with damp cotton swabs, or scrape off dried paint.

Step 9
Allow your shoes to finish drying before wearing.

Step 10
And that’s how easy the dirty pour paint pouring technique is on shoes! Just make sure you use Tulip Brush-On Paints, which are made specially for fabric so they won’t crack or peel with regular wear. What else are you thinking of trying paint pouring on? Tag us on social @tulipcolorcrafts and share with us!
