Make and Decorate a No-Sew Face Mask

With the shortage of medical-grade face masks we're currently experiencing (and priority needed for medical professionals working so hard to help treat and minimize the spread of COVID-19), many of us are making our own masks for those times we need to venture out and about. Homemade masks don't offer the same level of protection you'd get from a certified medical mask, but they still add a protective layer we don't normally have - for us and for others we're around. We teamed up with Holly at Club Crafted to show those of us who aren't sewers how to make our own no-sew face mask using cotton fabric and a nontoxic, permanent fabric glue, then adding cute personality with Tulip Fabric Markers. Get the deets and the pattern below, then make a mask with your own creative twist. Stay safe out there!
What you need:
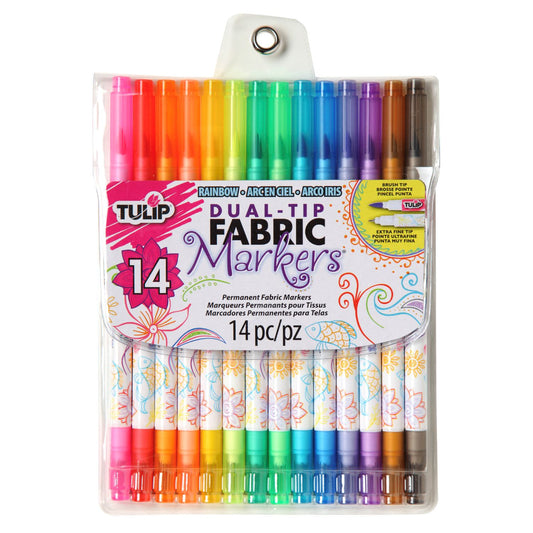
- Tulip Fabric Markers Rainbow 12 Pack
- 100% cotton fabric, tightly woven and prewashed
- Lightweight fusible interfacing
- Thin elastic
- Scissors
- Mask template (from this post)

You might find it difficult to stock up on our listed supplies to make your mask, since many of us are making our own right now. (For example, elastic might be tough to get.) Not to worry, because Holly has some alternative supply tips for you! Here are a few ideas:
Elastic: If you can't find elastic for your no-sew face mask, try hairbands! Just about any elastic hair band will work.
Fabric: For best results, choose a natural fiber material. (We recommend cotton because you still want the fabric to be breathable against your face). Make sure the fabric is thick enough so you cannot see through it, and be sure to pre-wash it. You should be able to find cotton fabric at most craft stores, however, you can also upcycle something you already own, like a T-shirt!
Filter: Holly used fusible interfacing as a filter in her version of the no-sew face mask. Another excellent option is HEPA HVAC filters. To use, remove them from the filter frame and flatten. Only use fabric without filters if you cannot find a filter material.

Cut 4 mask shapes using the template, then cut an additional 2 from the interfacing.

Arrange 2 fabric mask shapes with the curved edges facing outward and the straight edges together. Add a thin line of Aleene’s Fabric Fusion Glue around all edges of the pieces and press the matching interfacing pieces on top of each. Flip the pieces over.

Place your 2 remaining mask pieces (without the filters) right sides up on your work surface. Add a line of Fabric Fusion along the curved edge of one of the pieces.

Flip the other piece so that the right side is facing the piece with glue, align edges, and press in place.

Place one of the filter pieces right side up (filter side down) on work surface and add a line of glue along the curved edge.

Press the other filter piece in place on top of the glue, right sides together as shown.

Let all pieces dry completely, then flip right side out.

Place both mask sections right sides together.

Cut about a 7-inch section of elastic for each side of the mask. Form a strand of elastic into a half loop with the cut ends aligning with the side edge of the mask. Peel back one side of the top mask layer and add glue along the entire side of the bottom layer. Place the half loop of elastic with ends touching the outer edge in between the layers, pressing into the glue. Press the top layer back in place over the bottom layer, sandwiching the elastic half loop in place.

Repeat with the second piece of elastic on the other side, continuing to glue around the edges and leaving a 3-inch opening at the bottom so you can turn the mask right side out.

Tip: You can use paper clips to hold the pieces securely in place while they dry.

Once dry, trim the corners for smooth seams.

Flip your mask right side out through the opening left in the seam.

Press the edges of the open seam under and glue in place. Let dry completely.

Choose Tulip Fabric Marker color(s) to complement your mask fabric and the design you plan on creating! PS. Tulip Fabric Markers are nontoxic, permanent, and washable, so your mask designs stay vibrant through washings.

Draw your design onto your mask. When you're happy with it, let it dry completely!

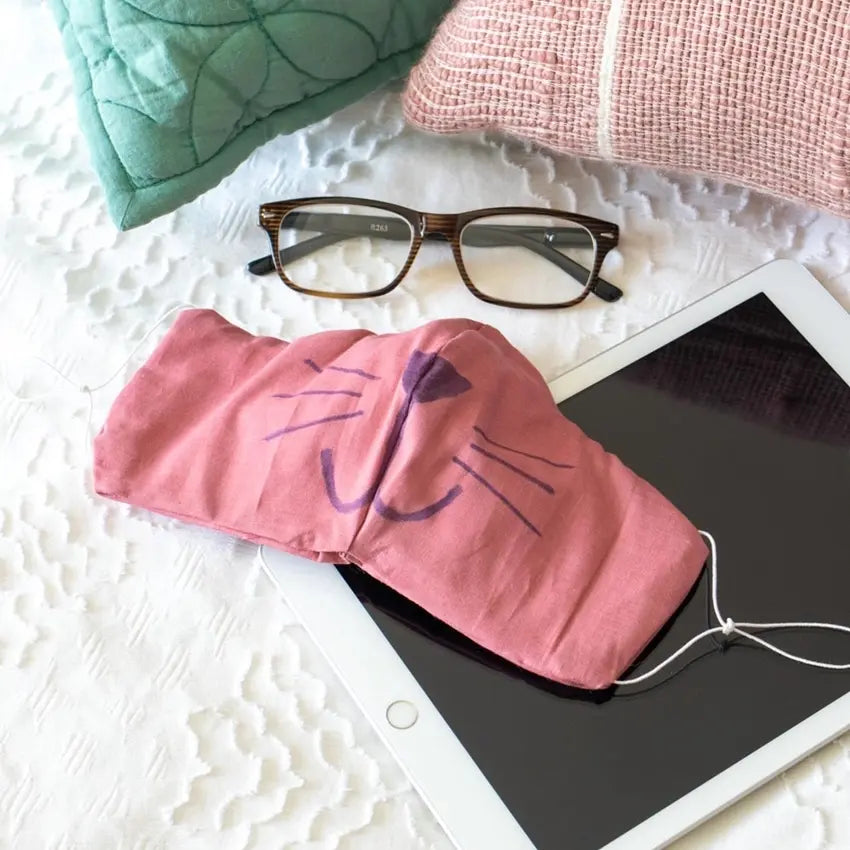
This no-sew face mask turned out purrrrfecty adorable, don't you think?! What design will you create on yours?

Save this pattern to your desktop and print!


