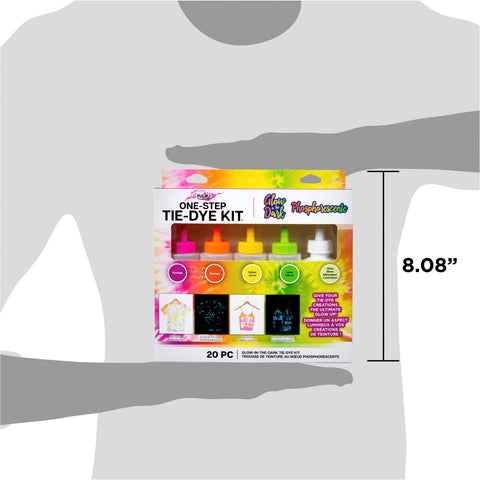
Tulip Glow-in-the-Dark 4-Color Tie-Dye Kit
- $21.99
$21.99- $21.99
- Unit price
- per
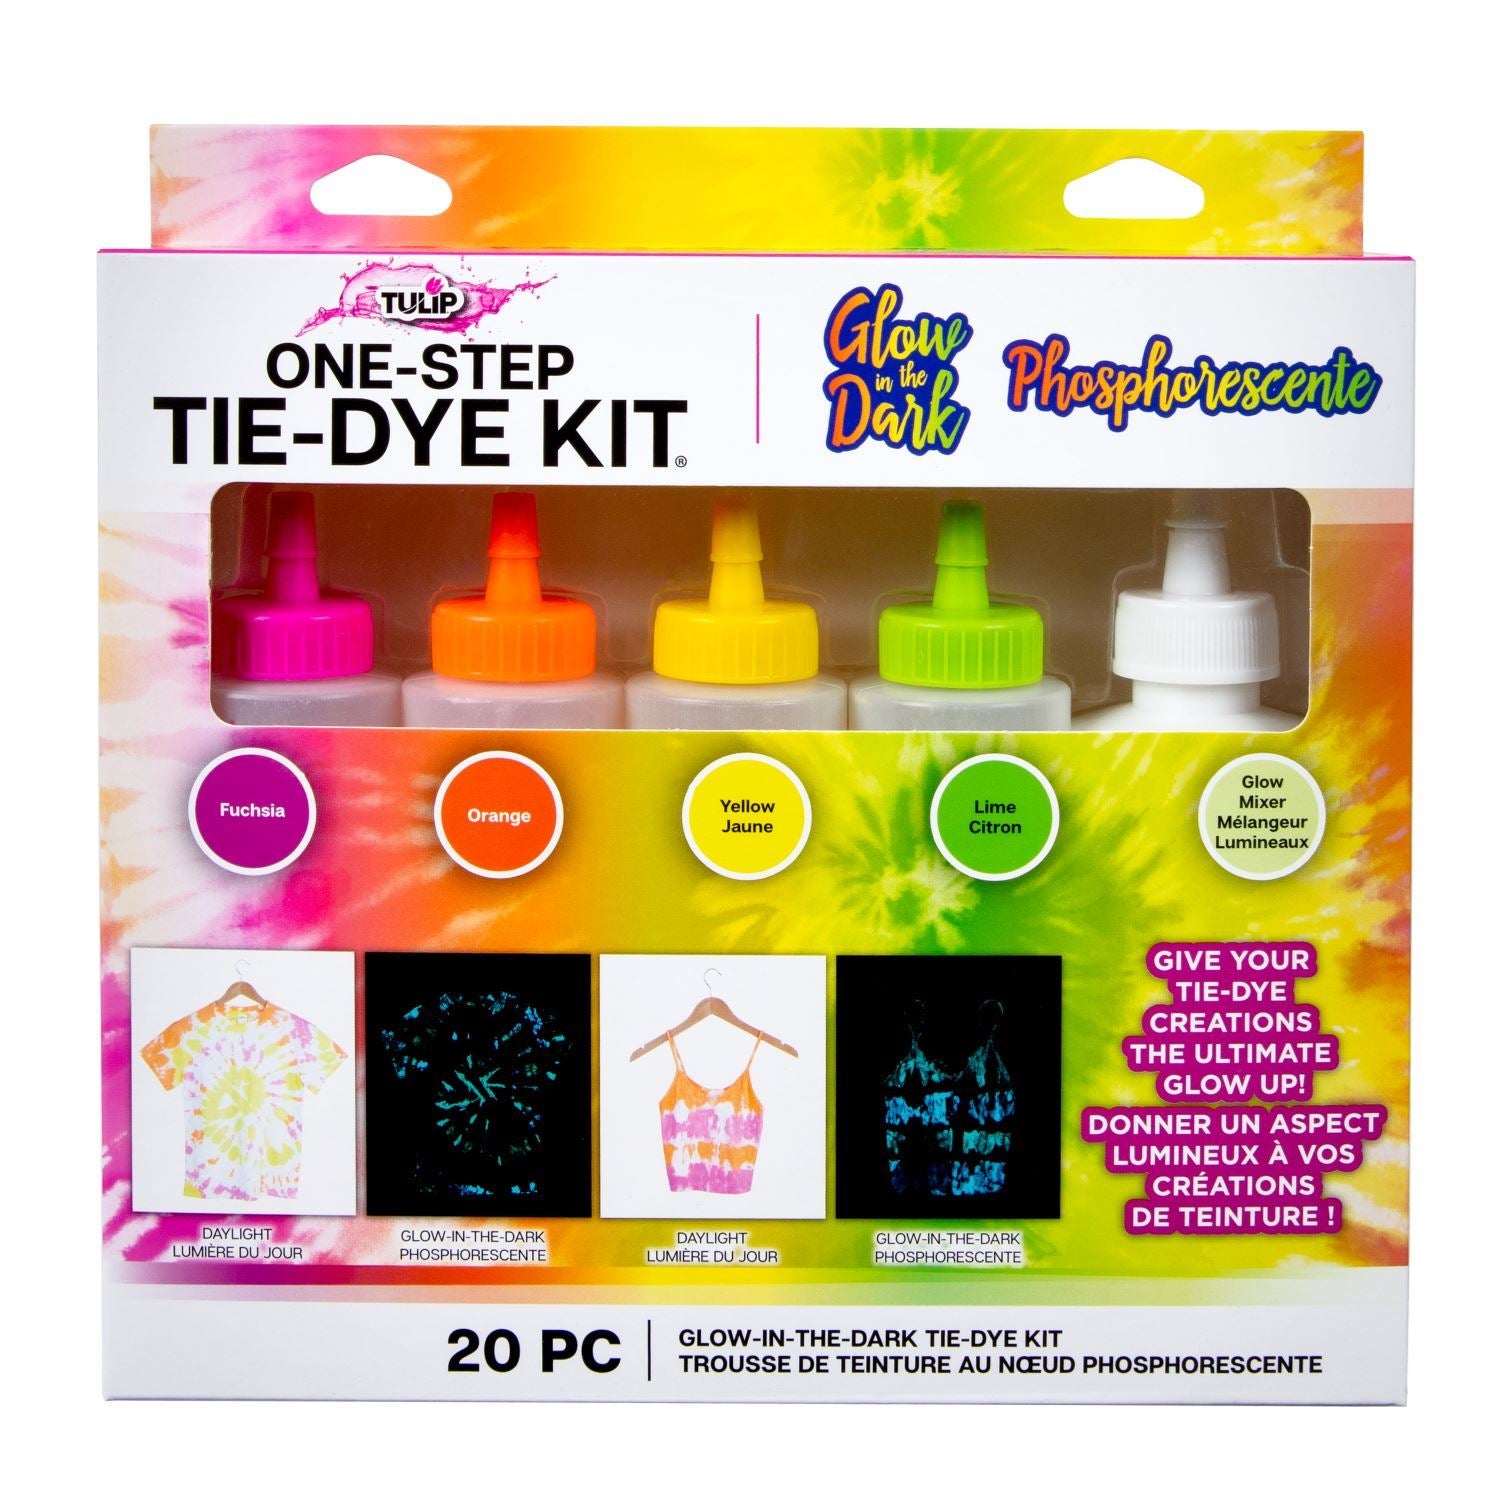
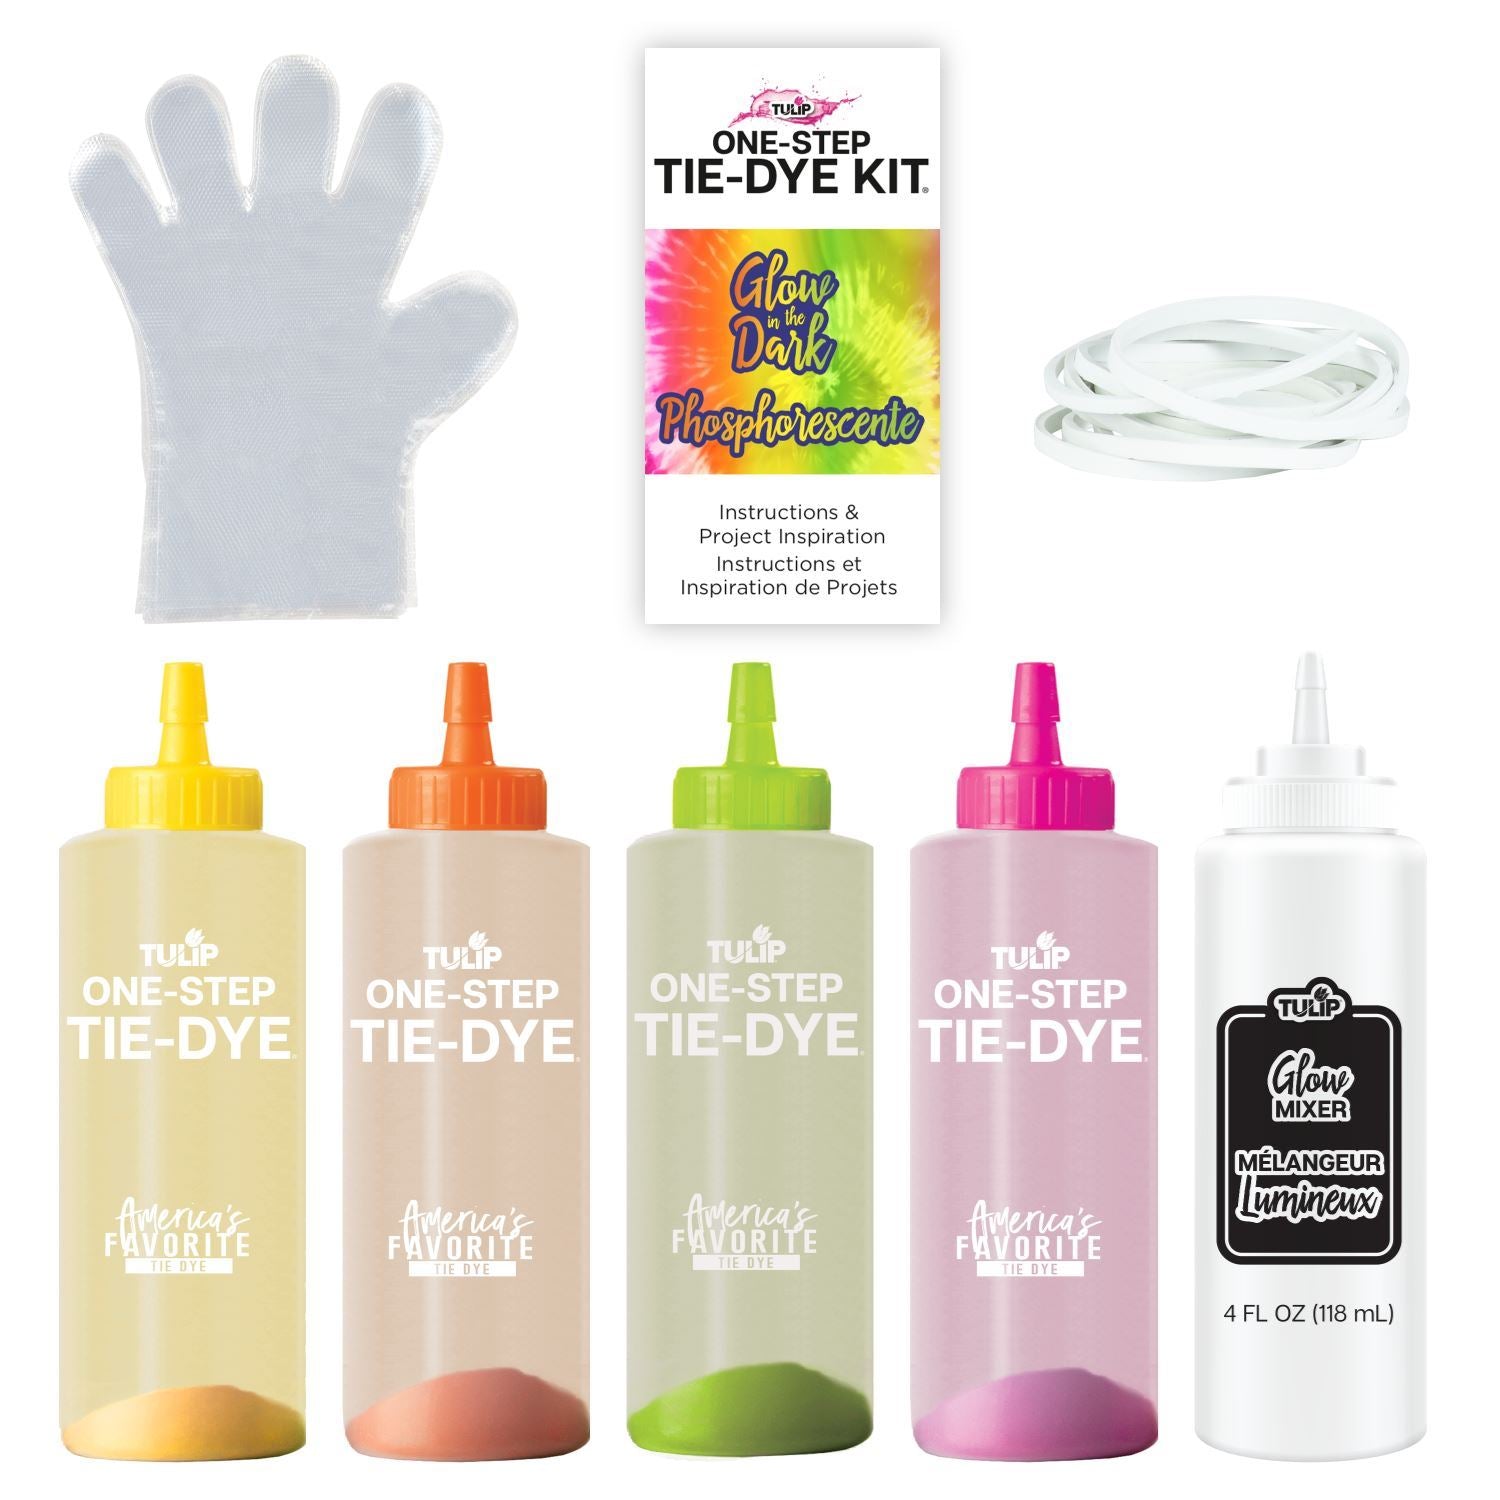
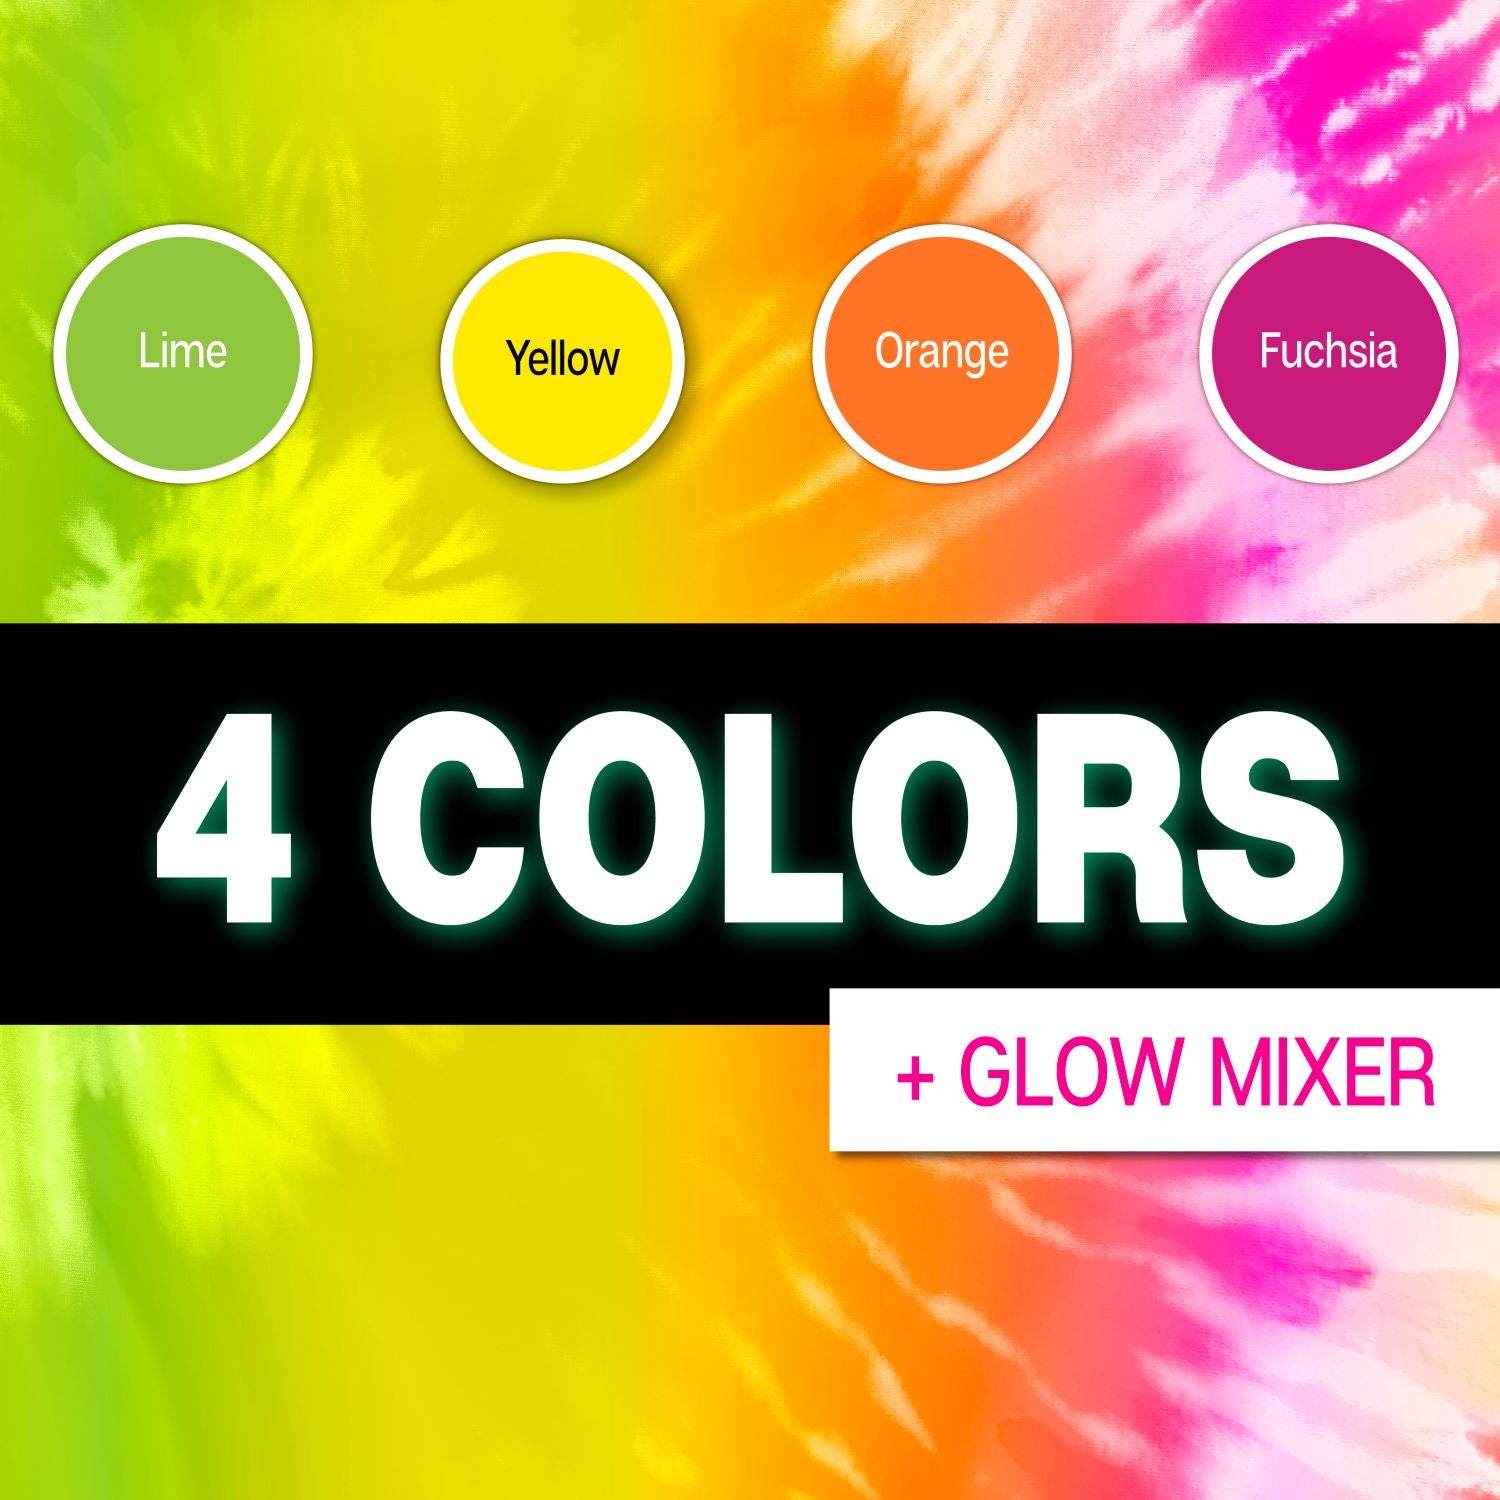
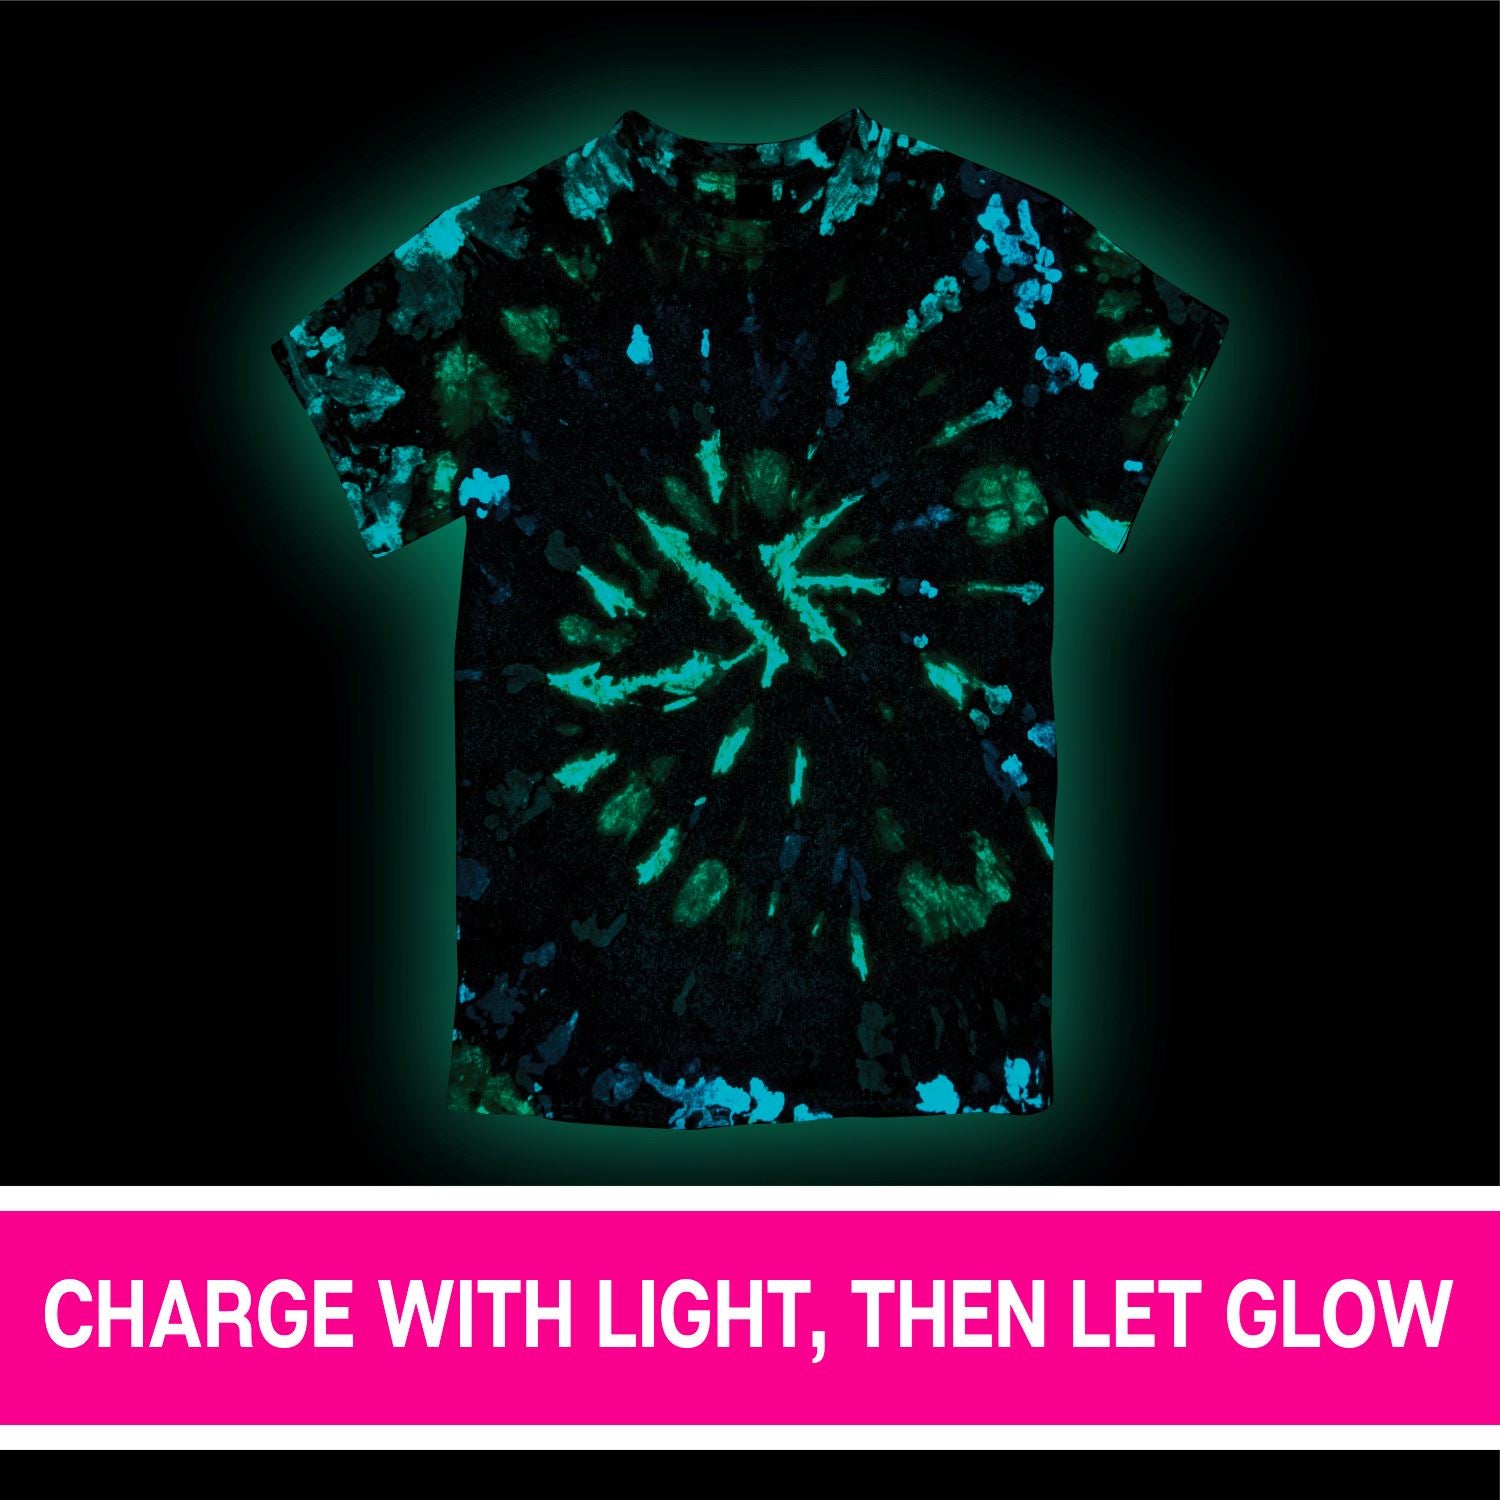
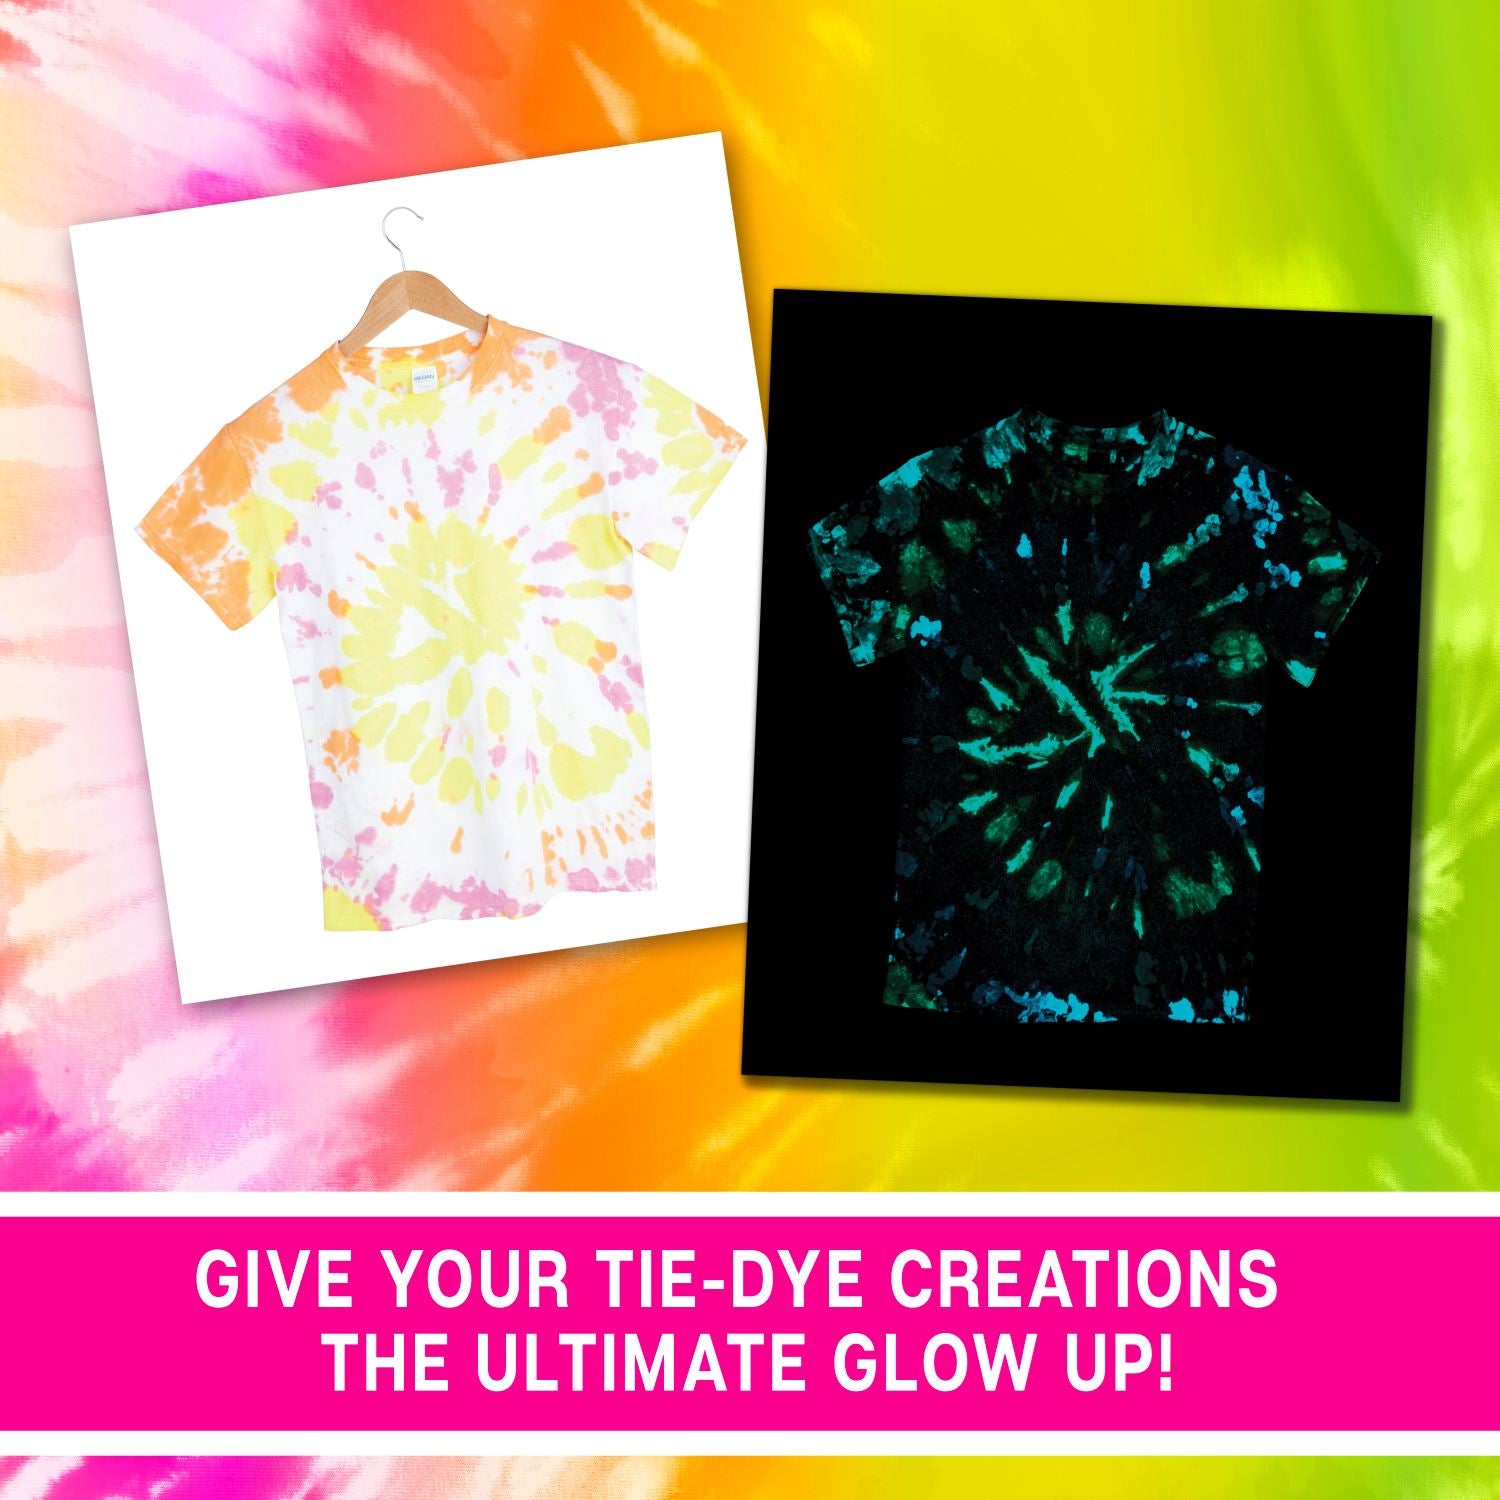
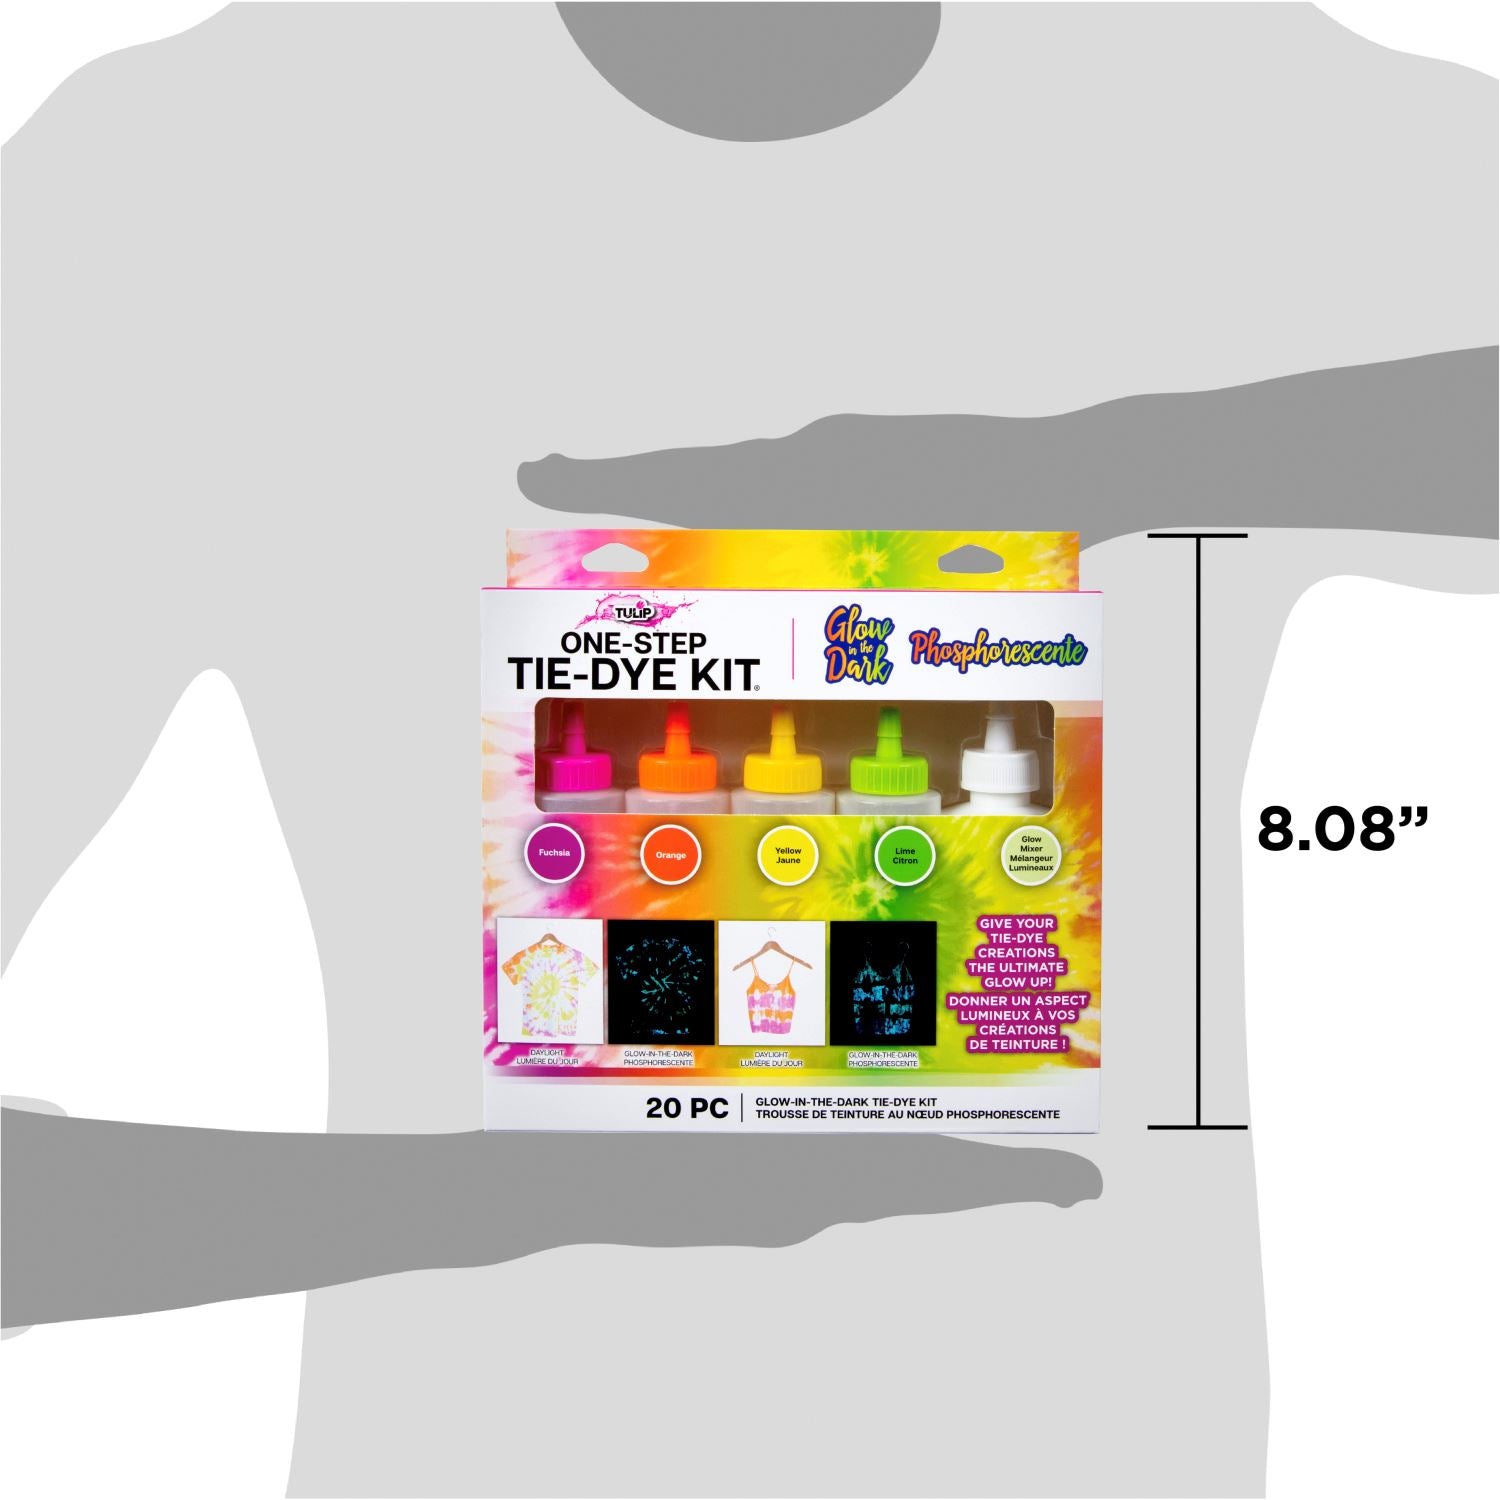
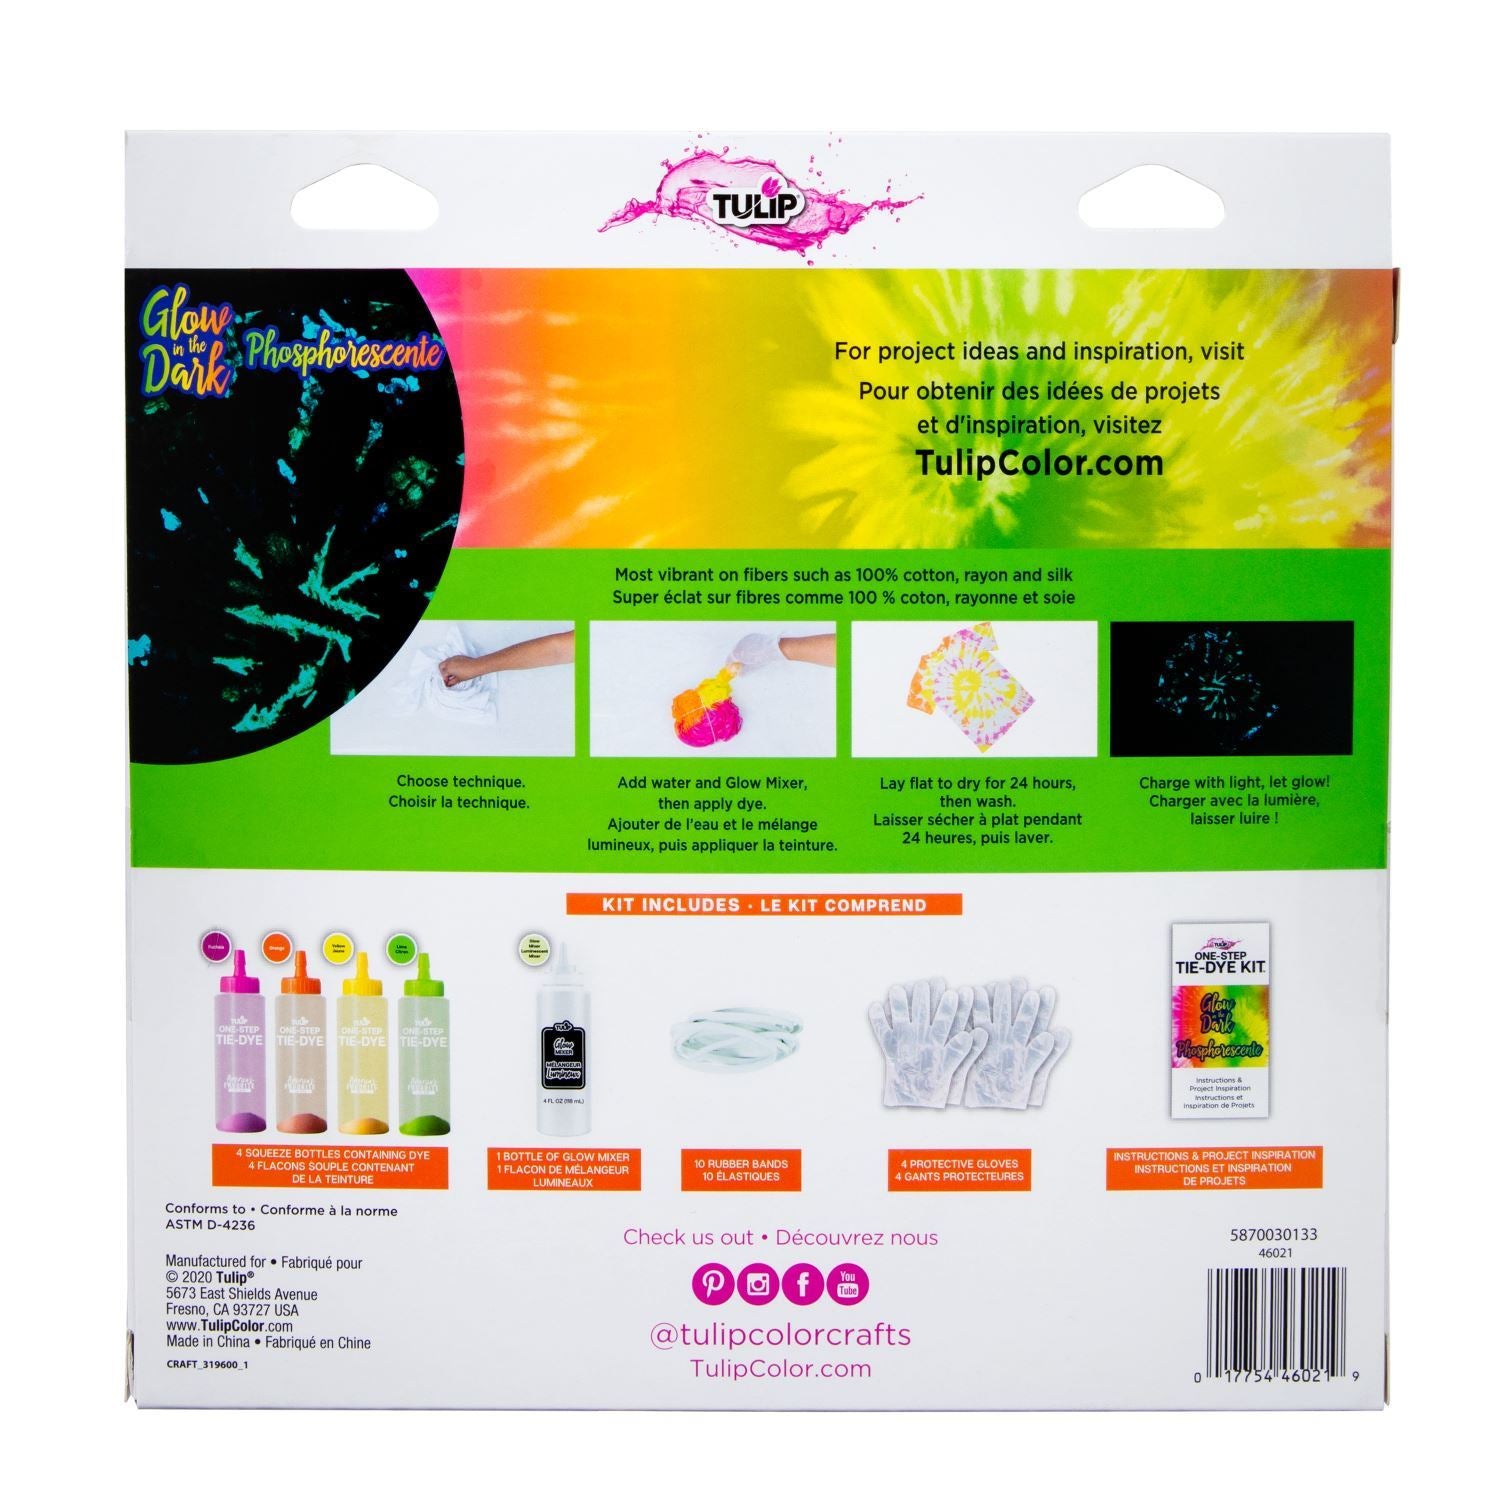
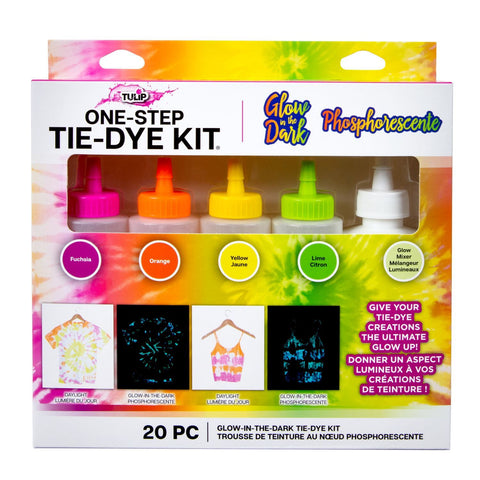
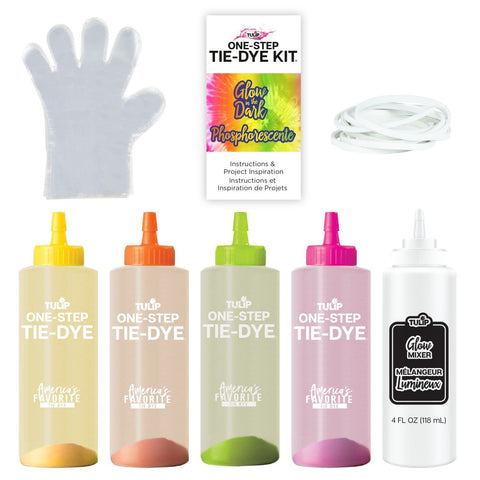
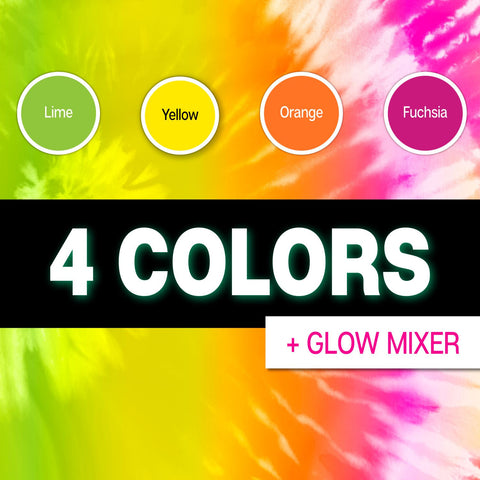
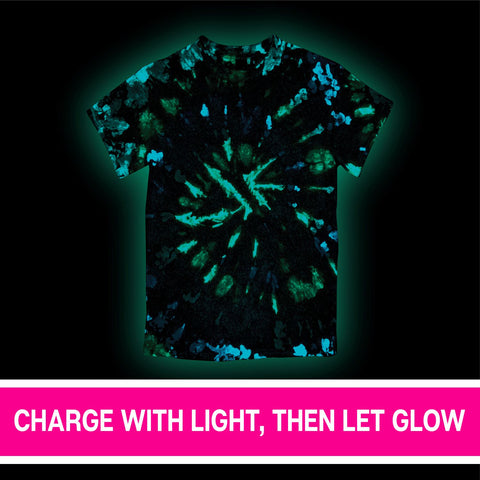
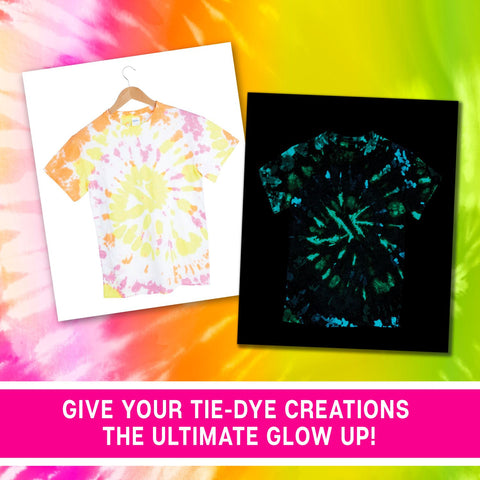
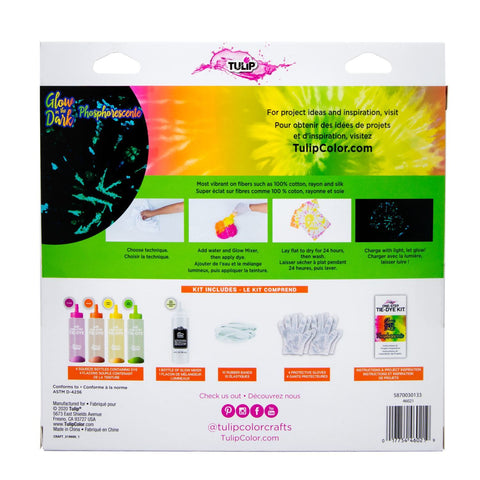
Give your tie-dye creations the ultimate glow up with the Tulip® Glow in the Dark One-Step Tie-Dye Kit®! This unique, easy-to-use tie-dye kit comes with the tools and special instructions you need for your colorful glowing tie-dye experience. Stocked with 4 bottles of electric coordinating One-Step Dyes (fuchsia, orange, yellow and lime) and a special Glow Mixer to add to your dyes, plus rubber bands, gloves, and a glow tie-dye instruction & inspiration guide. This kit is ready to add bold color to your wardrobe with glowing designs you can mix & match with each other and your other tie-dye creations. Glow pigments can be charged with sunlight or indoor lighting.
• Great for parties
• Includes special glow mixer to make dyes glow
• Makes a great gift!
How To Use
x1.) Prewash garment at the regular Warm Wash Setting and tumble dry on the Low Heat Setting.
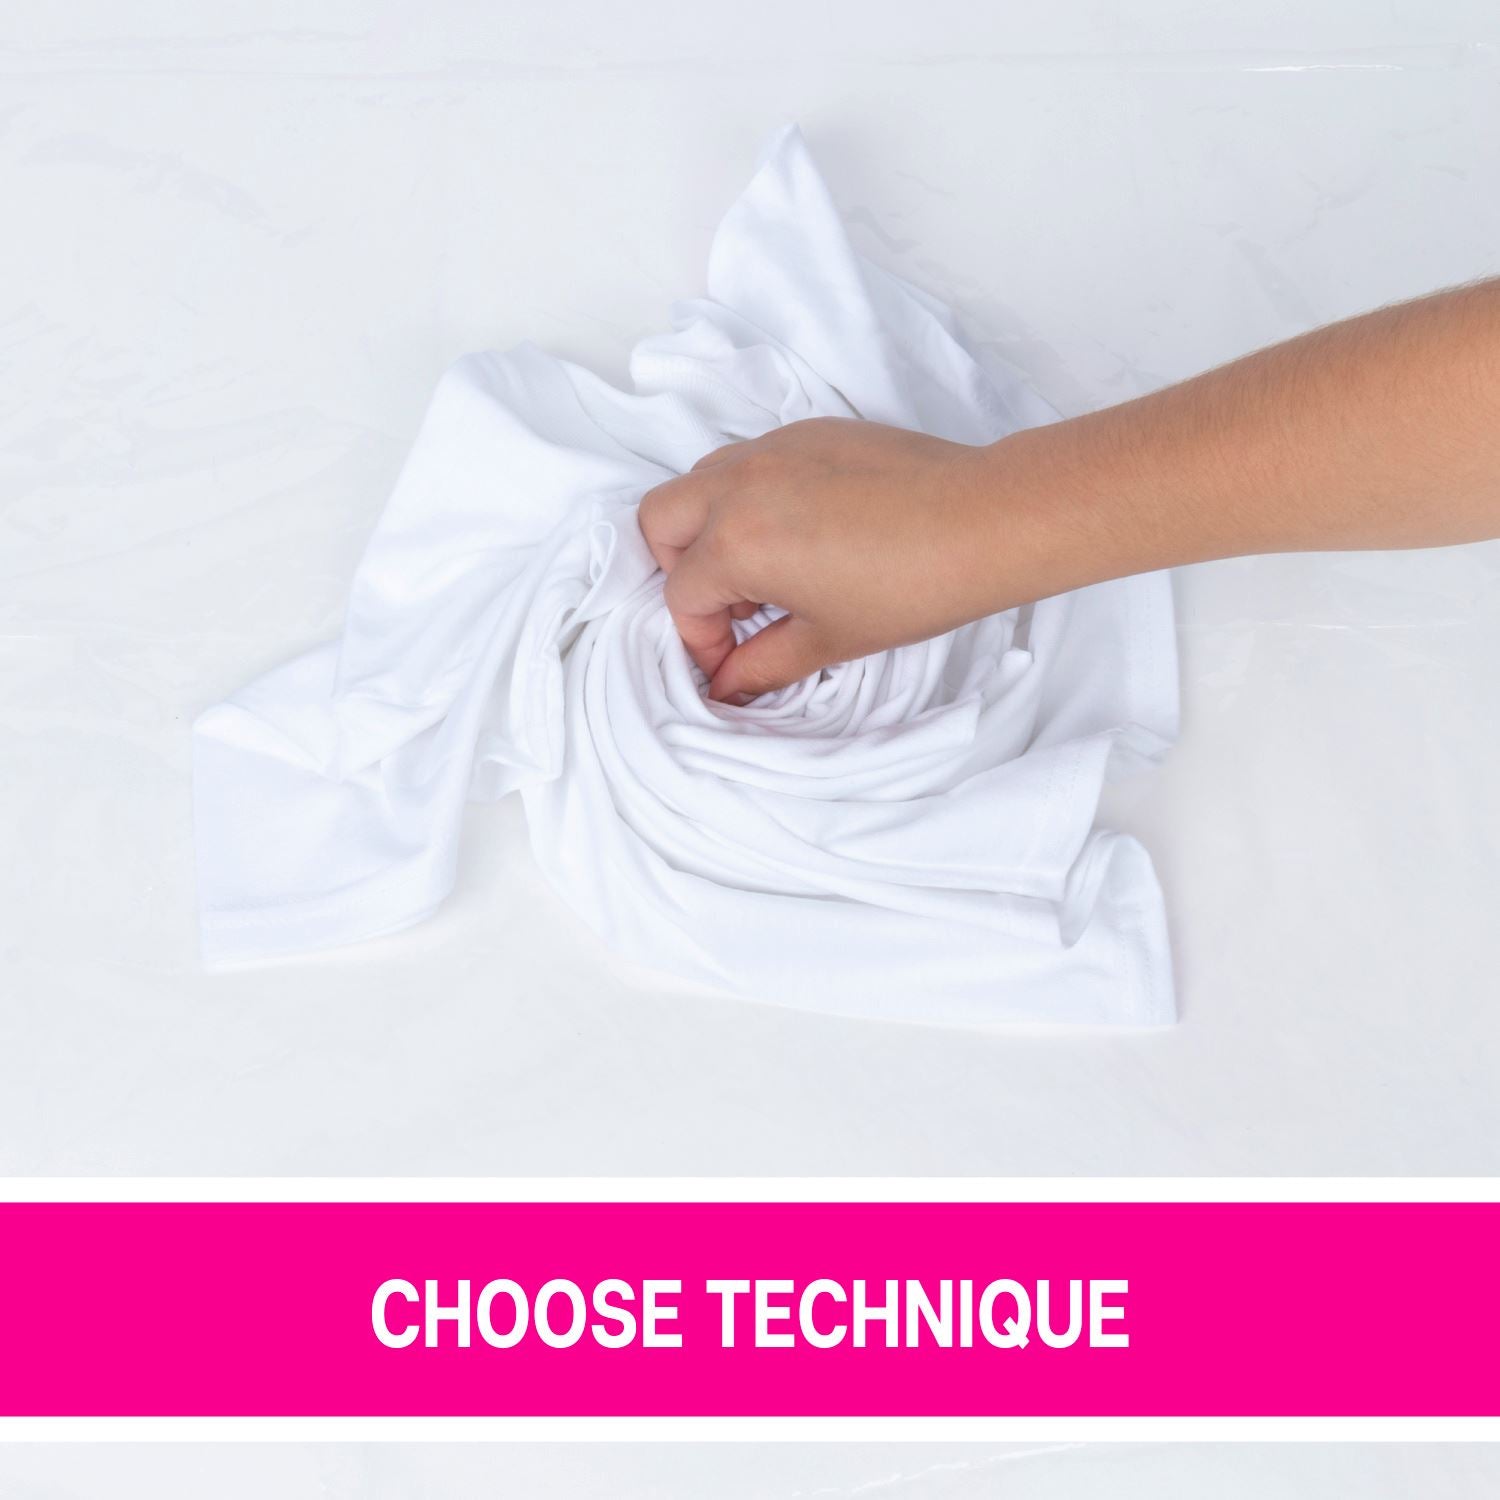
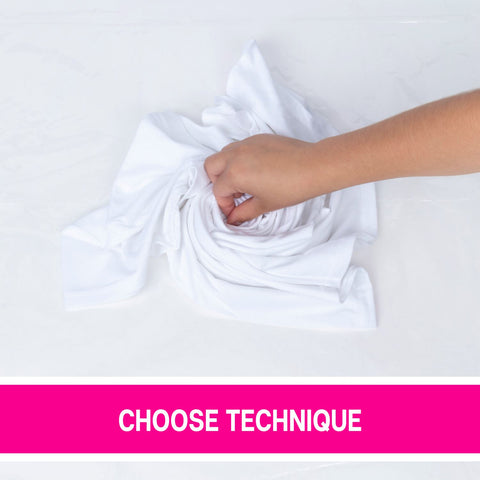
CHOOSE TECHNIQUE
2.) See reverse side for technique. Follow the instructions for folding and binding your project. Cover workspace with a plastic liner and fold the dry garment into desired pattern (spiral, crumple, bullseye, etc.) and secure with rubber bands. Note: Glow Tie Dye should be applied on a dry shirt for best results. If using a flat method for dyeing the project (not folding and binding), place a sheet of plastic (such as plastic wrap or a plastic bag) between the layers of the garment to prevent the Glow Dye Mixer from soaking through to back side.
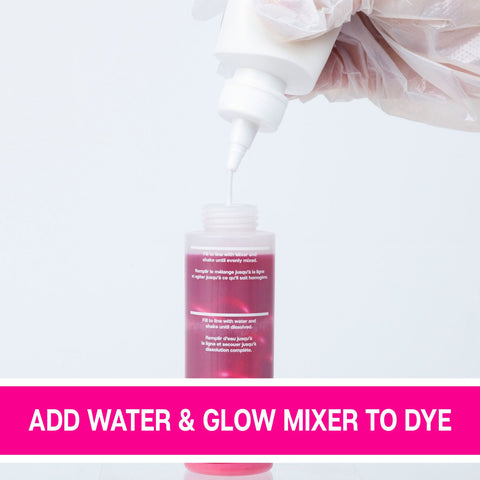
MIX GLOW DYES
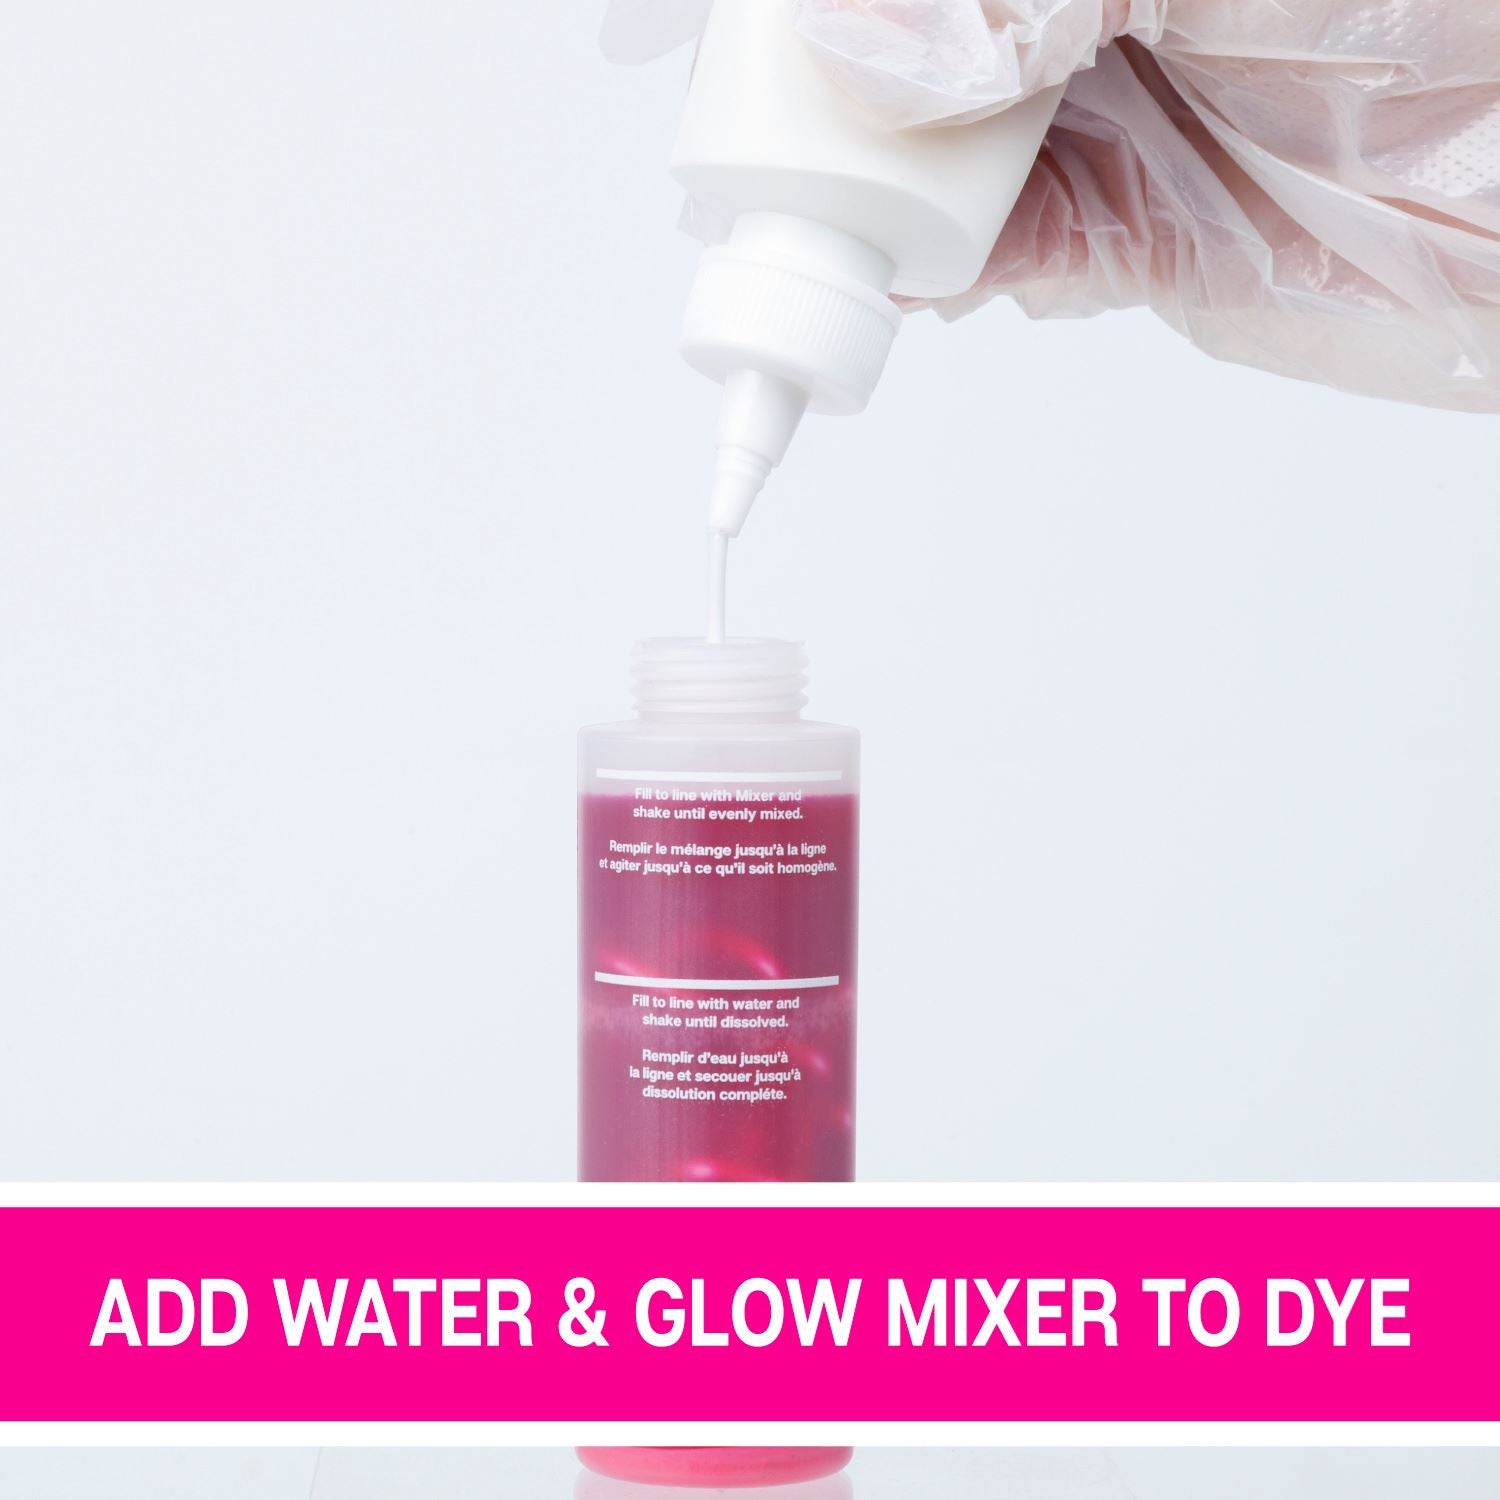
3.) Prepare the dye solutions: Add room-temperature water to each pre-filled tie-dye bottle at the indicated “Water Fill” line (first line on bottle). Reattach the nozzle with cap on and shake vigorously for a minimum of 1 minute or until the dye solution appears uniform. Remove the nozzle/cap again and add the Glow Mixer to the indicated “Mixer Fill” line (top line on bottle). Reattach the nozzle/cap and shake the solution for a minimum of 1 minute. Visually check the glue fill line again and add more Glow Mixer if necessary to meet the fill line. The solution should appear evenly mixed throughout the dye bottle. Pro Tip: It helps to turn the Mixer bottle upside down (with cap on) and tap on a sturdy surface to help extract the remainder of Mixer at the bottom of the bottle.
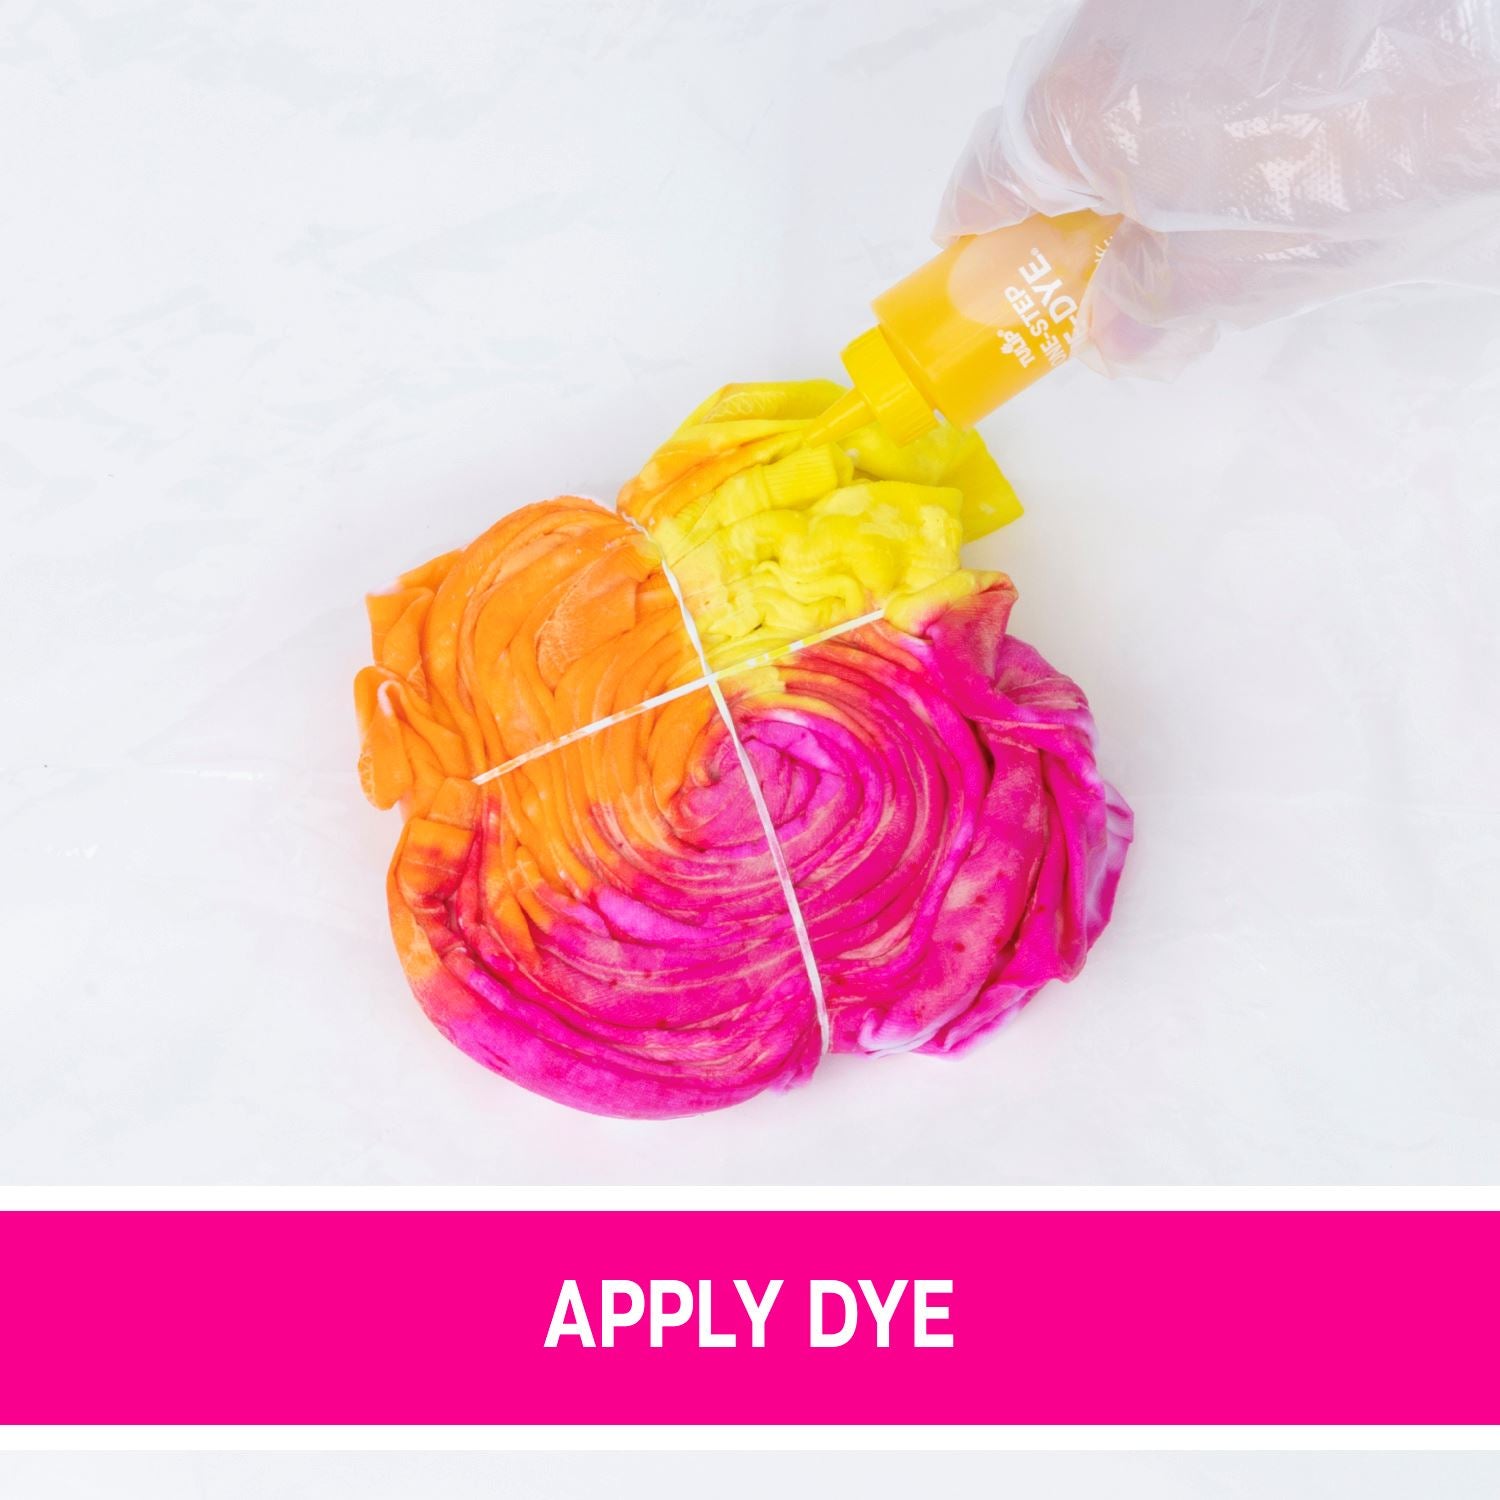
APPLY GLOW DYES
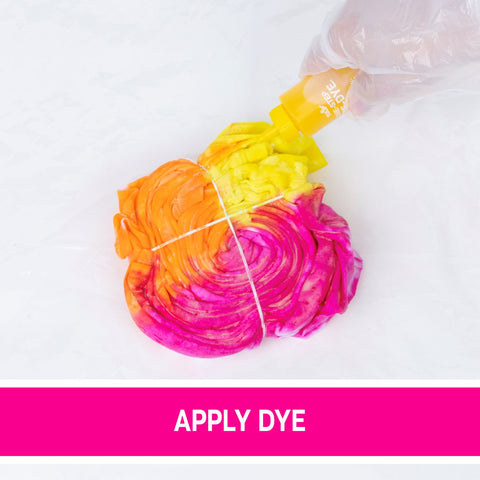
4.) Apply the Glow Tie-Dye solution to the top side of the folded/tied garment, working the tip of the bottle into the fabric folds as you apply the dye. Pro Tip: Use gloved hands to help work the Glow Dye into the fabric as you apply it. This helps it better absorb into the dry fabric fibers. Flip the project over and repeat applying Glow Tie Dye on the opposite side. Note: While applying the dye solution, shake regularly to ensure an even distribution of Glow pigment within the dye.
REVEAL!
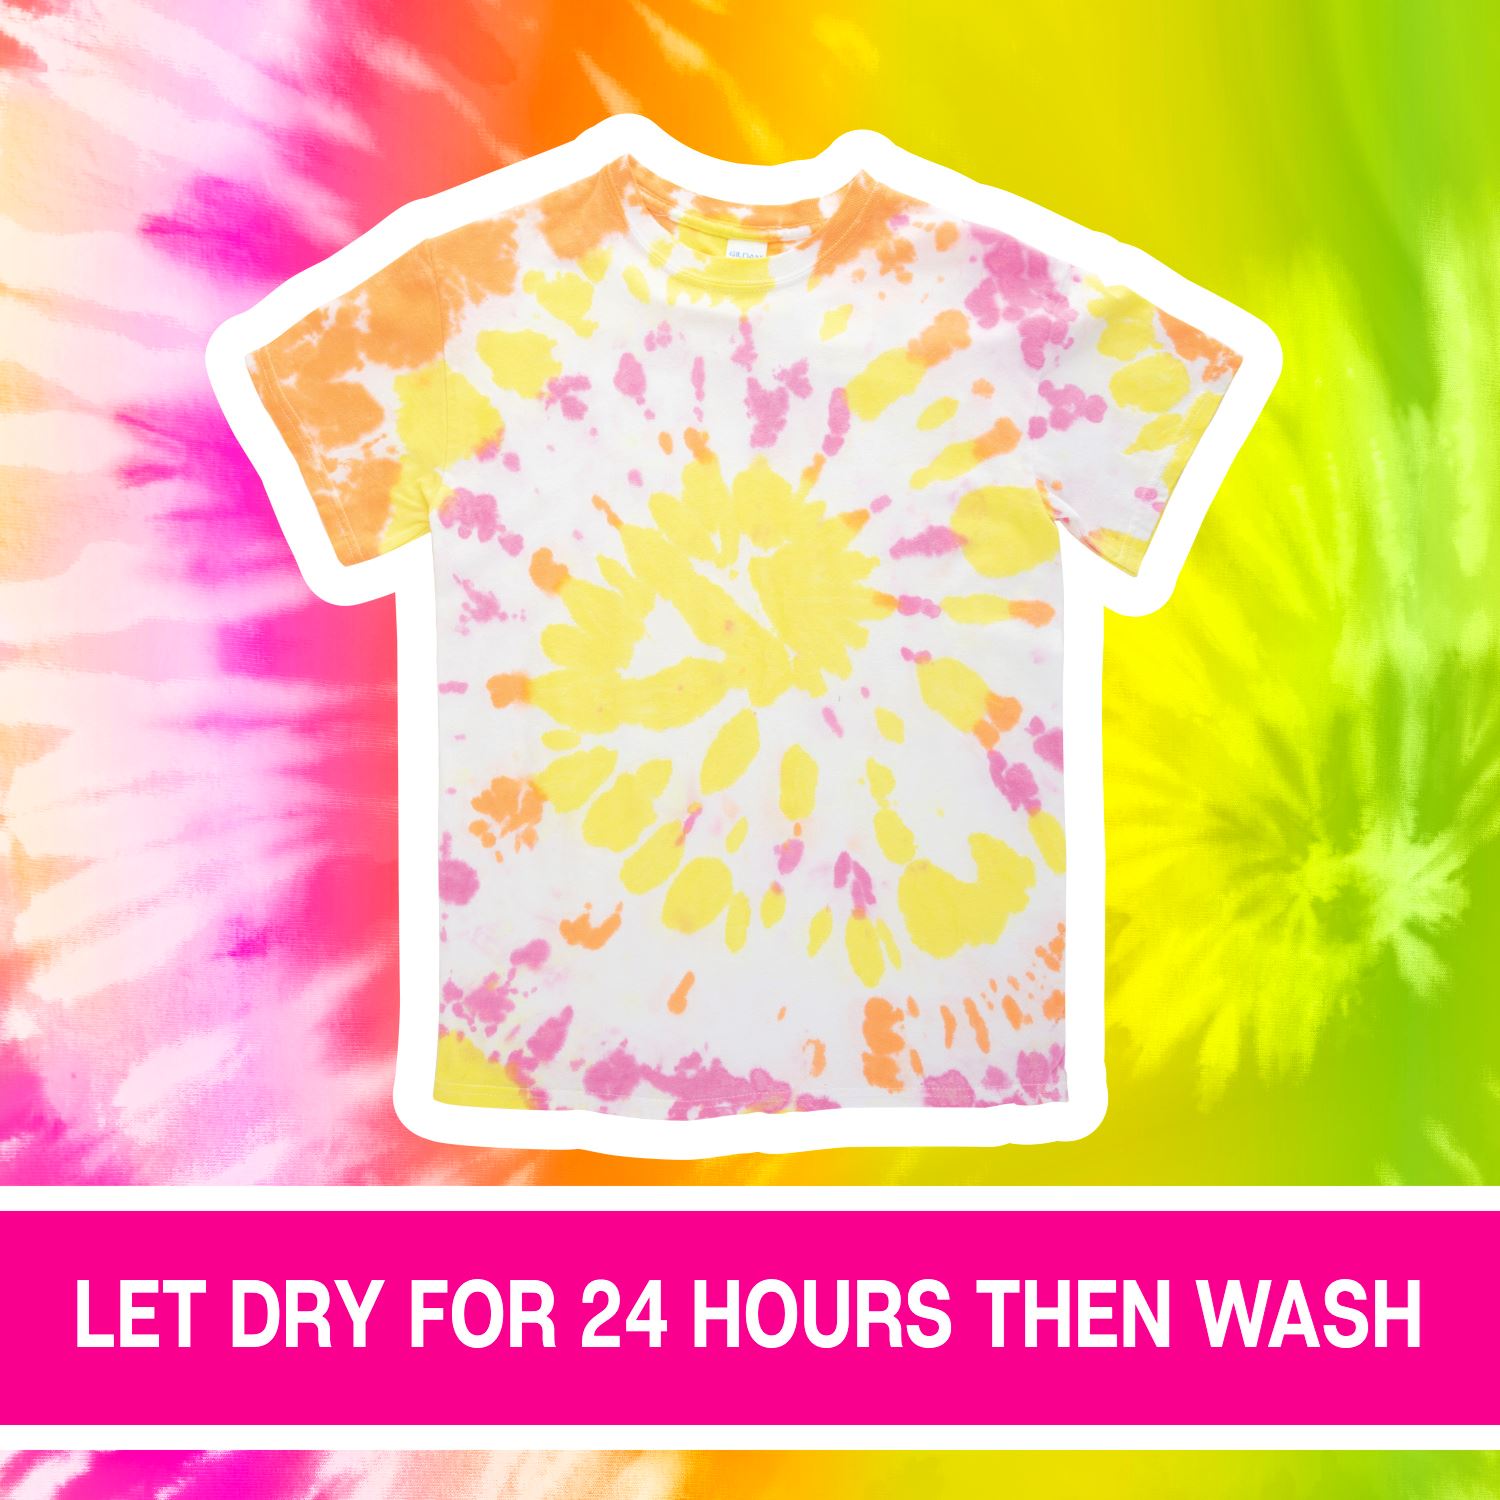
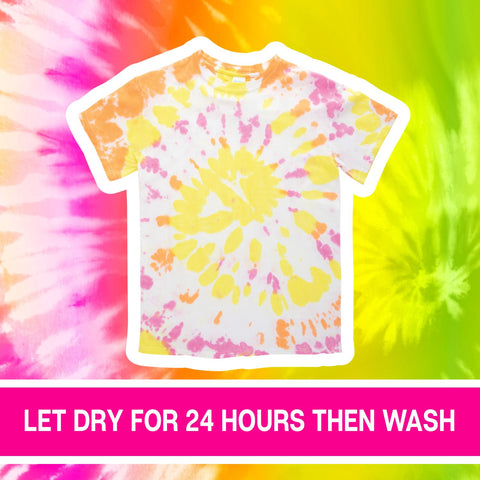
5.) Once all Glow Tie Dye has been applied, immediately remove the rubber bands and unfold the garment. Place on a hanger and hang to air dry for 24 hours or longer for the Glow Tie Dye to completely set.
After allowing the Glow Tie Dye to set for 24 hours or longer, check the garment to ensure it has thoroughly dried. Machine wash with cold water and a mild detergent on the Delicate Setting.
Tips & Tricks
xDimensions
xRelated Products
- $21.99
$21.99- $21.99
- Unit price
- per
- $21.99
$21.99- $21.99
- Unit price
- per
- $21.99
$21.99- $21.99
- Unit price
- per
- $21.99
$21.99- $21.99
- Unit price
- per
- $21.99
$21.99- $21.99
- Unit price
- per
- $21.99
$21.99- $21.99
- Unit price
- per
- $21.99
$21.99- $21.99
- Unit price
- per
- $21.99
$21.99- $21.99
- Unit price
- per
- $21.99
$21.99- $21.99
- Unit price
- per
- $21.99
$21.99- $21.99
- Unit price
- per
- Choosing a selection results in a full page refresh.
