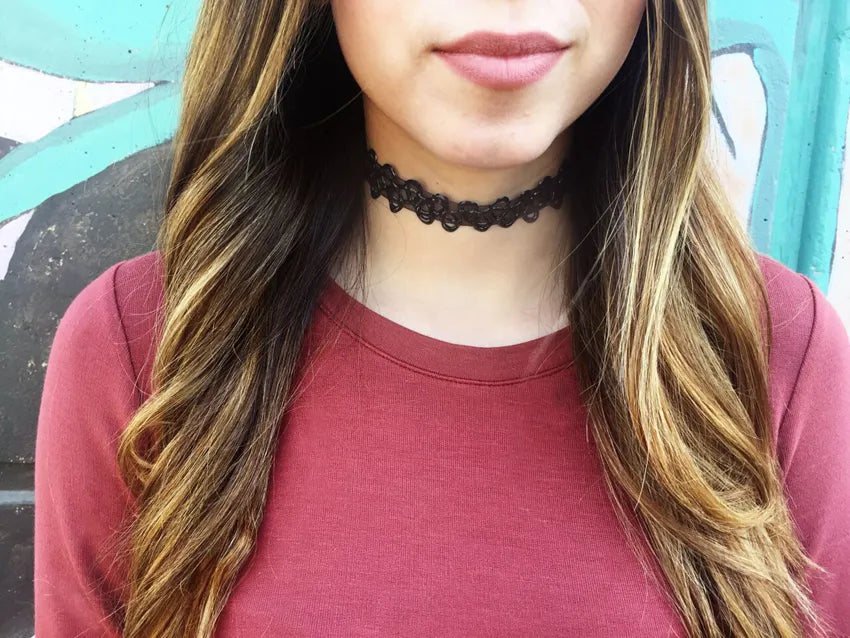
90'S Inspired Choker

Chokers are all the rage right now, and so cute right? But how do you find one that fits your personal style. It’s easy! With a little DIY magic, if you'd fancy making a choker yourself!

What you need:
– Tulip Dimensional Paint in a variety of colors
- Tape
– Ziploc® Gallon Storage Bag
– Printed tattoo choker pattern (Find pattern at the bottom of this post)
- Sheer Ribbon
– Paper towels (for practicing and cleanup)

First, slide the pattern inside the bag and press down on bag to remove as much air as possible and zip bag closed.

Lay the ribbon flat above the pattern and secure the ends with tape.

Remove cap and tap paint on paper towel to remove any air bubbles and try a few practice squeezes on paper towel. Begin by filling the top swirls of the pattern. Allow it to dry for a couple hours. Once it’s dry fill in the bottom half swirls using the same color. And let It dry overnight. Lastly fill in the charm pattern with your desired color let it dry overnight and attach it to choker using a jump ring.
How cute is this choker? It’s easy to stay on trend when you can DIY your choker to fit basically any style.
