


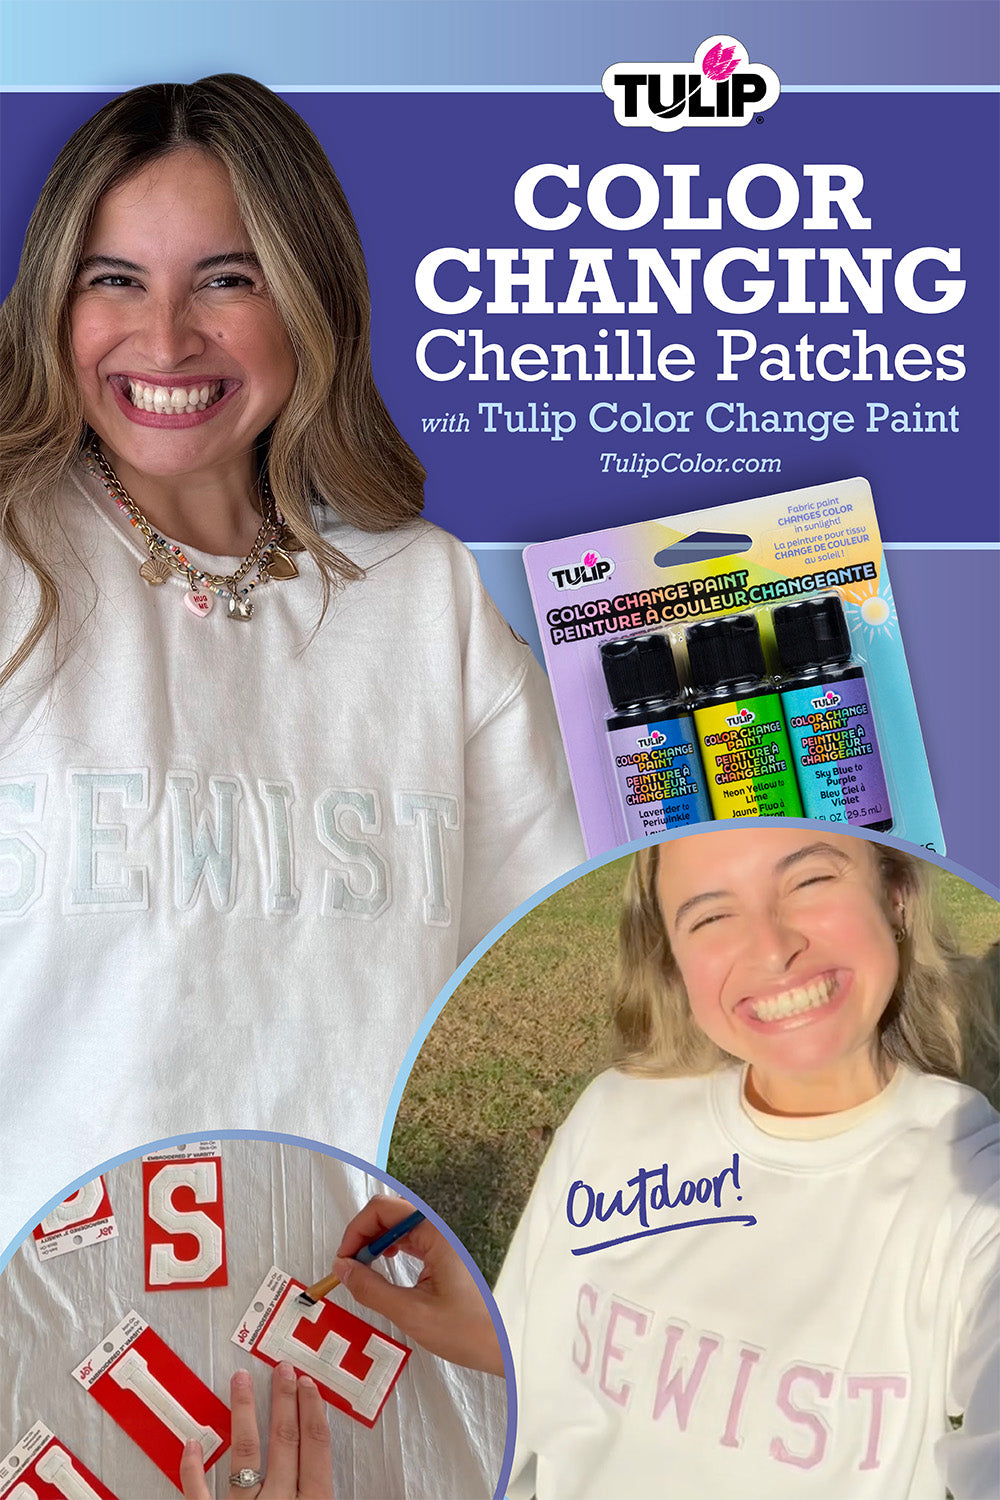
How to Make a Custom Sweater with Color Changing Chenille Patches

- $22.99
$22.99- $22.99
- Unit price
- per
Looking for an easy and unique way to personalize your clothing? Use Tulip Color Change Paint for colorful accents that stand out in sunlight! This tutorial from @alissahthreads will show you how to create a custom sweater with color changing chenille patches using Tulip Color Change Paint.
Supplies Needed:

Self-adhesive chenille patches
Sweater
Paint palette
Paintbrush
Ruler
Protective surface cover
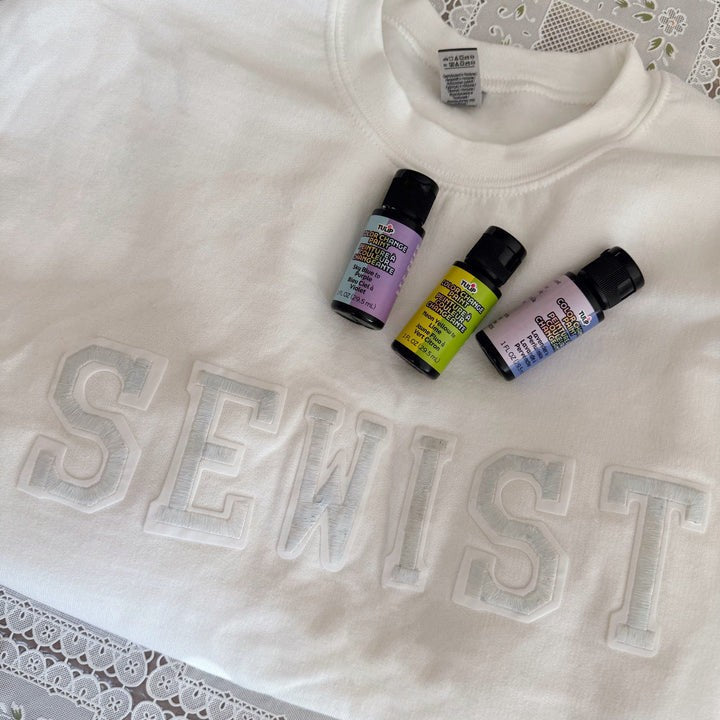
Step 1: Arrange the chenille patches

Cover your work area with a protective surface cover. Arrange the chenille patches onto the fabric to visualize your final custom sweater design! Remove caps and safety seals from your Color Change Paints, replace the caps, and shake paint well.
Step 2: Paint the chenille patches

Pour a small amount of paint onto your palette, then use a paintbrush to apply 1-2 coats to the chenille patches as desired, letting the paint dry between coats. For this project, Alissah is painting the chenille patches with Sky Blue to Purple Color Change Paint. Try using multiple colors to experience the full color changing spectrum— just rinse your paintbrush when switching colors!
Step 3: Place the color changing patches

Allow the color changing chenille patches to dry completely, approximately 4 hours or longer for thicker applications of paint. Place a ruler onto your sweater to ensure the patches are spaced evenly and straight across. Carefully peel the adhesive-backed chenille patches and press into place to personalize your custom sweater!
Step 4: Enjoy the color changing transformation!


Once all the painted patches are placed, your custom sweater is ready to wear!
Take your finished project outdoors and watch the color changing chenille patches transform in the sunlight!
How will you use Tulip Color Change Paint to personalize your wardrobe? Show us your custom color changing creations and tag us on social media @TulipColorCrafts!
Check out these links and get inspired for your next color changing DIY!
