


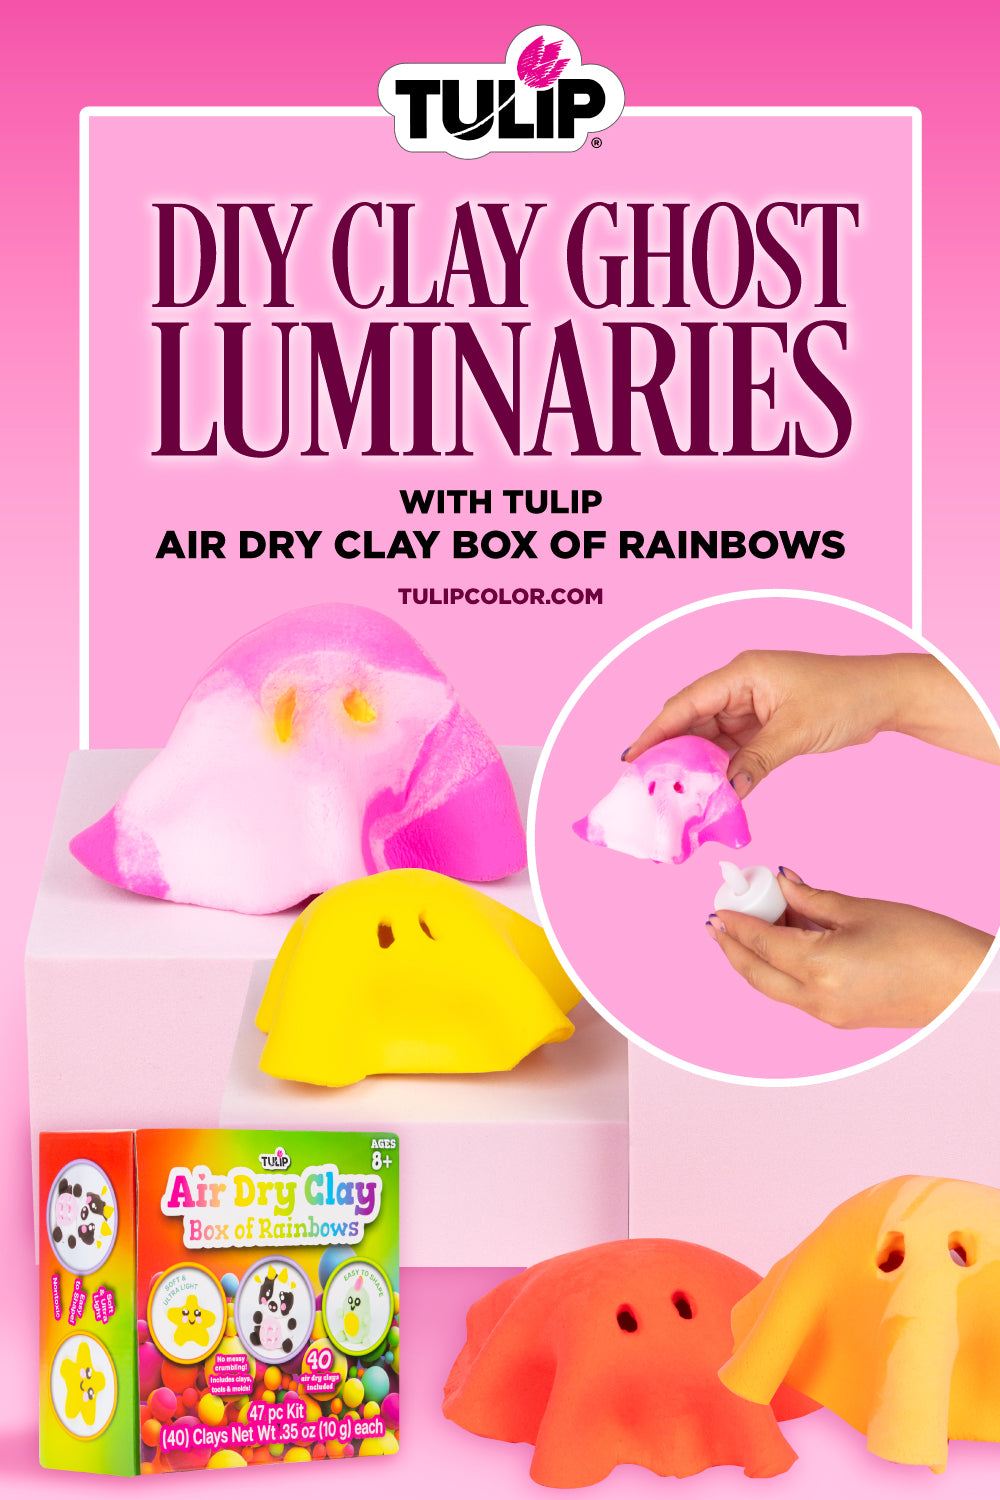
DIY Ghost Décor with Air Dry Clay
Create spook-tacular DIY ghost décor with Tulip! This simple tutorial will show you how to make clay ghost luminaries that are perfect for the Halloween season. Get ready to unleash your creativity and bring these spooky specters to life with just a few simple steps!
Supplies Needed:

Air dry clay
Fine-point sculpting tool (included in the Box of Rainbows) or clay needle
Rolling pin
Small ball
Battery-powered tea light
Step 1: Roll clay together

Select two colors for each clay ghost. Unwrap the clay, then use your palms to roll the two colors together into a ball. Press down on the clay ball to create a round disc.
Step 2: Flatten clay with rolling pin

Use a rolling pin to flatten the clay into a circle ¼ to ⅛ inch thick. The marbled pattern will become more prominent as you flatten the clay!
Step 3: Shape the ghosts

Use a small ball or similarly shaped object, such as a crumpled ball of foil, as a mold for your DIY ghost décor. Place the flattened clay on top of the ball and allow it to drape downward. Shape the clay with your fingers as desired to create a more defined ruffled edge. Once your clay ghost is shaped to your liking, carefully remove the mold from the clay.
Step 4: Carve eyes

Use a clay needle or the fine-point sculpting tool included in the Air Dry Clay Box of Rainbows to carve out eyes for your DIY ghost. You can also carve a mouth for your clay ghost if desired.
Step 5: Repeat, let dry, & display!

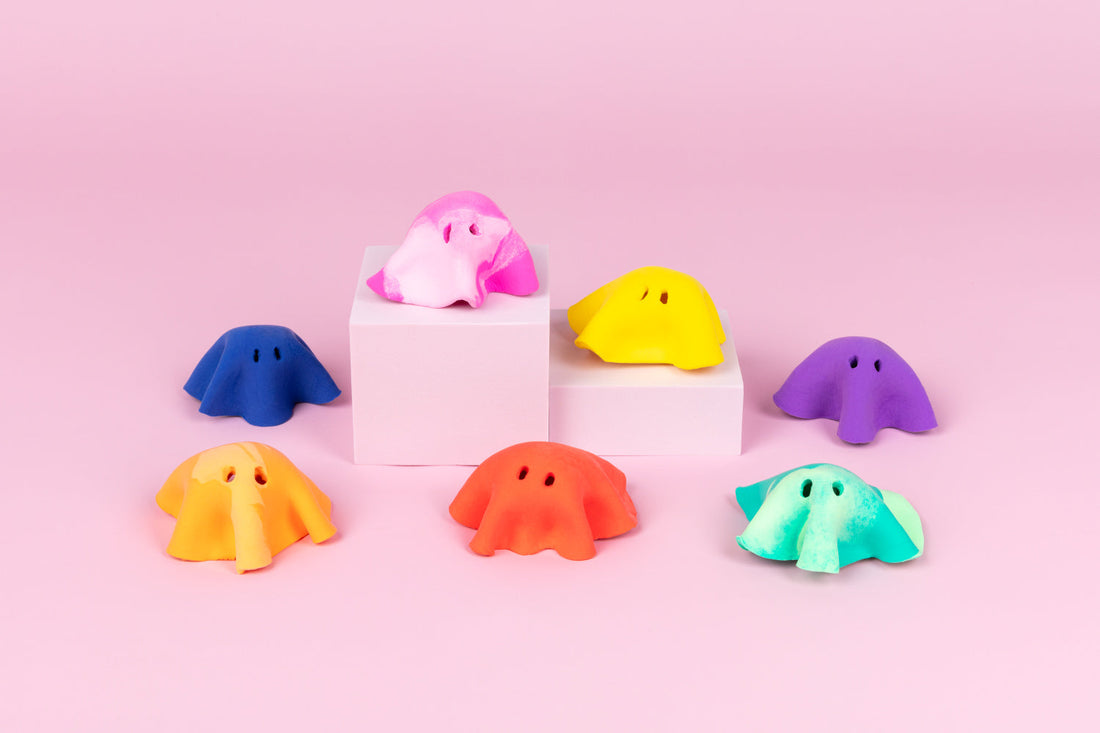
Repeat steps 1 through 4 to create as many clay ghosts as you’d like. Try experimenting with different facial expressions and color combinations to create a fun variety of DIY ghosts. Allow the clay to dry completely, then place a battery-powered tea light under each ghost for an illuminated Halloween display!
Show us how you’re using air dry clay for your Halloween DIYs and tag us on social media @TulipColorCrafts!
Check out these links and get inspired for your next project with Tulip!