


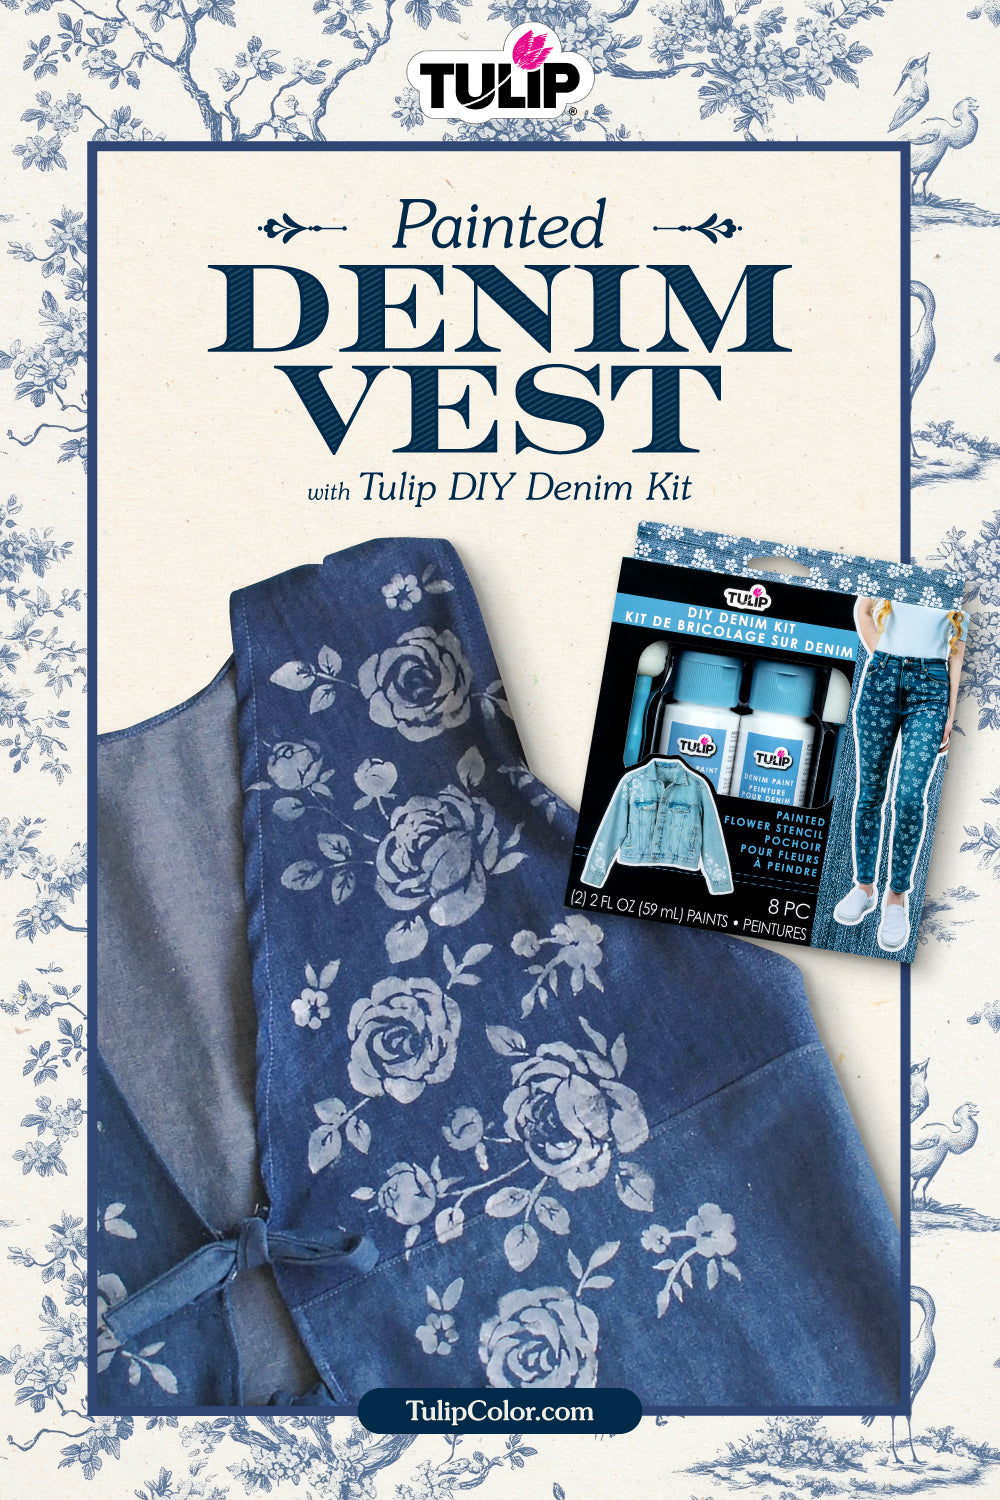
Easy Painted Denim Vest with the DIY Denim Kit
Create your own custom painted denim vest with the Tulip DIY Denim Kit! This easy-to-use kit has just about everything you need to transform plain denim with whimsical floral patterns. Check out @trashtocouture’s step-by-step tutorial and learn how to add personal style to your denim with Tulip!
Supplies Needed:

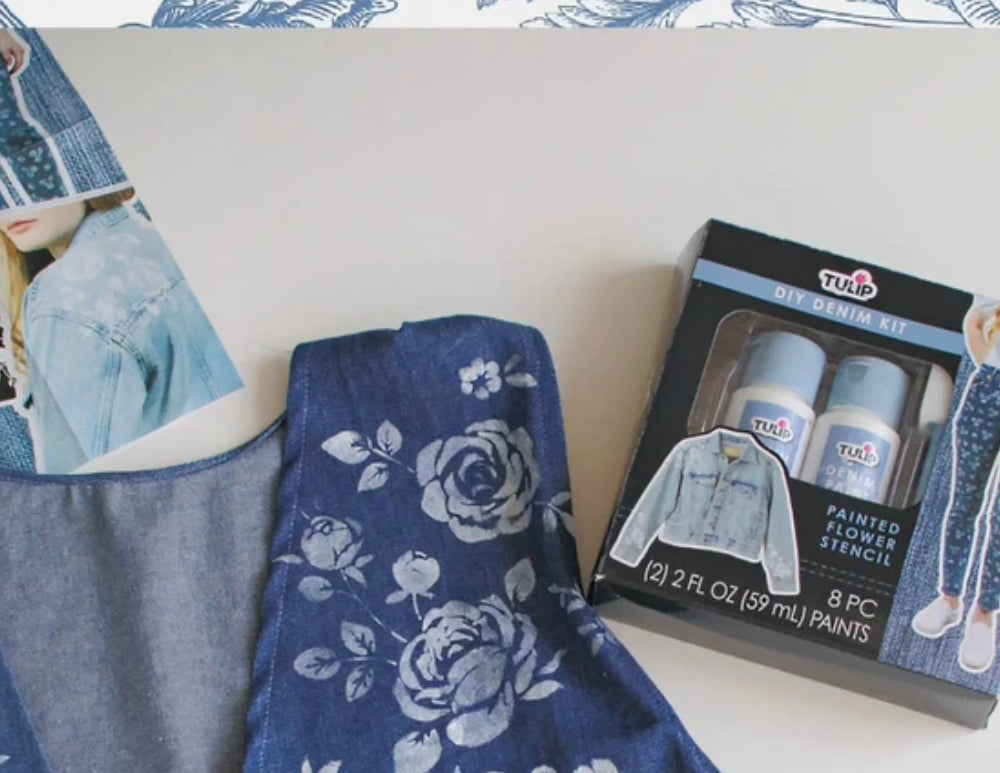
Tulip DIY Denim Kit
Denim vest
Cardboard or plastic
Paper plate or paint palette
Step 1: Prepare the denim vest for painting

Prewash and dry your denim vest without fabric softener, then lay it flat on your work surface. Place a piece of cardboard or plastic between layers of fabric to prevent paint from seeping through. Pour a small amount of denim paint onto a paper plate or paint palette.
Step 2: Place stencil onto denim vest and apply paint

Place the stencil in your desired position on the denim vest. Dip the sponge pouncer into the denim paint, then apply to the denim vest through the stencil openings. Apply one to two light coats of paint, letting the paint dry between coats.
Step 3: Remove stencil, reposition, paint, and repeat

Carefully remove the stencil from your denim vest while the paint is still wet, place in a new location, and apply paint with the sponge pouncer. Repeat this process to add a floral pattern to your denim vest as desired.
Step 4: Touch up the painted denim vest as needed

Use the included paintbrush to touch up your painted denim patterns as needed. For even more personalization, paint your denim vest with freehand designs!
Step 5: Let dry and enjoy!

Once your painted denim is completely dry, it is ready to wear. This custom denim vest is a great way to show off your personal style!
What kind of painted denim looks will you create with the DIY Denim Kit? Show us your painted denim fashion and tag us on social media @TulipColorCrafts!
Check out these links and get inspired for your next denim DIY!