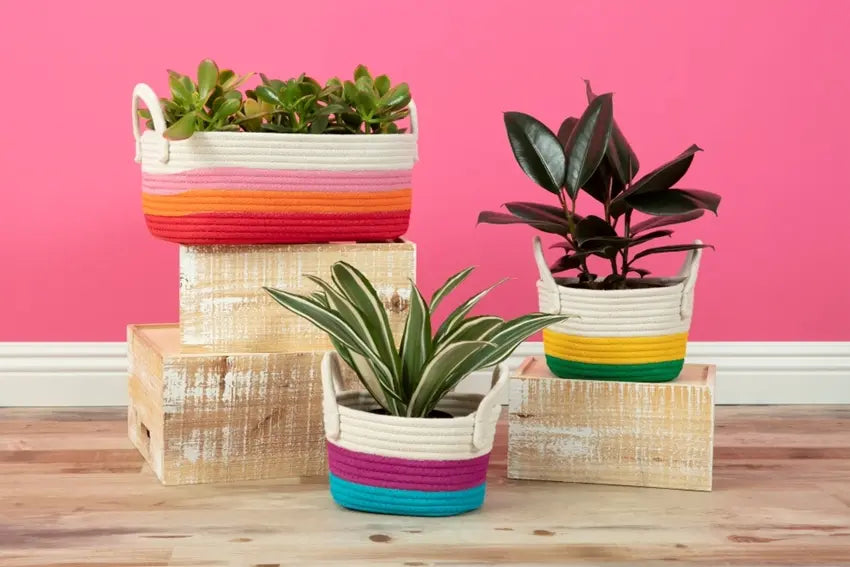
DIY Painted Rope Baskets

By now you might be able to tell that: 1) we love color around here, and 2) we're vibing on this rainbow theme we have going for our craft room makeover - even for accessories like baskets! Baskets are a great way to get organized and they're way prettier to look at than file drawers or basic plastic bins. But of course if we have things our way - and we do in our own studio - we always add more color than what you can usually find in the store. Read on to see how we kicked some simple white rope baskets up a notch with Tulip Brush-On Fabric Paints!
What you need:
- Tulip Brush-On Fabric Paints in colors of choice
- Rope baskets
- Flat paintbrushes
- Water cup for cleaning brushes
- Disposable plastic surface cover
- Ruler

Since we decided to continue with our rainbow theme, picking a paint palette for our baskets was super easy. Can't find the paint color you're looking for? Don't be afraid to mix up your own custom colors! We also recommend using flat-bristled paintbrushes for color blocking like we did because it's easier to create straight lines and lay the paint down smoothly onto the baskets.

We used rope baskets because we liked the look, but you could absolutely do this technique on regular wicker baskets as well. If desired, you can use a ruler to measure and mark off sections before you paint, or you could just wing it if that's more your style!

Tip: If you're a super perfectionist, you can mask off each color blocked section with painter's tape, letting dry before you add your next color. Brush on as many coats as needed for your desired opacity. Tulip Soft Paints are very opaque and will even work on dark fabrics!

Now we have a set of baskets that brighten up our space and are functional too! Feeling inspired to get organized yet?!
