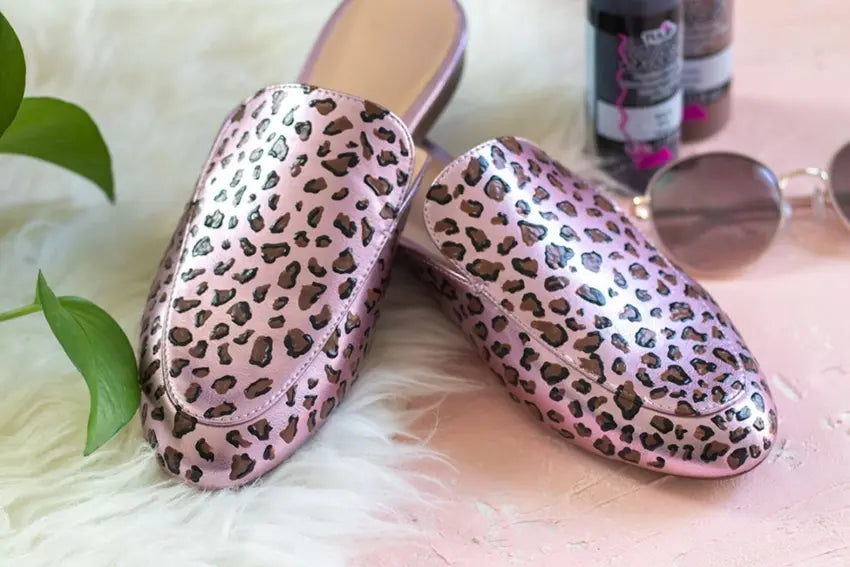
Easy DIY Leopard Print Shoes

If you’re a fan of Pinterest (as most DIYers are), you’re probably hit with fashion inspo every single day. One style that’s been particularly in is the comfy slide that comes in so many different varieties; there’s the classic black look or the chic shoe lined in fur, just to name a few. And since leopard print is also back in a big way this year, you can't go wrong with a pair of leopard print slides that are guaranteed to go with every outfit! You can definitely snag a pair on discount, or just grab a pair from your closet that needs a makeover and check out this easy DIY leopard print tutorial from Holly at Club Crafted using Tulip Puff Paint. You'll see that this easy technique can be applied to any shoe that you desire!
What you need:
- Tulip Puff Paint
- Shoes

First, you’ll need to grab your brown Tulip Puff Paint and get to work! The initial shape should be very natural looking and easy to do - splotches if you will. Feel free to get experimental and try different shapes and sizes.

While your brown paint is still wet, you can get started on the black paint. Simply partially outline the brown shapes to start formulating the cheetah print. Do not trace the entire shape, just a random selection. Before you know it, you’ll start recognizing the leopard print pattern.

From there, repeat the above steps on both shoes to complete your unique animal print design.
DIY leopard print shoes are one of the easiest ways to completely change the look of a shoe. Now that you’ve done it to shoes, what else will you spot up? A bag? A clutch? Don’t shy away from experimenting!


