Easy Ice Cream Cone Costume Tutorial

Take a break from scary this Halloween and wear something sweet instead! There's no trick to wearing this treat of a costume created with Tulip Dazzling Glitter Paints and a simple white dress. Holly from Club Crafted shows you how to make this Ice Cream Cone Costume for an easy way to sprinkle some fun on your Halloween festivities.
What you need:
- Tulip Dazzling Glitter Paint
- White dress
- Brown kraft paper
- Ruler
- Brown marker
- Scissors
- Tape
- String
- Hole punch
- Freezer paper/wax paper

Lay your clean dress out flat on your work surface. Tip: you can insert a piece of freezer paper or wax paper inside of your dress to help prevent any paint potentially soaking through the fabric to the backside. Use different colors of Dazzling Glitter Paint to create sprinkles all over the top half of dress, tapering off as you get towards the bottom of dress. Let dry completely once you have finished adding paint.

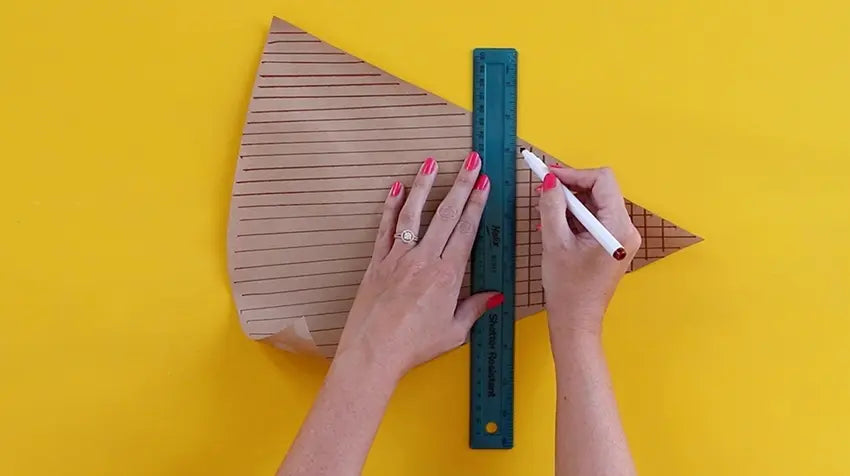
Cut a large triangle from brown kraft paper and use your ruler and a brown marker to create crisscross lines over the entire triangle. This will create a waffle cone effect.

Roll the triangle into a cone shape (design outward) and tape along edge to hold in place, trimming edges and the bottom of cone to perfect the shape and so it sits flat. Make sure to tape on the inside as well for an extra secure hold.

Punch a hole on each side of the cone and tie each end of a string through the holes to create a way to hold the cone hat on your head. Tip: first measure the amount of string you'll need for a secure fit around your face, trimming as needed before tying to hat.

And that's it! Just a few simple steps to making your own DIY Ice Cream Cone Costume for a sweet spin on Halloween.
