


Embrace the Warm Weather in Style with a DIY Ombre Tie-Dye Sundress

Dive into warm weather fashion with a standout piece that's as cool as it is stylish! This step-by-step guide, inspired by the creative Tabitha Sewer, showcases how to use the Tulip Retro Brights One-Step Tie-Dye Kit to craft a vibrant and eye-catching ombre tie-dye sundress. Ideal for those sweltering summer days, this dress is not only a fashion statement but a breezy solution to beat the heat. Let the dynamic hues of the Retro Brights kit infuse your summer with color and fun!
Essentials for Your Tie-Dye Creation:
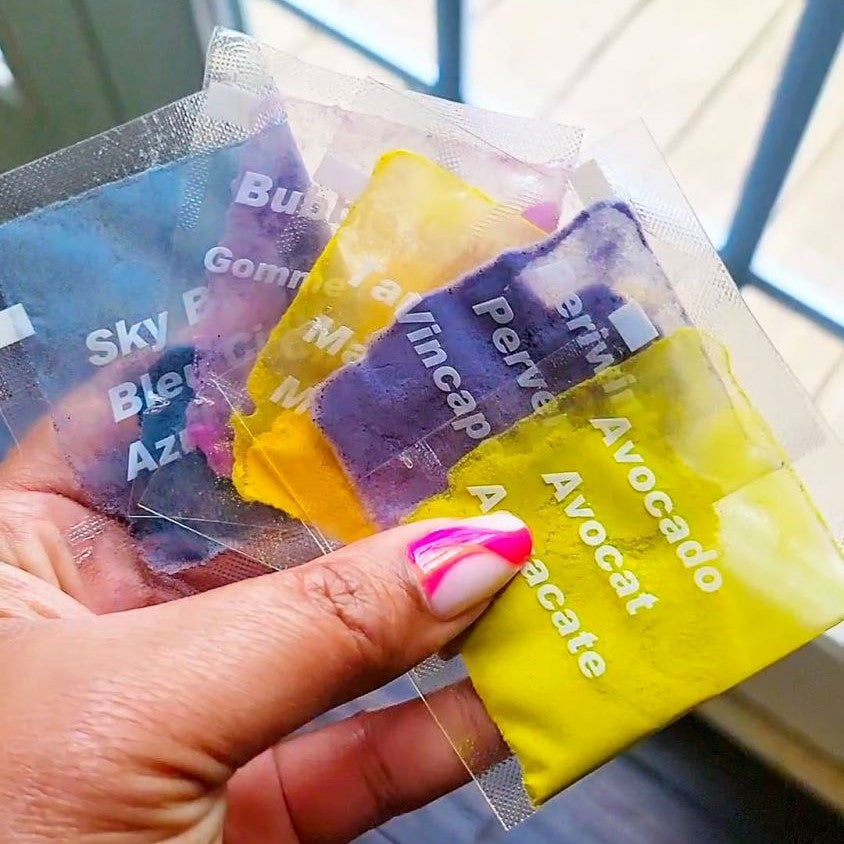
- Tulip Retro Brights One-Step Tie-Dye Kit
- A white or light-colored sundress
- A spray bottle or paintbrush
- Water

Step 1: Prepare Your Dress
Start with prewashing your chosen sundress to ensure the dye takes well. Keep it slightly damp. Lay the dress flat on a protective surface and apply accordion pleats vertically. Secure these with rubber bands, creating five evenly spaced sections, prepping your canvas for a splash of color.
Step 2: Mix Your Dyes
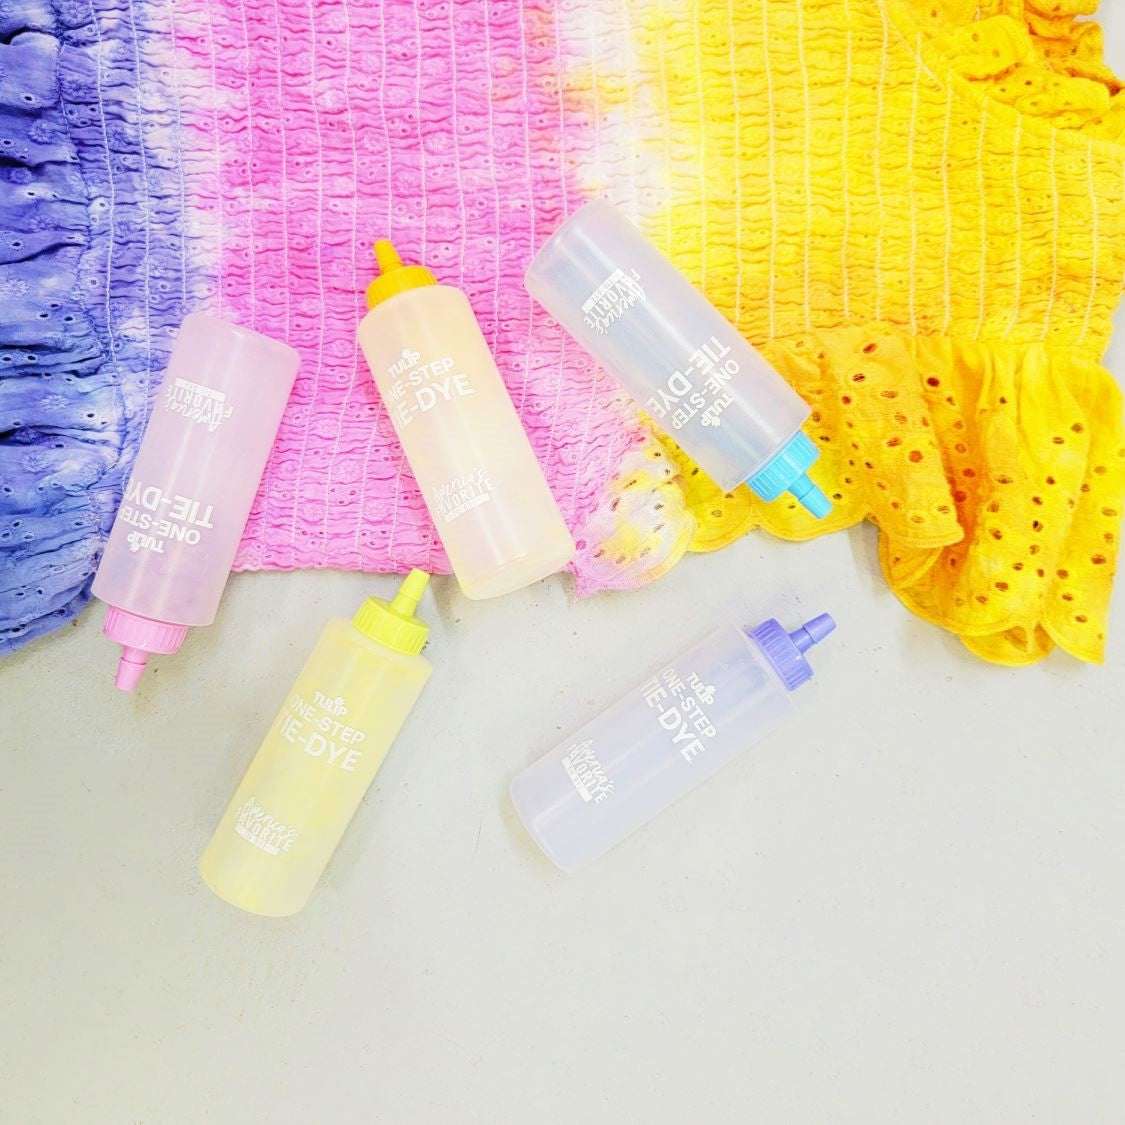
Follow the instructions included in your Tulip Retro Brights One-Step Tie-Dye Kit to mix your vibrant dyes. For this project, unleash the full spectrum of the kit’s five colors to bring your sundress to life!
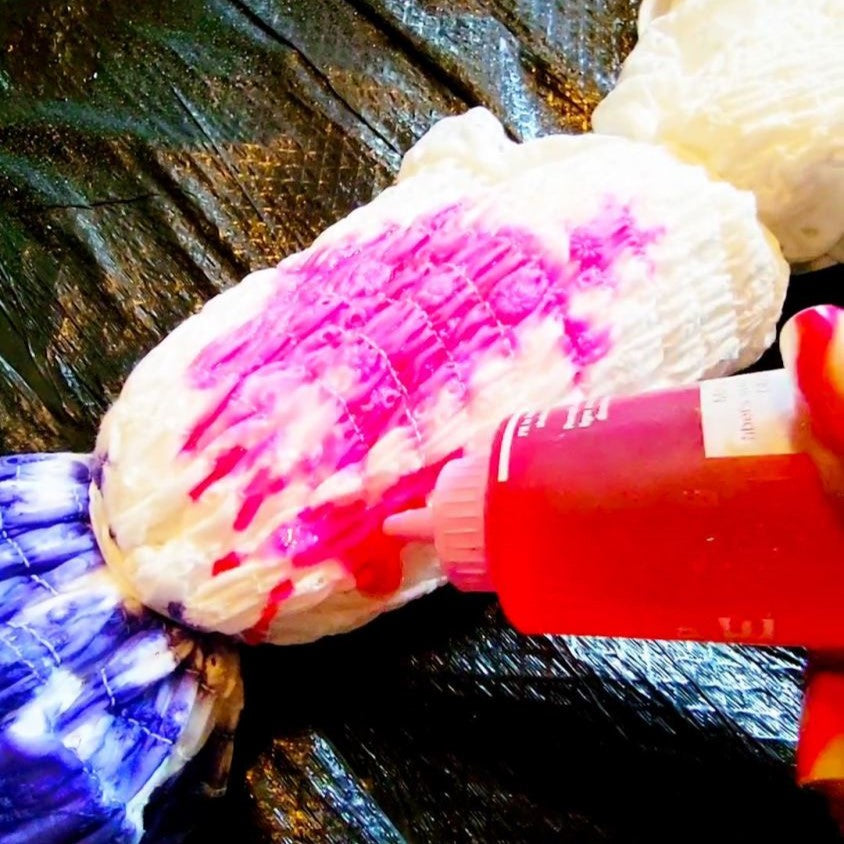
Step 3: Apply the Dye
For a stunning ombre effect, apply a different dye to each section of the dress. To blend the colors seamlessly, use a spray bottle filled with water at the edges of each color. Alternatively, after dye application, you can remove the rubber bands, lay the dress flat, and employ a paintbrush and water to soften the transitions between hues.
Step 4: Set the Color
Encase your dyed dress in a plastic bag or cover it with plastic wrap to keep it moist. Allow the dye to set for 6 to 8 hours, or leave it overnight for deeper color saturation. Following the setting time, remove any rubber bands and wash the dress as per the dye package instructions.
Your DIY ombre tie-dye sundress is now ready to make its debut in your summer wardrobe!

We're eager to see your take on this summer fashion DIY! Share your ombre tie-dye creations with us on social media using @TulipColorCrafts and inspire your fellow crafters with your vibrant summer style.