


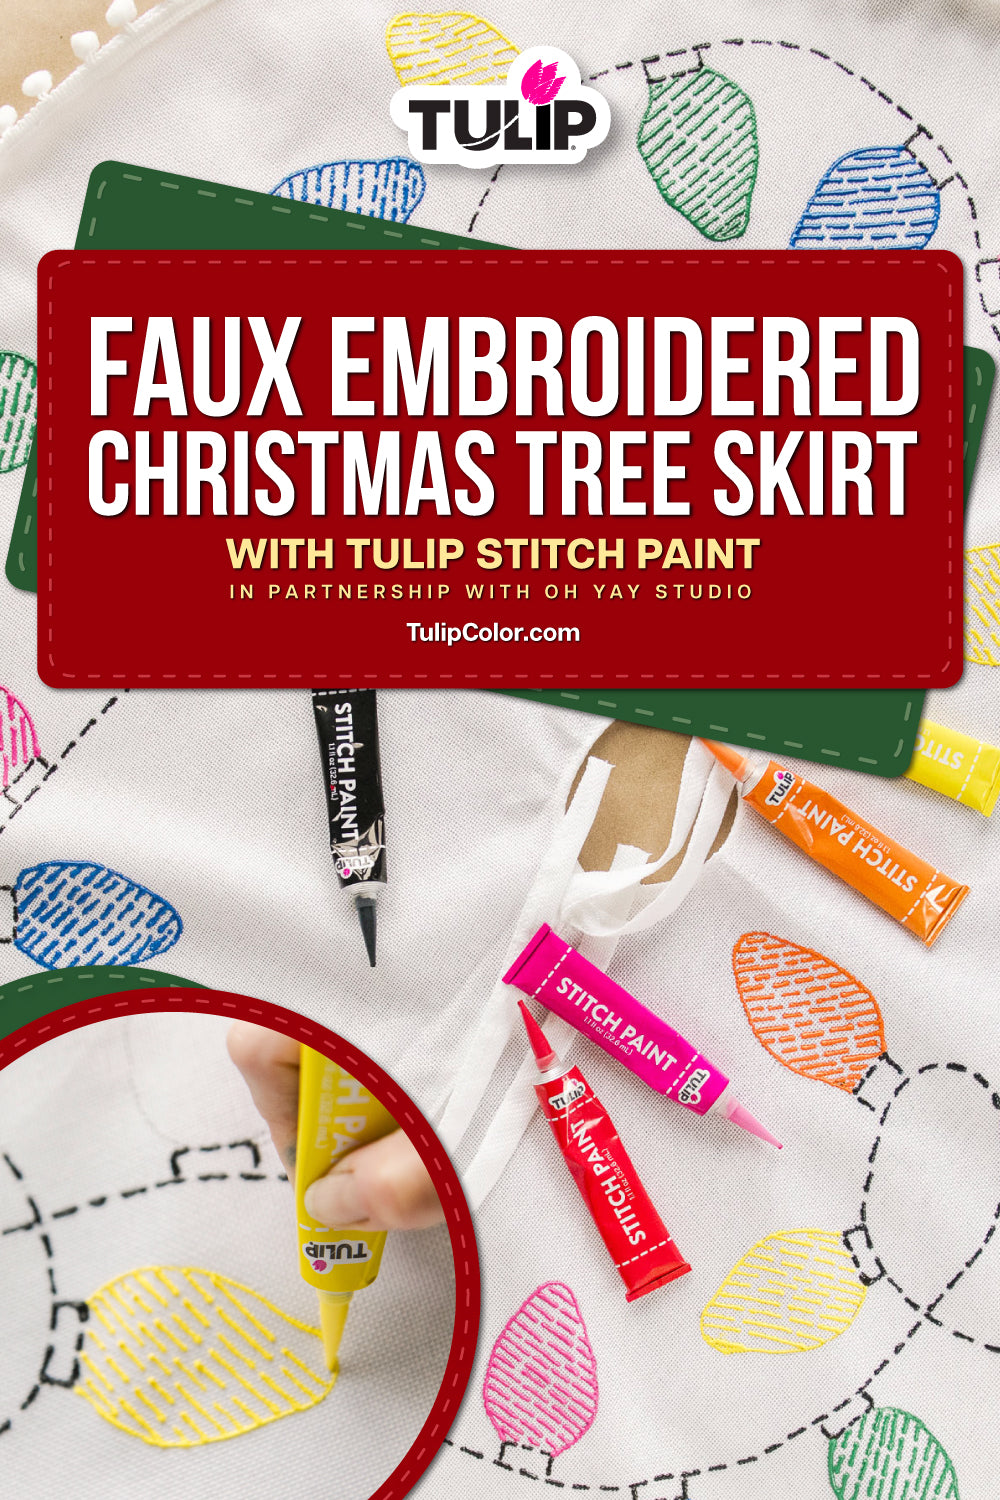
Faux Embroidered Christmas Tree Skirt with Stitch Paint
Elevate your DIY Christmas décor with Tulip Stitch Paint! This tutorial from Oh Yay Studio will show you how to use Stitch Paint to create a faux embroidered Christmas tree skirt with a colorful holiday lights pattern. This easy-to-use-paint features a precision applicator tip, making it perfect for creating detailed cross-stitch inspired designs on your DIY tree skirt— no needle and thread needed!
Supplies Needed:
Tulip Stitch Paint Positivity 8 pack
White or light-colored Christmas tree skirt
Pencil
Paper
Scissors
Protective surface cover
Step 1 Create a template for a lightbulb

Cover your workstation with a protective surface cover for easy cleanup and make sure your Christmas tree skirt is clean and dry. Create a paper template for the lightbulbs by folding a piece of paper in half, drawing half of the lightbulb, and cutting the shape out with scissors. This template makes it easy to create festive holiday lights on your DIY tree skirt!
Step 2 Trace the pattern

Lightly trace the template on your DIY tree skirt to create a pattern of holiday lights. Once you’ve finished tracing all the lightbulbs on your Christmas tree skirt, draw a continuous line as a “cord” connecting them all.
Step 3 Prepare the Stitch Paint

Next, prepare the Stitch Paint. Remove the cap from each paint tube, then use the pointed side of the cap to pierce the seal. Use scissors to cut off the very tip of the fine point applicator— cutting further down will result in a thicker paint output. Screw the fine point applicator tip tightly onto paint tube, then gently squeeze to get the paint flowing.
Step 4 Paint the cord and sockets

Now you’re ready to create faux embroidery designs on your DIY tree skirt with Stitch Paint!
Using your traced designs as a guideline, paint the cord and sockets of the holiday lights with black Stitch Paint. Gently squeeze the paint tube to create each individual “stitch” on your Christmas tree skirt.
Step 5 Paint the lightbulbs

Once you’ve finished painting the cord and sockets, use Stitch Paint to paint the lightbulbs on your Christmas tree skirt. Outline the lightbulb first, then paint the stitches to fill the lightbulb with color.
Step 6 Continue painting the lightbulbs

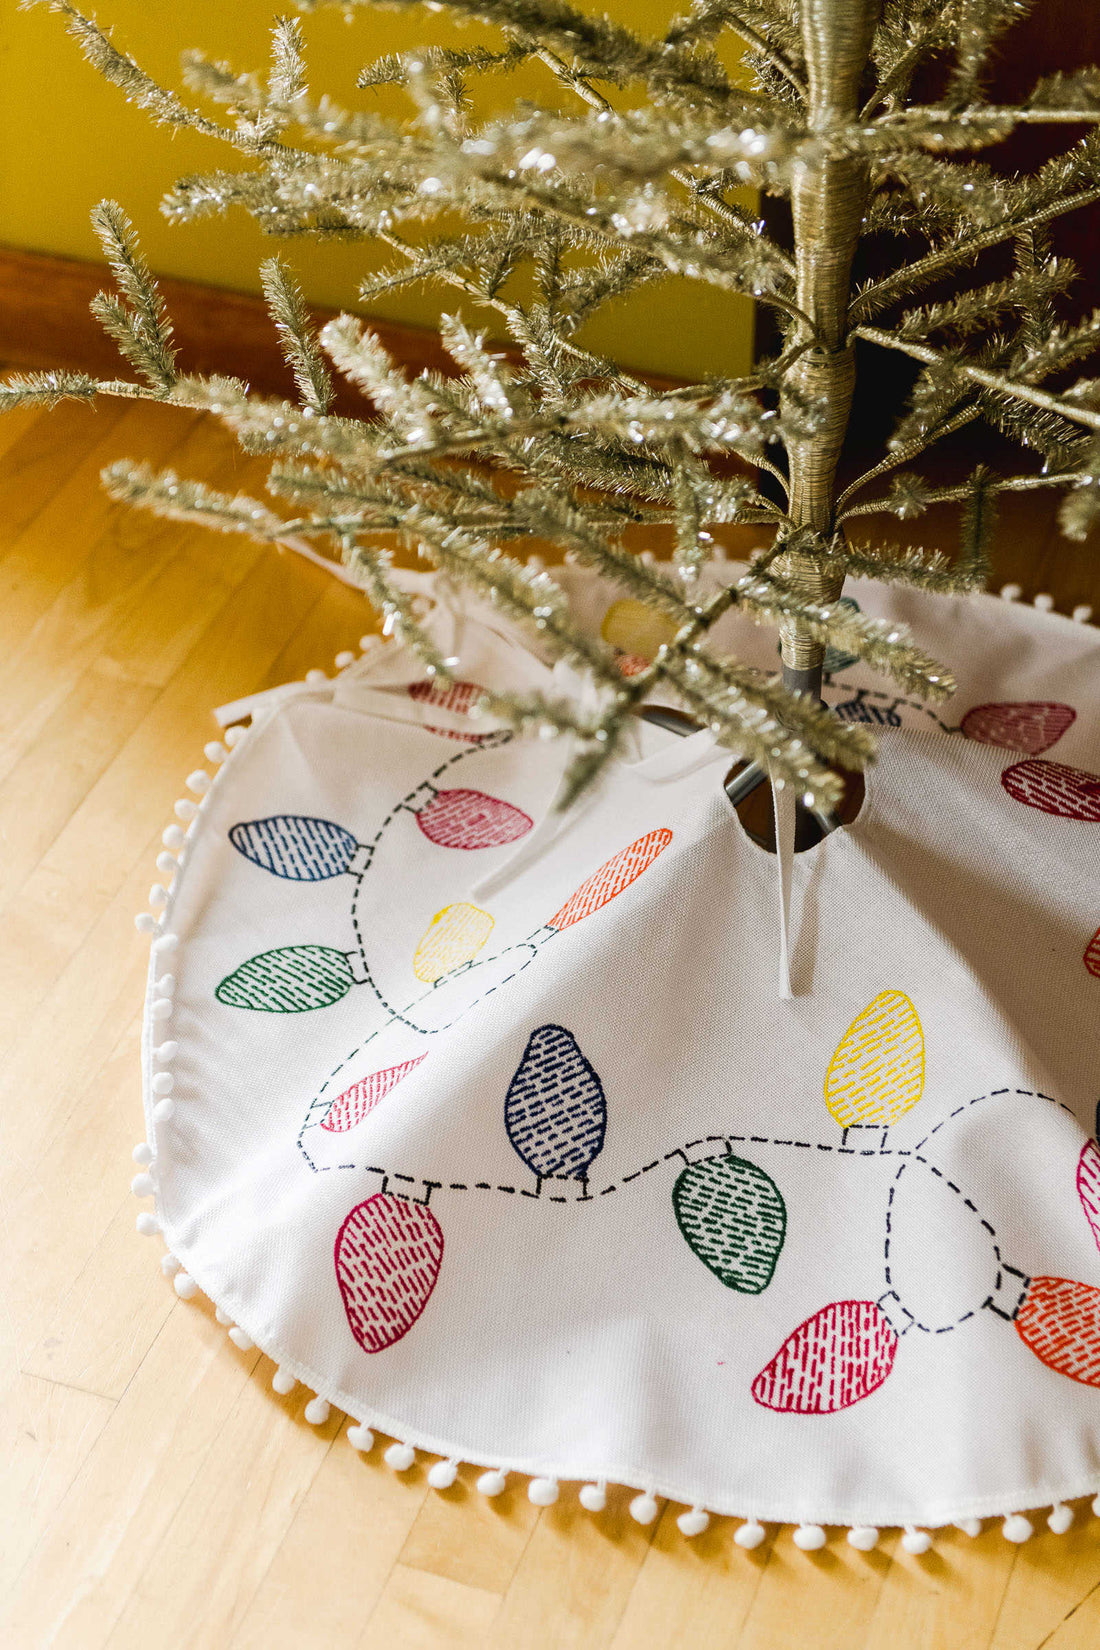
Continue painting each lightbulb until your Christmas tree skirt is covered in festive holiday lights. For this DIY tree skirt, Oh Yay Studio used a cheerful rainbow palette that captures the spirit of Christmas perfectly!
Step 7 Let dry and display!

Let your painted designs dry completely, then decorate your tree with your DIY tree skirt! This colorful faux embroidered Christmas tree skirt brings a cozy vibe to any holiday display.
Now you know how to create faux embroidered designs with Tulip Stitch Paint! What holiday patterns will you make with this easy-to-use paint? Show us your take on this DIY tree skirt and tag us on social media @TulipColorCrafts!