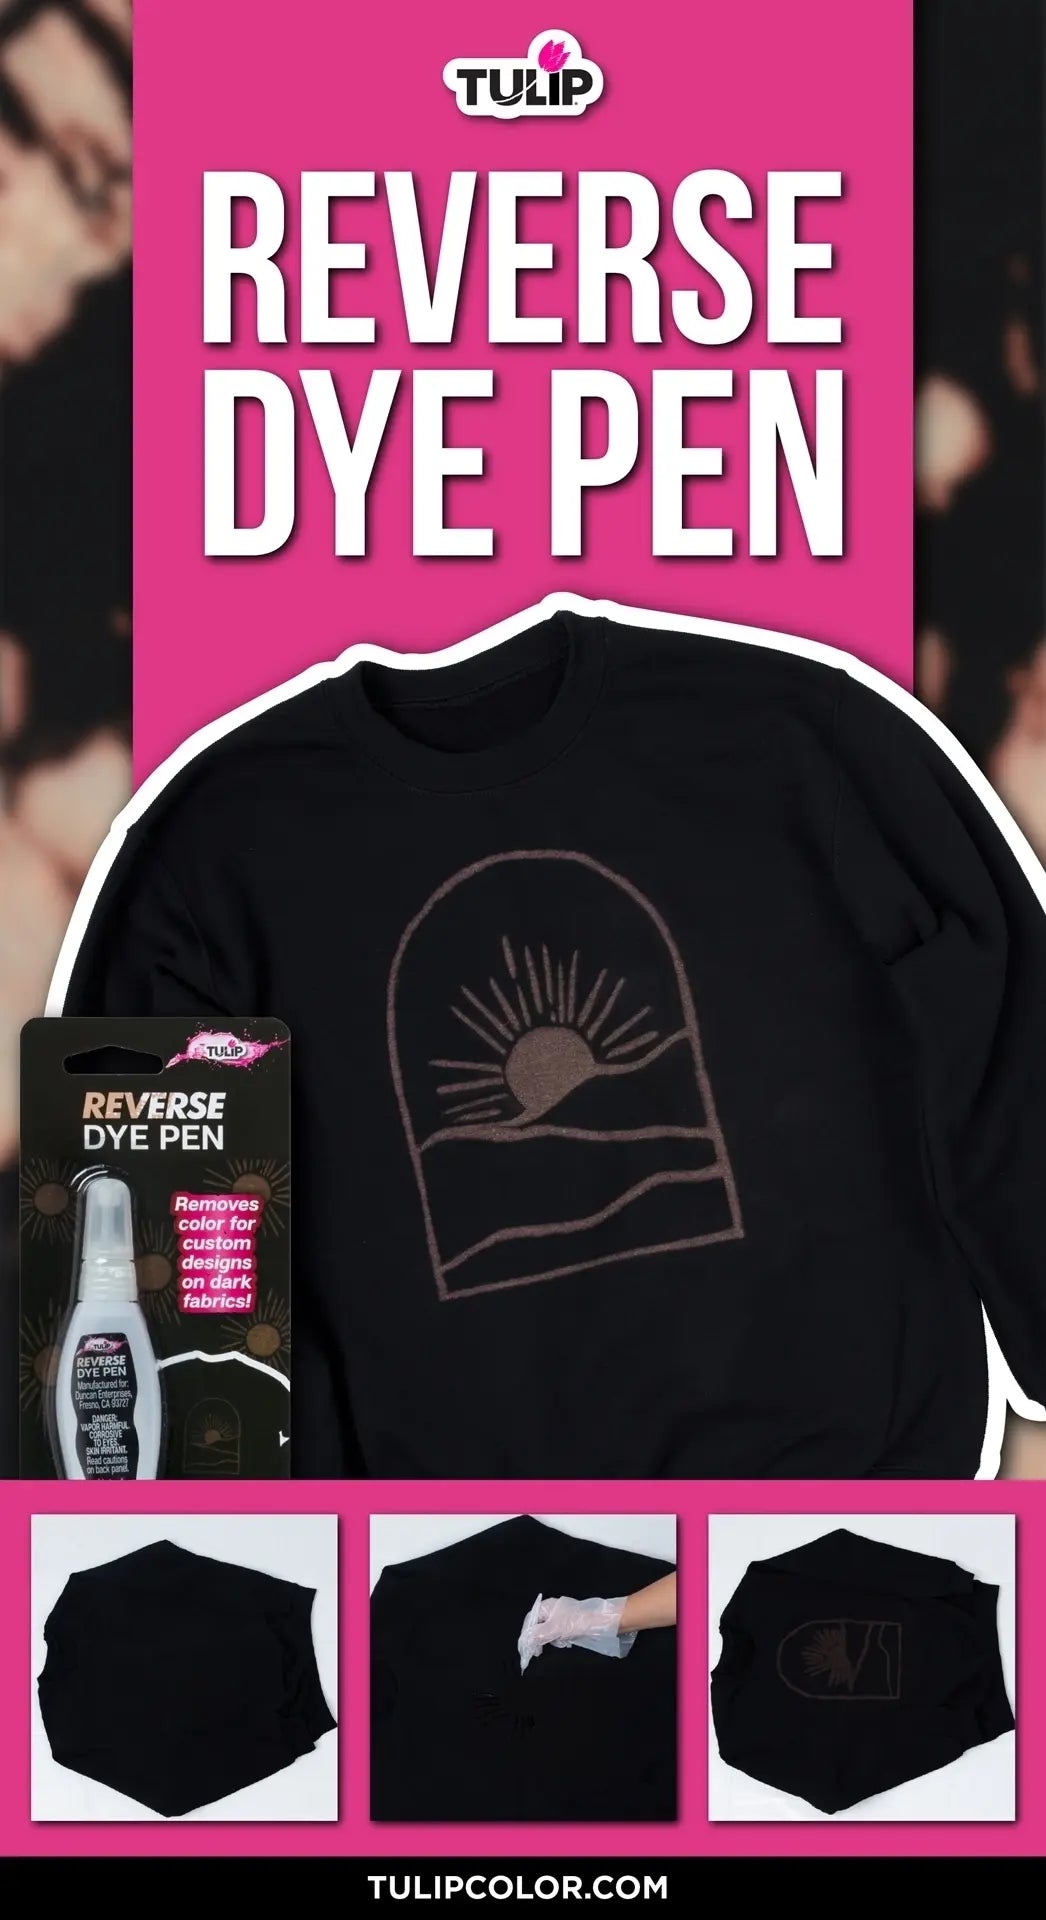
How to Use the Tulip Reverse Dye Pen

Looking for some inspo on a new way to dye your fabrics? We’ve got you covered with this tutorial on how to use the Tulip Reverse Dye Pen! This pen is perfect for making detailed designs and patterns on dark fabrics for a unique reverse dye effect. Just draw onto dark fabric with the Reverse Dye Pen, wait until you're happy with the amount of color removal, then wash, dry and reveal!
What you need:
- Tulip Reverse Dye Pen
- Dark-colored clothing
- Protective gloves

Before you get started, prewash and dry the clothes you will be dyeing and lay your clothing flat on a protected work surface. Wearing protective gloves, add warm water to pen and shake well until crystals are dissolved. Note: Pen is intended for single use only and should be used immediately after adding water. Do not let pen sit horizontally for extended period of time to avoid leaking.

Apply color changer to dark fabric by gently squeezing pen and drawing desired design. This is where you can really get creative— the possibilities are endless! Write, draw, and design to your heart’s content with the Reverse Dye Pen.

Allow project to set until desired color removal is achieved. Be sure to check the fabric periodically during color removal process, as longer set times can weaken the fabric if not used on 100% rayon, cotton or silk.

Rinse fabric, wash, dry, and reveal! Your new reverse tie-dye designs are ready to wear. Want to take it up a notch? After removing color from dark fabrics, you can add bright tie-dye colors back in! Just use your favorite One-Step Tie Dye to add color to the patterns created with Reverse Dye.
What designs will you create with the Tulip Reverse Dye Pen? Share your unique looks with us on social @TulipColorCrafts!

