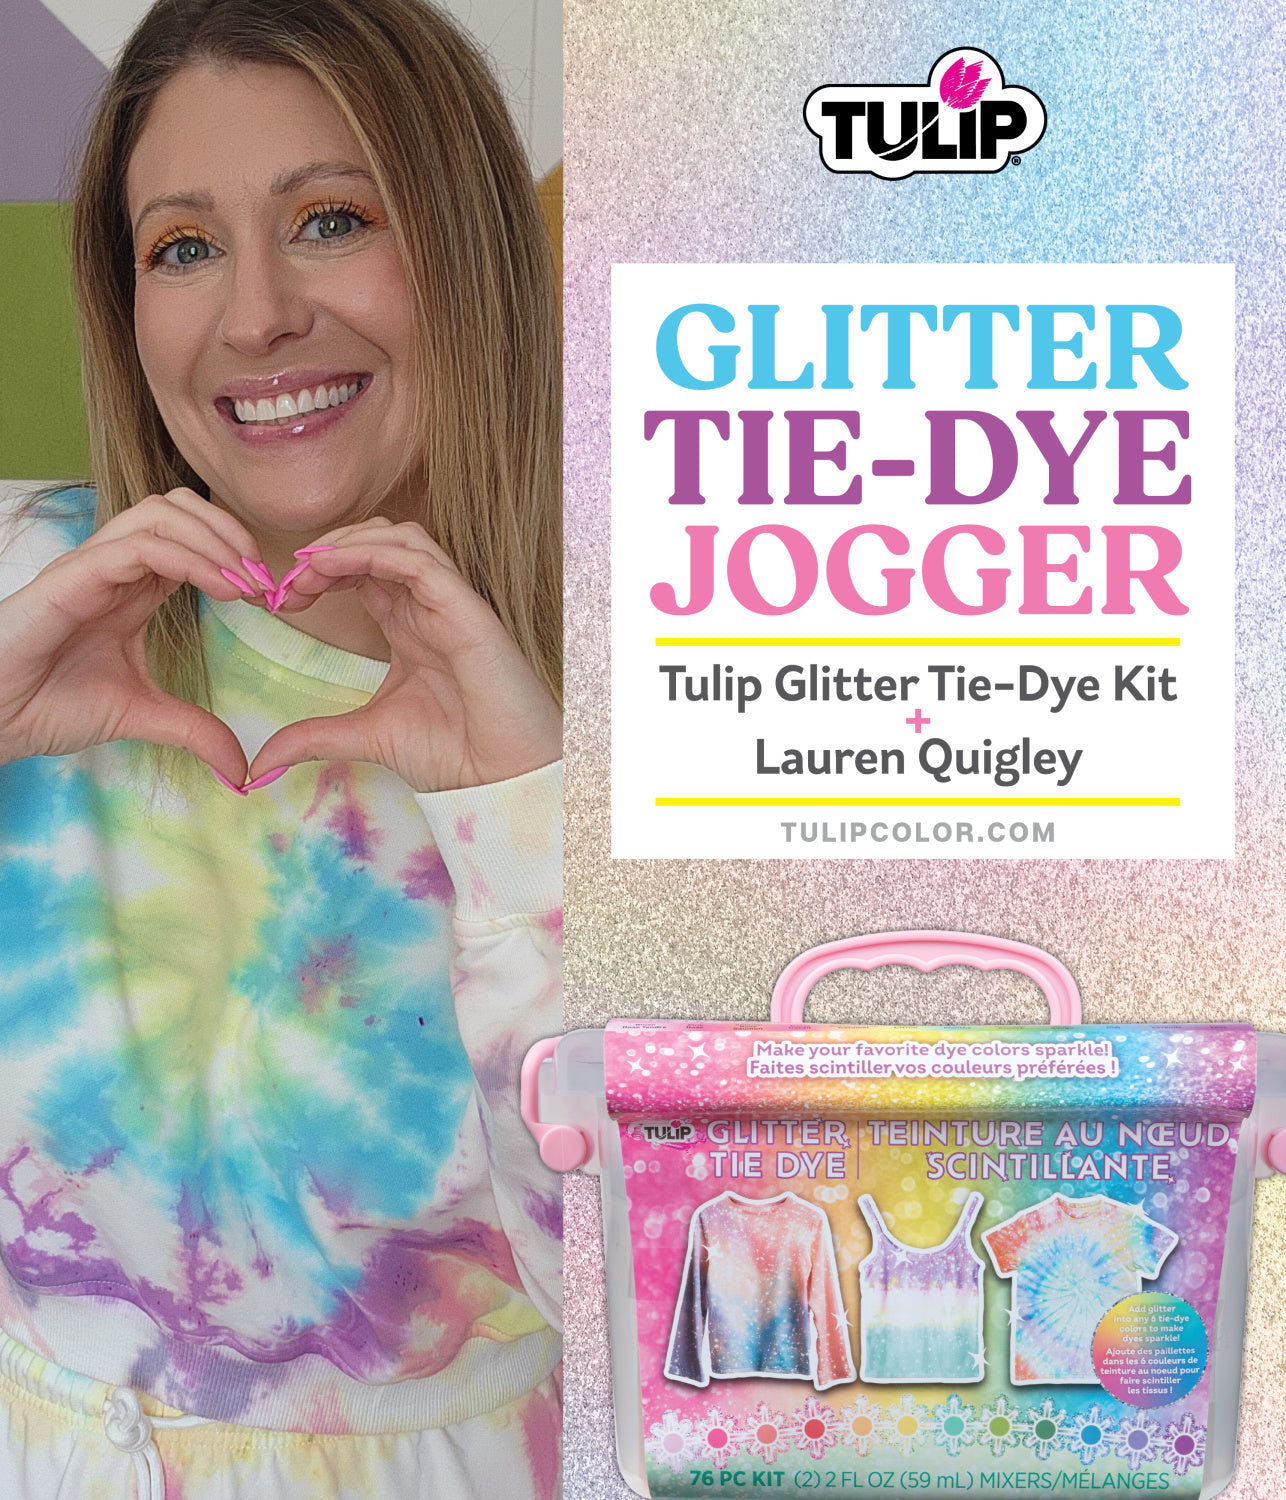
Make Your Own Glitter Tie-Dye Jogger

- $24.99
$24.99- $24.99
- Unit price
- per
Tie dye isn't just for T-shirts anymore—it's time to get those joggers in on the action! Adding a splash of color and a sprinkle of glitter can turn a plain pair of joggers into a fashion statement. If you're eager to add some pizzazz to your wardrobe with this fun and easy project, you're in the right place. Let's dive into the world of glitter tie dye and transform those joggers into a masterpiece!
Supplies:
· White 100% cotton joggers
· Plastic wrap
· A plastic cover or tarp to protect your workspace
Step 1: Prepare jogger fabric and work surface

Prewash and dry fabric. Lay down a plastic cover or tarp to protect your area from any dye spills. Put on your gloves to keep your hands clean. Make sure your jogger is clean and dry for best results.
Step 2: Tie joggers in desired tie dye pattern

Decide on the pattern you want for your jogger. You can go for classic spirals, stripes, or even a crumpled look. Once you've chosen your design, use rubber bands to secure the fabric. The tighter the rubber bands, the more defined your patterns will be.
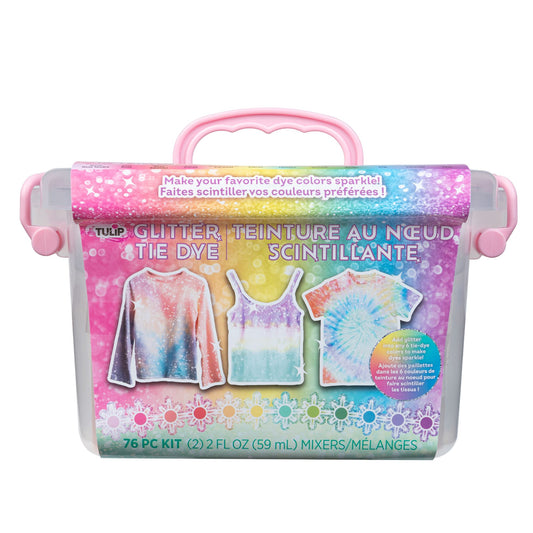
Step 3: Prepare and apply glitter dyes

Select which color you’d like to add the glitter effect to. Pour the contents of the glitter pigment packet into the dye bottle, fill 1/3 of the bottle with Mixer, then add room-temperature water to fill the bottle to the neck. Reattach the nozzle with cap on and shake vigorously for a minimum of 1 minute or until the dye solution appears uniform. The solution should appear evenly mixed throughout the dye bottle.
Apply the Glitter Tie-Dye solution to the top side of the folded/tied garment, working the tip of the bottle into the fabric folds as you apply the dye. Flip the project over and repeat applying Glitter Tie Dye on the opposite side. Regular dye can also be applied to projects simultaneously with Glitter Tie Dye. Do not oversaturate fabric.
Step 4: Let set and wash

Once all Glitter Tie Dye has been applied, immediately remove the rubber bands and unfold the garment. Lay the garment horizontally on the lined workspace to air dry. Insert a plastic shirt form or plastic lining inside of the shirt and between all layers, including the sleeves. Flip the garment over halfway through the drying process to ensure that all layers dry thoroughly. After allowing the Glitter Tie Dye to set for 24 hours or longer, check the garment to ensure it has thoroughly dried. Gently hand wash with cold water and a mild detergent, and rinse thoroughly to remove all excess dye. Lay flat to air dry.
Step 5: Reveal & try your new glitter tie dye outfit!


Congratulations! You've just created a unique piece of fashion that reflects your personal style. Whether you're lounging at home or stepping out, this glitter tie-dye jogger is sure to make a statement. Enjoy your new creation and don't be afraid to experiment with more colors and patterns in future projects.
Are you wanting to add some pizzazz to your cozy wardrobe? Show us your creations and tag us on social media @TulipColorCrafts!
Check out these links and get inspired for your next colorful DIY!
· Explore Tulip Tie-Dye Projects