


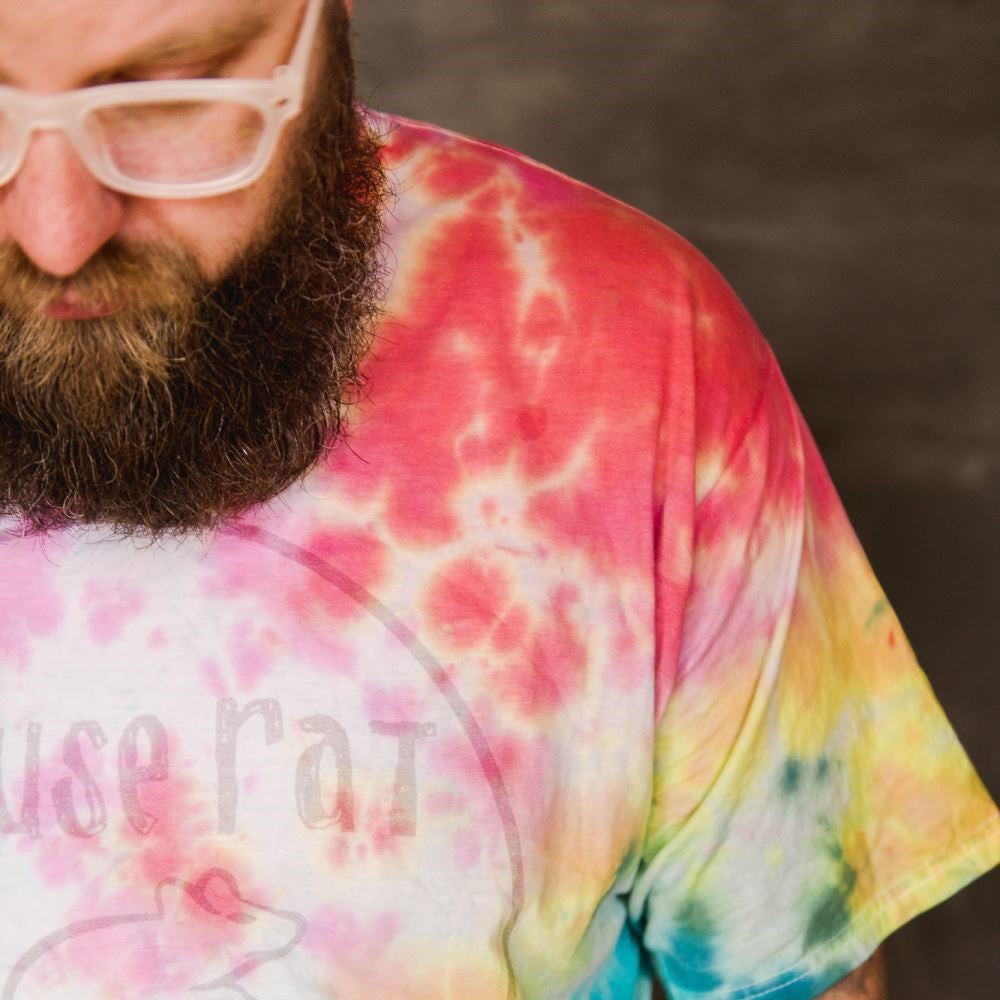
Revitalize an Old Band Tee with Tie Dye
- $35.99
$35.99- $35.99
- Unit price
- per
Tucked away in closets everywhere are old T-shirts brimming with sentimental value yet showing the wear and tear of time. Why not inject new life into these cherished items? This guide, inspired by Oh Yay Studio, demonstrates how to transform an aged band tee into a dazzling, colorful piece using the Tulip One-Step Tie-Dye Kit. Ideal for anyone looking to add a personalized touch to their wardrobe, follow these steps to upgrade your beloved shirts.
What You Need:
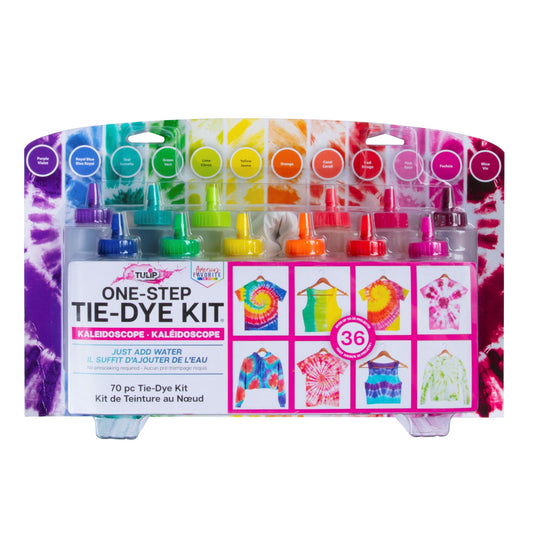
- Tulip One-Step Tie-Dye Kit
- An old white or light-colored band tee
- Plastic covering for your work surface
- Wire rack (optional)
Step 1 Prepare shirt and mix dyes

First, give the shirt a thorough wash and dry (if opting for a dry dyeing method). Then, select a palette that resonates with your style, and mix your tie-dye solutions as per the kit's instructions.
Step 2 Fold and securing the shirt
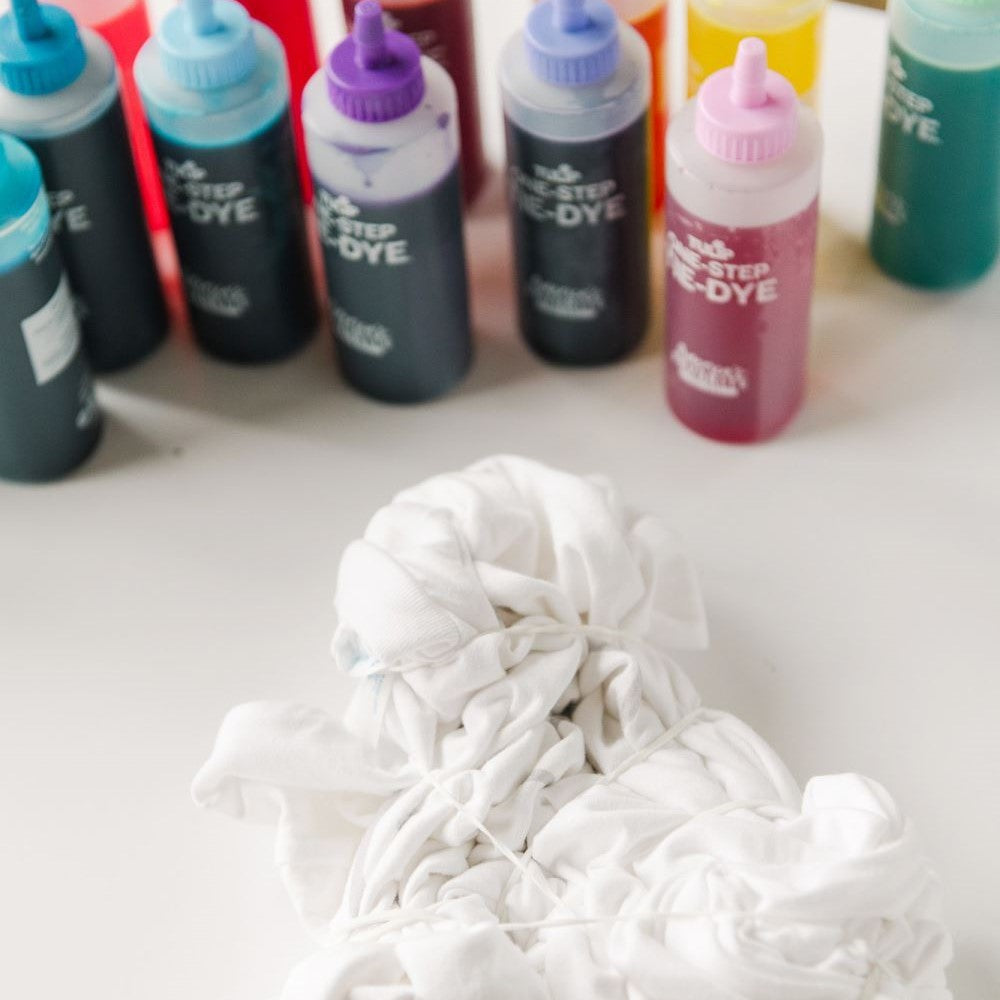
Decide on a folding technique for your project. We recommend the easy and effective crumple method for beginners: simply scrunch the fabric into a ball and secure it with rubber bands.
Step 3 Apply the dye

Position your shirt on a wire rack or a protected surface. Donning gloves provided in the kit, evenly apply your dye to the fabric, ensuring both sides receive color. Then, seal the shirt in a plastic bag or cover it to let the dye set. This process can take between 6 to 8 hours, or leave it overnight for deeper color saturation.
Step 4 Reveal!

After the dye has set, remove the rubber bands and wash the shirt as per the kit's laundering instructions. Your revitalized band tee is now ready to make its debut!
This DIY project is a creative way to refresh any old tee with personal significance, making it a thoughtful gift or a fun activity for any occasion. Share your tie-dye creations and inspire others by tagging us on social media @TulipColorCrafts!