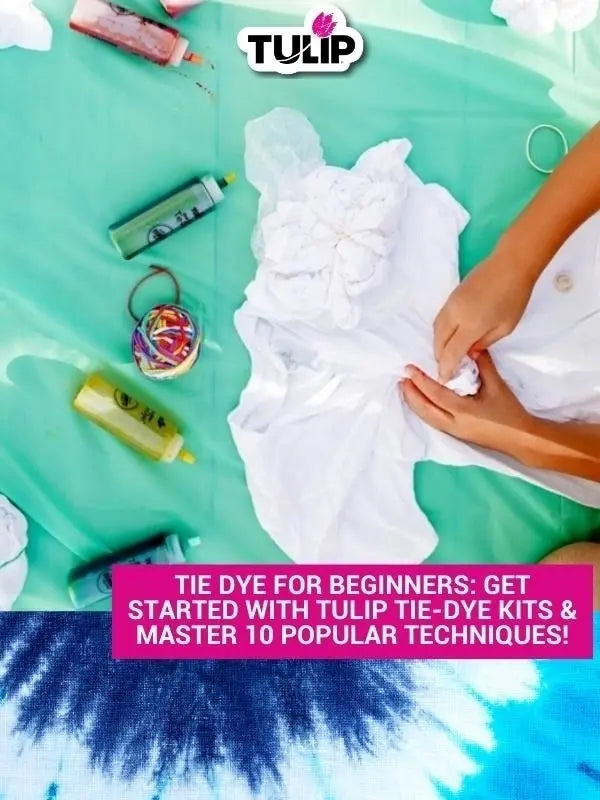
Tie Dye for Beginners: Get Started with Tulip Tie-Dye Kits & Master 10 Popular Techniques!
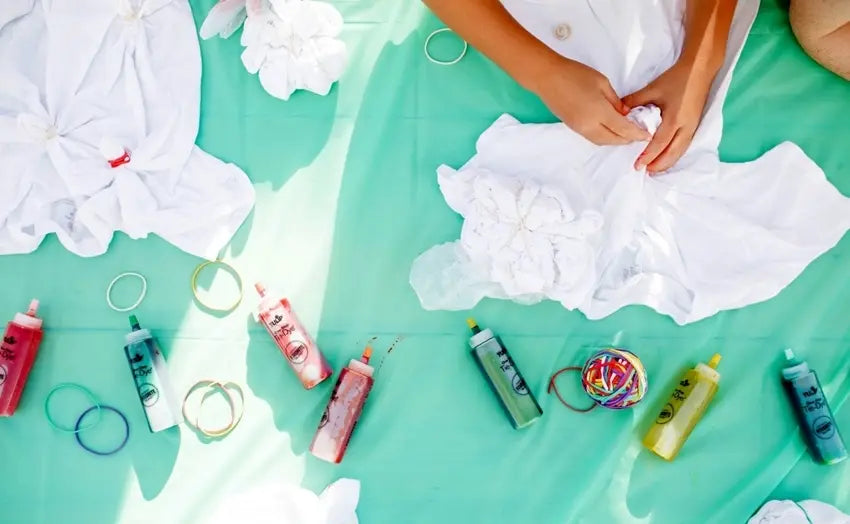
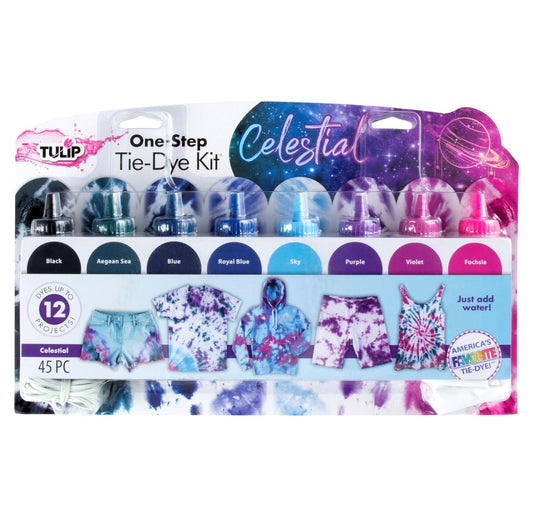
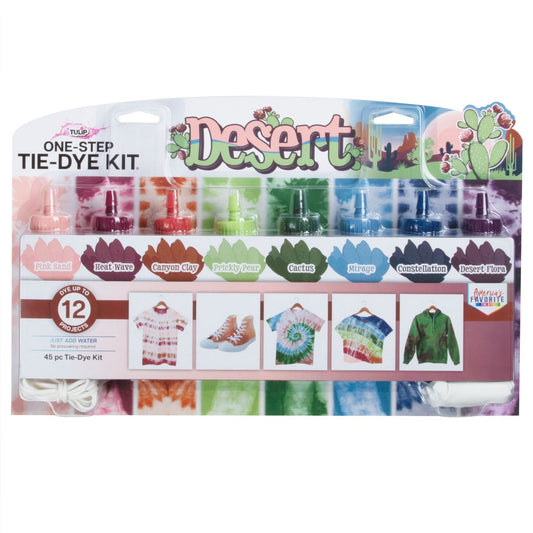
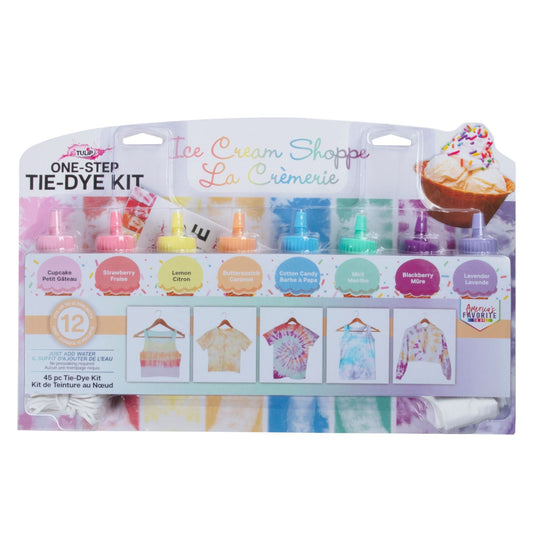
Welcome to the world of tie dye, where imagination and creativity run wild! If you're a beginner looking to dive into this fun, DIY activity, then you're in the right place. With Tulip Tie-Dye Kits, anyone can create stunning designs and colorful patterns with ease. In this blog, we'll introduce you to 10 popular tie dye techniques that you can master using Tulip Tie-Dye Kits. So, let's get started!

The Classic Spiral Tie Dye
The spiral is one of the most iconic tie dye patterns. To create this design, lay your fabric flat and pinch the center. Twist the fabric until it forms a tight spiral, then secure it with rubber bands. Apply dye to each section, and let the magic unfold!

Bullseye Tie Dye
For a bold, striking pattern, try the bullseye technique. Fold your fabric in half, then pinch the center and tie it with a rubber band. Continue tying rubber bands at regular intervals to create a series of concentric circles. Apply different colors of dye to each section for a vibrant effect.

Crumple Tie Dye
Unleash your inner abstract artist with the crumple technique. Simply crumple your fabric into a ball, and then randomly apply dye to the creases and folds. This method creates an organic, marble-like pattern that's perfect for those who love spontaneity.

Stripes Tie Dye
For a classic and versatile pattern, go for stripes. Fold your fabric accordion-style, then tie rubber bands along the length of the folded fabric. Apply dye to each section, and you'll end up with evenly spaced, colorful stripes.

Shibori Tie Dye
Inspired by the ancient Japanese art of resist dyeing, the shibori technique involves folding, twisting, and binding fabric before dyeing it. Experiment with different folds and bindings to create intricate, one-of-a-kind patterns.

Sunburst Tie Dye
Bring some sunshine to your tie dye with the sunburst technique. Pinch small sections of fabric and secure them with rubber bands. Apply dye to each section, creating small bursts of color that resemble sunrays.

Heart Tie Dye
Show some love with the heart tie-dye technique. Fold your fabric in half, then with a washable marker draw half of a heart shape along the folded edge. Use a needle and thread to sew along the drawn line, then gather the fabric and tie it off. Apply dye to the heart shape and enjoy your lovely creation.

Ice Dye Tie Dye
For a unique and unpredictable design, try ice dyeing. Lay your fabric flat and cover it with ice cubes. Sprinkle powdered dye over the ice and let it melt, allowing the colors to seep into the fabric and create a stunning, watercolor effect.

Geode Tie Dye
Capture the beauty of natural crystals with the geode technique. Scrunch your fabric into small, tight circles and secure them with rubber bands. Apply dye to the exposed sections of fabric, creating a series of concentric rings that mimic the look of geodes.

Reverse Tie Dye
Switch things up with reverse tie dye. Start with a colored fabric and use the same techniques as regular tie dye, but instead of adding dye, use a bleach solution to remove color from the fabric. This creates striking, high-contrast patterns.
With Tulip Tie-Dye Kits and these 10 popular techniques at your disposal, you're well on your way to becoming a tie-dye master! Remember that practice makes perfect, so don't be afraid to experiment with different patterns and color combinations. Tulip Tie-Dye Kits provide everything you need to get started, including dyes, gloves, rubber bands, and an instruction guide.
As a beginner, it's essential to follow a few simple tips to ensure your tie-dye projects turn out just as you envision:
- Pre-wash your fabric: Washing your fabric before dyeing helps remove any sizing or chemicals that could interfere with the dyeing process.

- Use 100% natural fibers: Cotton, linen, or silk fabrics tend to absorb dye better and provide more vibrant, lasting colors.

- Wear gloves: Tie dye can be messy, so protect your hands by wearing gloves (included in the kits) during the dyeing process.

- Allow enough time for the dye to set: Let your dyed fabric set for at least 6-8 hours or even overnight before rinsing and washing it. This helps the dye to fully set and results in longer-lasting colors.

- Rinse and wash properly: Rinse the dyed fabric under cold water until the water runs clear, then wash it separately in a washing machine using mild detergent and cold water.
Now that you're equipped with all the knowledge and techniques needed to create stunning tie dye patterns, it's time to unleash your creativity and explore the world of color! Remember that tie dye is all about having fun and expressing yourself, so don't be afraid to let your imagination run wild. Happy tie dyeing!
Show us your tie-dye creations and tag us on social media @TulipColorCrafts!