Trendy Tie-Dye Bucket Hat with Tulip

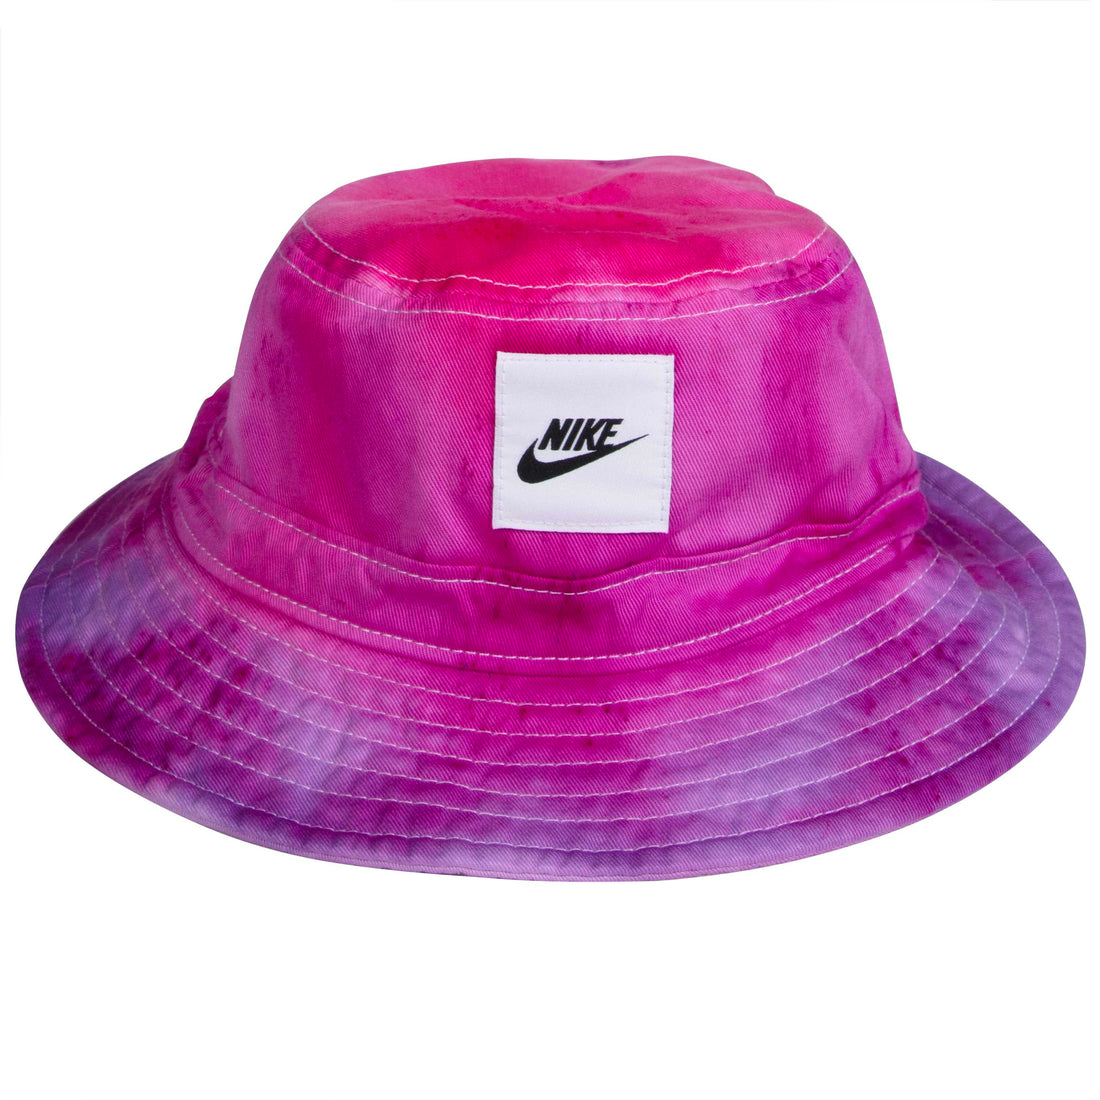
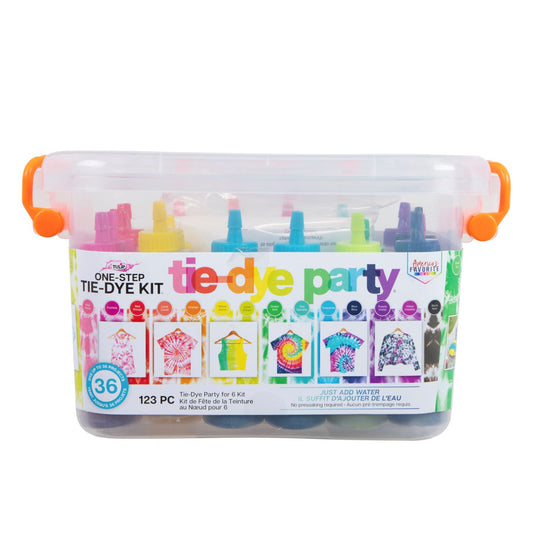
Finish your favorite outfits with this one simple accessory! Bucket hats offer the perfect blend of comfort and style— especially when they’re customized with colorful tie dye! Get ready to elevate your style and create your own tie-dye bucket hat with the Tulip Tie-Dye Party Tub!
Supplies Needed:
100% cotton bucket hat
Plastic wrap or sealable plastic bag
Step 1 Prep project

Prewash your bucket hat and place the damp hat upright onto a protected work surface. Prepare your tie-dye solutions by adding water to the dye bottles, filling to the neck. Replace the cap tightly and shake well until dye powder is fully dissolved. For this colorful tie-dye bucket hat, we used pink, fuchsia, and purple dyes from the Tulip Tie-Dye Party Kit.
Step 2 Apply dyes

Apply the pink dye onto the crown of the bucket hat by pressing the tip of the dye bottle to the fabric and squeezing slowly to saturate with dye. Then apply fuchsia dye onto the sides, followed by purple dye onto the brim.
Step 3 Wrap and let set

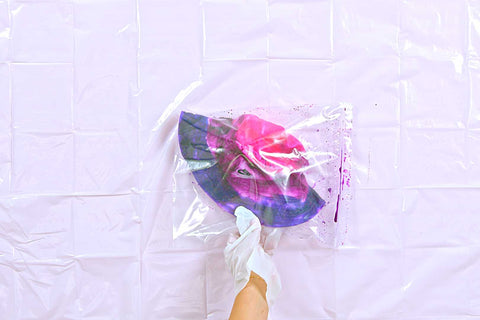
Once you’ve finished applying dye, place your tie-dye bucket hat into a sealable plastic bag or cover with plastic wrap. Allow the dyes to set for 6-8 hours or overnight for more vibrant results.
Step 4 Reveal!

After the dyes have set, rinse, wash in cool water with a little laundry detergent, and dry your tie-dye bucket hat. Your colorful tie-dye bucket hat is ready to wear— pair it with your favorite tie-dye outfit for maximum tie-dye style!
Create your own tie-dye bucket hat and more with the Tulip Tie-Dye Party Tub! Show us your colorful tie-dye projects and tag us on social media @TulipColorCrafts!
Still craving more color? Check out these links for more creative inspiration!

