Unleash Your Creativity with Ice Dye: A Step-by-Step Guide for Kids and Families

Looking for a creative and engaging summer activity that doubles as a fashion statement? Try ice dyeing with the Tulip® Ice Dye One-Step Tie-Dye Kit! This family-friendly project is perfect for kids and adults alike. Follow our step-by-step guide to master the accordion tie-dye technique and create your very own ice-dyed masterpiece.
What you need:
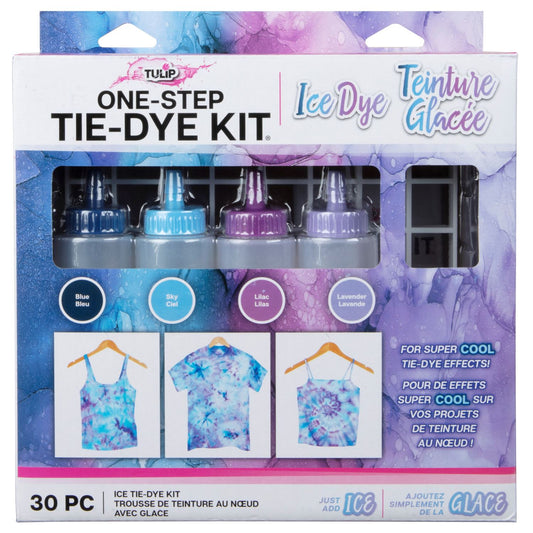
Tulip Ice Dye One-Step Tie-Dye Kit
White prewashed T-shirt(s)
Protective table cover
Plastic or metal tub

Step 1 Prewash tee
Wash your T-shirt without fabric softener and leave it damp. Fold the damp T-shirt in half vertically.

Step 2 Accordion pleat your folded shirt
Accordion pleat your T-shirt from the base to the top, including the sleeves.

Step 3 Secure the pleats with rubber bands
Tightly wrap rubber bands around the pleated T-shirt every 1 to 1.5 inches.

Step 4 Place grate in tub and tee on top of grate
Place the Ice-Dye Grate over or in a tub or container to catch runoff. Set the bound T-shirt on top. For lighter dye colors, sprinkle directly onto T-shirt.

Step 5 Sprinkle dye powder onto ice
After sprinkling lighter-colored dye powders directly on your T-shirt, cover it with ice. Add darker dye powders over the ice. Get creative with color combinations!

Step 6 Let ice melt and then place shirt in plastic bag
Ice Melting Magic: Allow the ice to melt, transferring the dye colors onto your T-shirt. Add more ice as needed until the dye powder is absorbed.
Dye Setting: Seal your project in a plastic bag and let the dye set according to the recommended time.

Step 7 Remove rubber bands, rinse and wash
Remove rubber bands, rinse, and launder according to instructions.

Step 8 Have fun wearing your tie-dye creation!
Now you know how simple and fun it is to ice dye! Explore other tie-dye techniques and share your creations on social media by tagging us @tulipcolorcrafts. Let your creativity shine this summer with ice dyeing!


