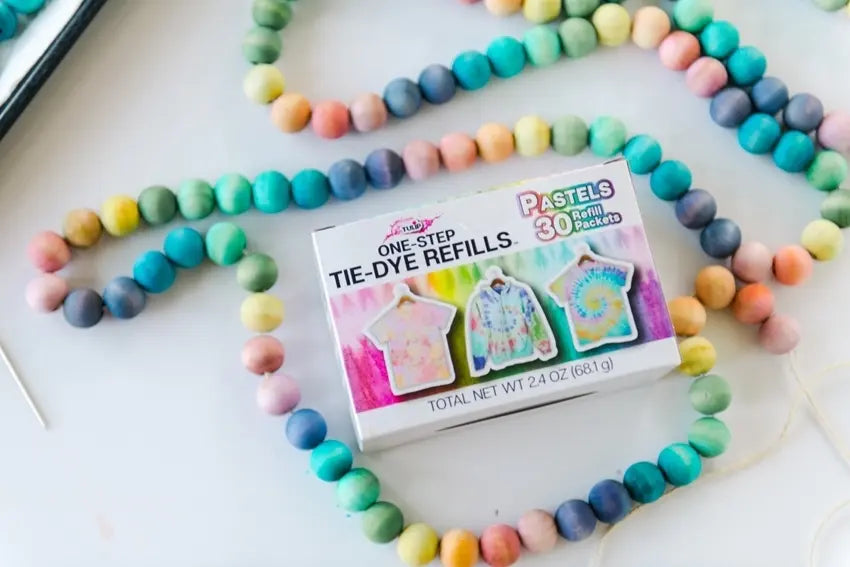
Tie-Dyed Wooden Bead Garland

Did you know that you can tie dye more than just fabrics? That’s right! Follow this tutorial from Oh Yay Studio to learn how to turn wooden beads into a colorful tie-dyed wooden bead garland. Then you can get creative and experiment with dyeing other unfinished wooden décor! Tulip One-Step Tie-Dye Refills are perfect for this project— plus you’ll have lots of extras for even more tie-dye fun!
What you need:
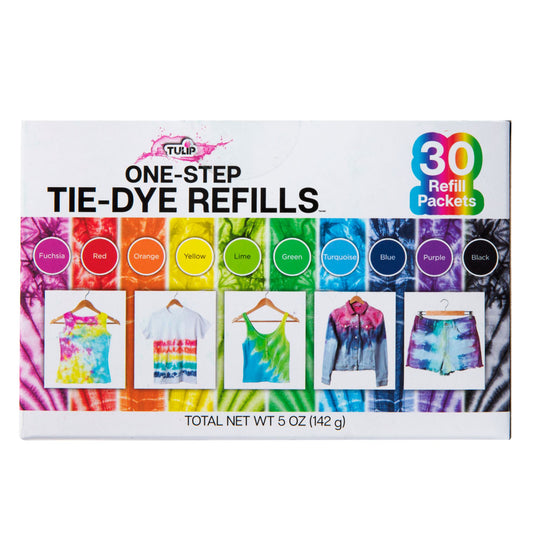
Tulip One-Step Tie-Dye Refills Pastels
Unfinished wooden beads
Disposable cups or other small containers
Stir sticks
Trays or tubs
Paper towels
Gloves
Twine
Pompoms, tassels, other embellishments (optional)


Sort out your beads into each color container OR just grab a handful and eyeball the number of wooden beads for each color. You’ll start to see the dye penetrating the wood right away! Be sure to stir the beads a few times over the next few hours so that they evenly absorb the dyes.
The longer you leave the beads in the dye liquid, the more dye they will absorb! You can leave the wooden beads in the dye for up to 12 hours.


Once the beads have dried completely, it’s time to create your wooden bead garland! String your beads together with twine and add pom poms, tassels, and other embellishments as you’d like. Get creative and make this garland your very own!
Will you be making your own tie-dyed wooden bead garland or other dyed home décor? Show us what your colorful crafts and tag us on social media @TulipColorCrafts!


