DIY Hack: How to Airbrush a Matching Lounge Set with Fabric Markers


- $19.99
$19.99- $19.99
- Unit price
- per
Transform a plain matching lounge set into a vibrant, custom piece with the Tulip Airbrush Marker Kit. Easy enough for beginners and fun for seasoned DIYers, this tool helps you create smooth, eye‑catching airbrush designs with a nostalgic 90s boardwalk feel. You can turn a simple basic into something truly your own!
Supplies:
· White 100% cotton tank top & optional sweatpants
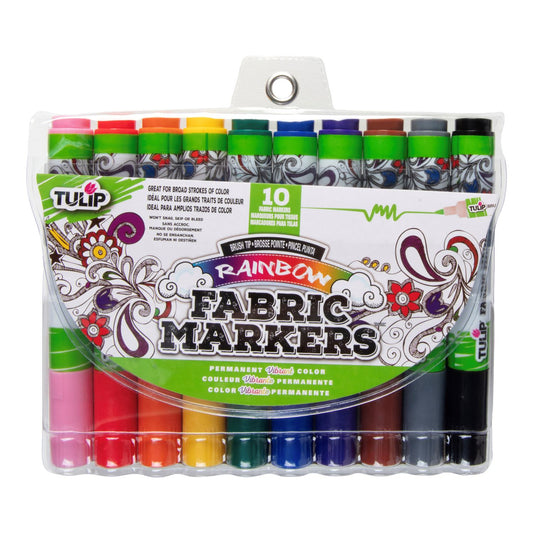
· Tulip Airbrush Fabric Marker Kit
· Tulip Fabric Marker in Black
· Plastic table cover to protect your workspace
· Shirt board or cardboard
· Stencils of choice
· Scrap fabric or paper

Follow These Steps:
1. Prep Fabric & Airbrush:
2. Airbrush Outside of Your Design:
3. Airbrush Inside of Your Design:
4. Add Details to Design with Fabric Marker:
Did you create your own airbrush marker matching lounge set? Show us your creations and tag us on social media @TulipColorCrafts!
Check out these links and get inspired for your next colorful DIY!